Most of the photographers I know who are transitioning into stock photography make the same mistake I almost made early on: they spend a full day shooting, come home with hundreds of images they love, and then lose half of them at submission because something in the frame was legally off-limits. A statue, a recognizable building, a kid’s face, a logo on a shirt. The rejection stings less than the wasted time. It took me a while to understand that shooting for stock isn’t just a creative exercise. It’s a legal one.
That’s exactly what a KelbyOne tutorial from contributor “Terabyte” addresses head-on. Watch the full tutorial on YouTube. It’s built around the Adobe Stock contributor guidelines, and while it’s framed around a photo walk scenario, the principles apply any time you’re shooting with the intention of licensing your work. I’m breaking it down here step by step because these rules don’t just matter for stock photographers. They matter for anyone who composites, because the images you source, whether you shoot them yourself or license them, carry these same legal considerations into your finished work.
Step 1: Start at the Source - Adobe’s Legal Guidelines Page
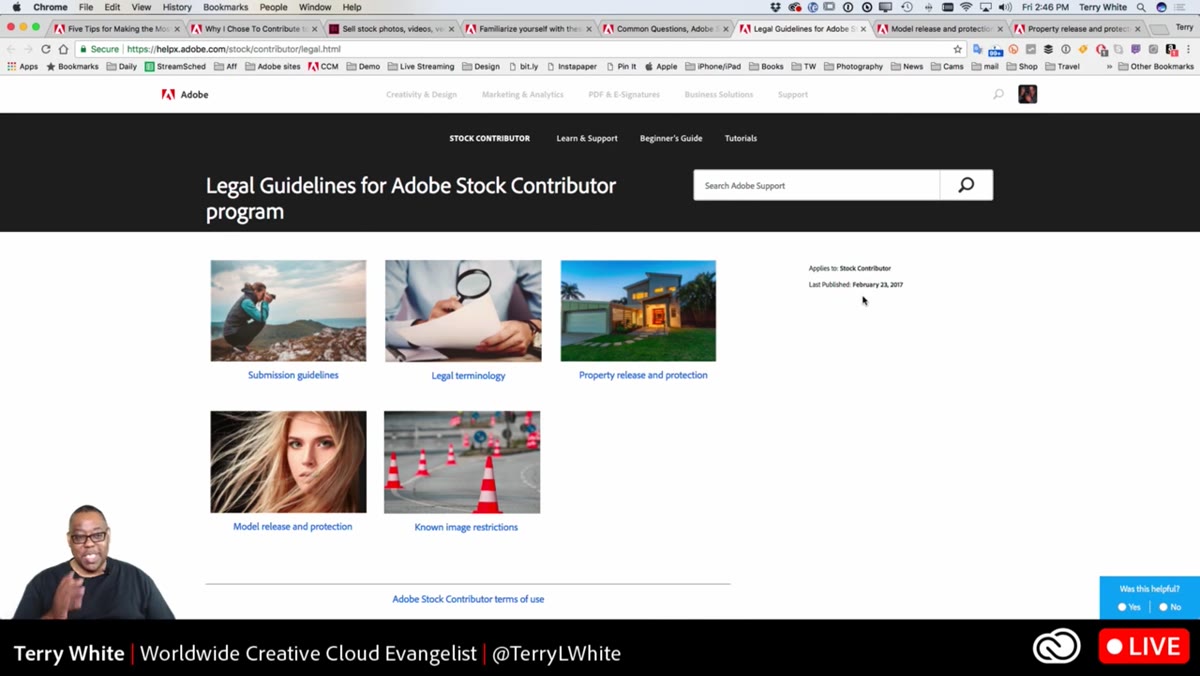 Adobe Stock contributor legal guidelines page open in browser
Before you shoot a single frame for stock submission, the tutorial recommends going directly to Adobe’s legal guidelines for their contributor program. It’s not glamorous reading, but it is essential. Think of it as a checklist that protects your time. The page breaks down exactly what categories of subjects require additional documentation before your image can be sold. Knowing this before you leave the house means you can plan your shoot around what’s submittable, rather than guessing after the fact.
Adobe Stock contributor legal guidelines page open in browser
Before you shoot a single frame for stock submission, the tutorial recommends going directly to Adobe’s legal guidelines for their contributor program. It’s not glamorous reading, but it is essential. Think of it as a checklist that protects your time. The page breaks down exactly what categories of subjects require additional documentation before your image can be sold. Knowing this before you leave the house means you can plan your shoot around what’s submittable, rather than guessing after the fact.
Step 2: Understand When a Property Release Is Required
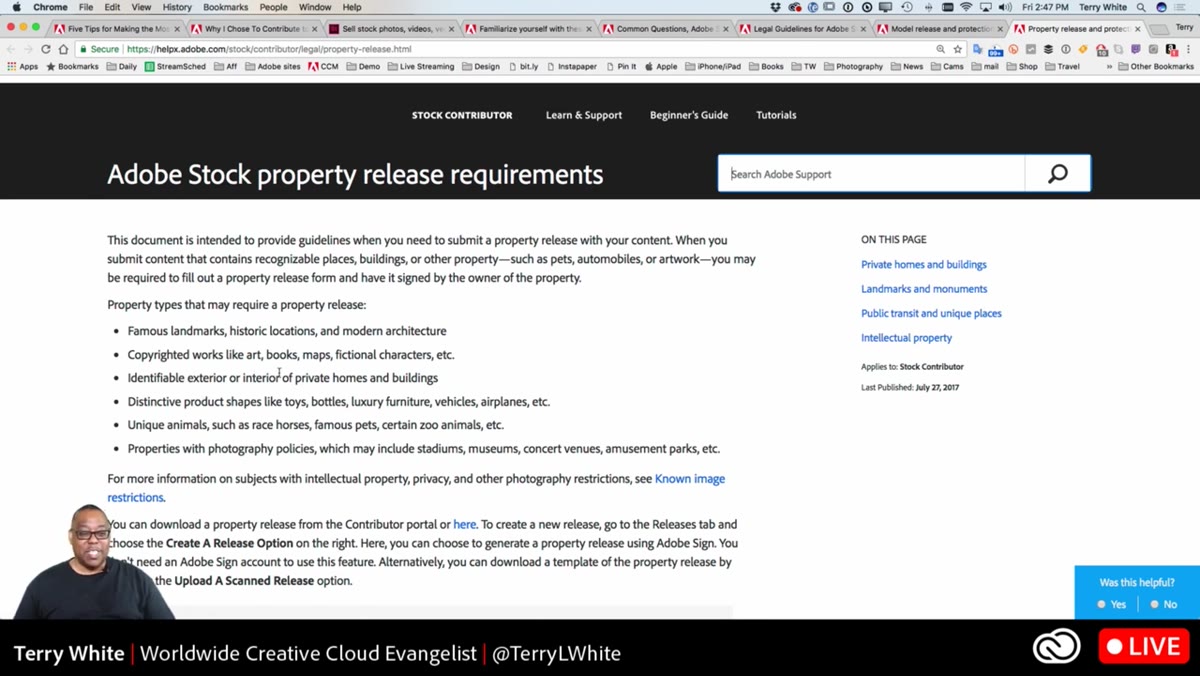
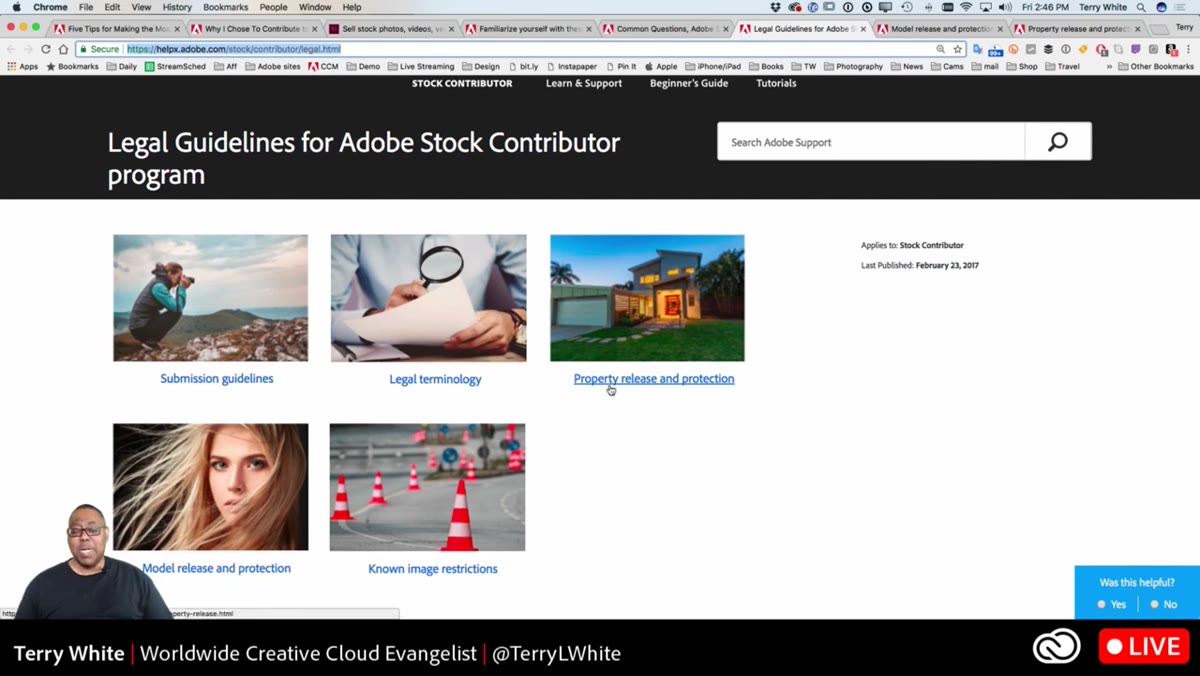 List of property release requirements on Adobe Stock guidelines page
A property release is written permission from the owner or manager of a location or structure. The tutorial lays out the specific scenarios where this is required for stock submission. Famous landmarks, historic sites, and modern architecture all fall into this category, even if they’re publicly visible from the street. The reasoning is straightforward: commercial use of a recognizable building’s image can imply endorsement or affiliation, which is why the owner’s consent matters.
List of property release requirements on Adobe Stock guidelines page
A property release is written permission from the owner or manager of a location or structure. The tutorial lays out the specific scenarios where this is required for stock submission. Famous landmarks, historic sites, and modern architecture all fall into this category, even if they’re publicly visible from the street. The reasoning is straightforward: commercial use of a recognizable building’s image can imply endorsement or affiliation, which is why the owner’s consent matters.
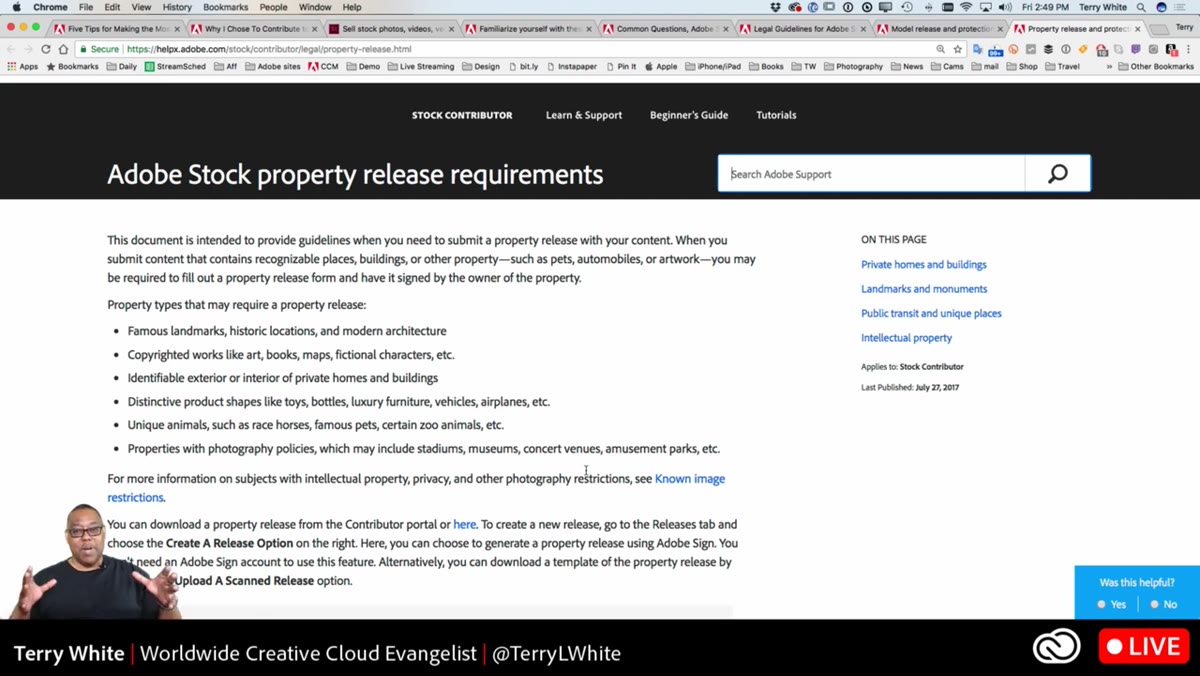
This extends further than most people expect. Identifiable private homes, buildings with distinctive architectural features, and locations with their own photography policies (stadiums, museums, amusement parks, concert venues) all require releases before your image can generate income. The key word is “identifiable.” If a reasonable person would look at your photo and recognize the specific place, you need documentation.
Step 3: Know the Identifiability Rule
 Wide shot example of Mercedes-Benz Stadium versus generic stadium seats
The tutorial uses a sharp example to illustrate this rule. A wide establishing shot of a famous NFL stadium, one that any sports fan would immediately recognize, is off-limits without a property release. But a tight photograph of empty stadium seats with no identifying markers? That could be anywhere, and it likely clears the bar for submission. The distinction the tutorial draws is practical: ask yourself whether a viewer would know exactly where this was taken. If yes, you need the release. If the location is genuinely ambiguous, you’re probably fine.
Wide shot example of Mercedes-Benz Stadium versus generic stadium seats
The tutorial uses a sharp example to illustrate this rule. A wide establishing shot of a famous NFL stadium, one that any sports fan would immediately recognize, is off-limits without a property release. But a tight photograph of empty stadium seats with no identifying markers? That could be anywhere, and it likely clears the bar for submission. The distinction the tutorial draws is practical: ask yourself whether a viewer would know exactly where this was taken. If yes, you need the release. If the location is genuinely ambiguous, you’re probably fine.
This same logic applies to product shapes and design. The tutorial specifically mentions vehicle silhouettes, luxury items, and distinctive toy designs. Even if you never capture a logo or brand name in frame, a product shape that’s closely associated with a single company can still be considered proprietary.
Step 4: Watch Out for Copyrighted Works and Branded Characters
 Discussion of copyrighted characters and branded artwork in public spaces
This one catches people off guard. If you’re walking through a city and you photograph a large public sculpture of a fictional character, that character’s likeness may be protected by copyright regardless of where it’s physically located. The tutorial gives the example of a Superman figure. The character is owned by a corporation, and reproducing that image for commercial gain without permission infringes on that copyright.
Discussion of copyrighted characters and branded artwork in public spaces
This one catches people off guard. If you’re walking through a city and you photograph a large public sculpture of a fictional character, that character’s likeness may be protected by copyright regardless of where it’s physically located. The tutorial gives the example of a Superman figure. The character is owned by a corporation, and reproducing that image for commercial gain without permission infringes on that copyright.
The same applies to copyrighted works of art, maps, and book covers that might appear in your frame. For composite artists especially, this is worth internalizing. If you’re building a scene and you incorporate stock images that contain copyrighted artwork in the background, even incidentally, that can create downstream legal exposure.
Step 5: Recognize the Unique Animals Clause
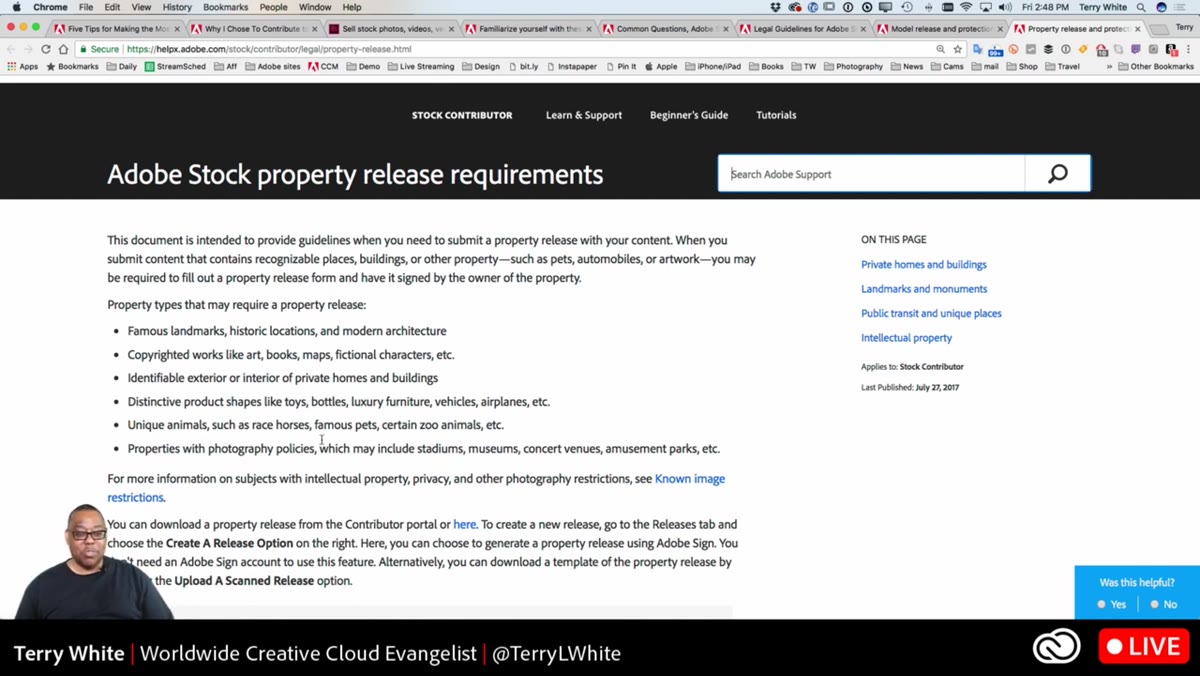 Discussion of famous pets, racehorses, and zoo animals requiring releases
This one surprised me when I first encountered it. The tutorial flags a category that most photographers don’t think twice about: unique or identifiable animals. Racehorses with established identities, famous social-media pets, and certain zoo animals can require property releases before their images are cleared for commercial stock sale. The instructor mentions having zoo animal submissions rejected for exactly this reason.
Discussion of famous pets, racehorses, and zoo animals requiring releases
This one surprised me when I first encountered it. The tutorial flags a category that most photographers don’t think twice about: unique or identifiable animals. Racehorses with established identities, famous social-media pets, and certain zoo animals can require property releases before their images are cleared for commercial stock sale. The instructor mentions having zoo animal submissions rejected for exactly this reason.
It’s a reminder that “property” in the legal sense extends well beyond buildings and land. If an animal is associated with a specific owner, institution, or brand identity, that association carries legal weight.
Step 6: Apply the Same Logic to People - When You Need a Model Release
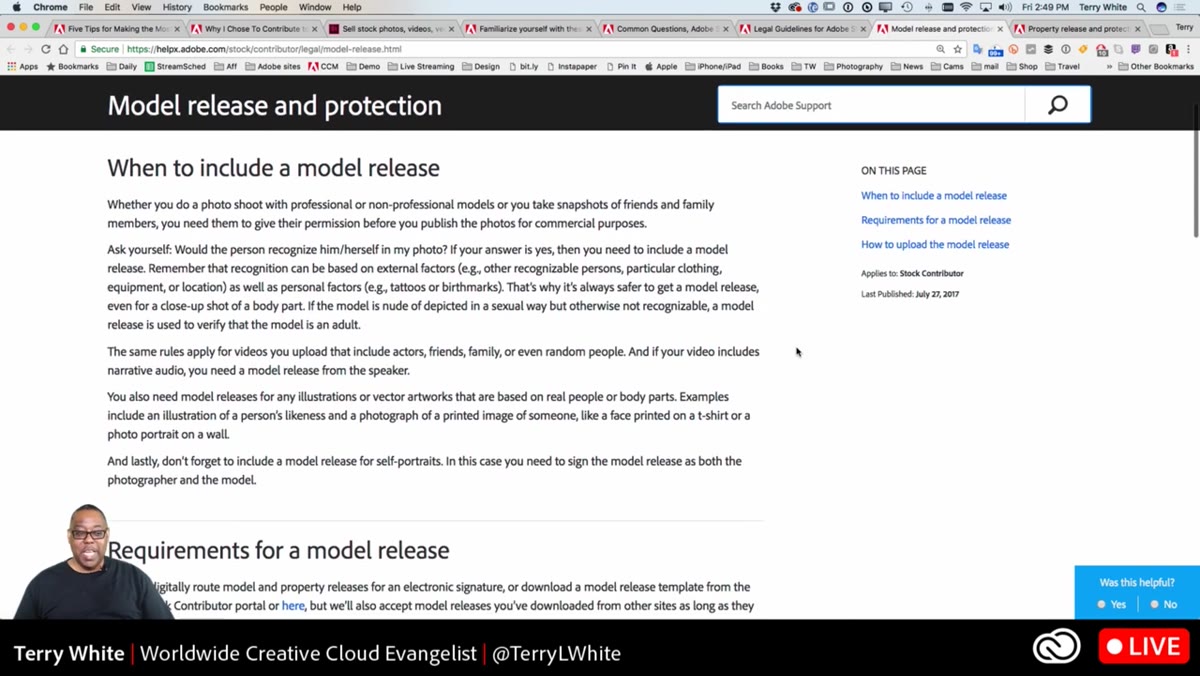 Model release requirements discussion, identifiable faces and features
The model release section of the tutorial follows the same identifiability framework. If the person in your photograph would recognize themselves looking at it, you almost certainly need a signed model release before that image can be sold. This includes clear facial features, but the tutorial pushes further: identifiable tattoos and distinctive birthmarks can also trigger this requirement, even without a clear face in frame.
Model release requirements discussion, identifiable faces and features
The model release section of the tutorial follows the same identifiability framework. If the person in your photograph would recognize themselves looking at it, you almost certainly need a signed model release before that image can be sold. This includes clear facial features, but the tutorial pushes further: identifiable tattoos and distinctive birthmarks can also trigger this requirement, even without a clear face in frame.
For minors, the release must be signed by a legal guardian, not the child. And here’s the detail that trips up a lot of people: even with a valid model release in place, visible brand logos on clothing will still get an image rejected. The Nike swoosh on someone’s shirt is a separate trademark issue that the model release doesn’t resolve. You’d need to either remove it in post or reshoot without it.
What I’d Add from My Own Experience
I do a lot of composite work where I’m sourcing my own reference photographs alongside licensed stock. The legal framework this tutorial describes doesn’t stop at the submission stage. It runs through the entire image lifecycle. When I’m building a scene that involves a real location, a recognizable vehicle, or a figure in branded clothing, I now think about release status before I ever drop an element into a composition. A finished piece that looks clean creatively can still carry liability if the underlying image wasn’t properly cleared.
My practical habit: before any shoot that might feed into commercial work, I make a short list of subjects I plan to capture and run each one through the release checklist mentally. Famous? Identifiable? Branded? Privately owned? It takes five minutes and has saved me hours of rework.
The single most important thing this tutorial communicates is this: shooting for personal use and shooting for commercial use are legally different activities, even when the camera settings are identical. If there’s any chance an image will generate income, apply the release checklist before you press the shutter, not after.
Watch the full tutorial on YouTube to go through the Adobe contributor guidelines directly with the instructor. It’s a short watch with a long shelf life.
Comments
Leave a Comment