
There is a specific kind of frustration that only compositors understand. You have spent an hour lighting a shot, another hour color grading, and then you look at the edge of your subject’s hair and it looks like they were cut out with kindergarten scissors. That edge is the thing that separates a composite that reads as real from one that reads as “Photoshop project.” I have delivered work for book covers and movie posters where I knew the edge wasn’t perfect, and it kept me up at night. Getting clean, believable selections is not glamorous work, but it is the foundation everything else is built on.
Watch the full tutorial on YouTube
In this Aaron Nace (PHLEARN) tutorial, the focus is on a feature Adobe introduced in Photoshop CC 2015.5: the Select and Mask workspace. What Adobe did here was pull together several selection and refinement tools that used to live in scattered menus and combine them into a single, dedicated environment. The result is a faster, more intuitive workflow for isolating subjects, especially ones with complex edges like hair or fur. Aaron walks through the full process, from verifying your software version to delivering a finished cutout with a new background. What follows is my breakdown of each step, written so you can work through it without pausing the video every thirty seconds.
Step 1: Confirm You Have the Right Version of Photoshop
 Photoshop About screen showing version 2015.5.0
Select and Mask is only available in Photoshop CC 2015.5 and newer. Before anything else, go to the Photoshop menu and choose “About Photoshop CC.” If your version number reads 2015.5 or higher, you are good to go. If not, open the Creative Cloud desktop app, navigate to your Apps tab, and hit the Update button next to Photoshop. This is a CC-exclusive feature, so legacy licenses like CS3 or CS6 will not have access to it. Think of it as one of the more compelling reasons to keep your subscription current.
Photoshop About screen showing version 2015.5.0
Select and Mask is only available in Photoshop CC 2015.5 and newer. Before anything else, go to the Photoshop menu and choose “About Photoshop CC.” If your version number reads 2015.5 or higher, you are good to go. If not, open the Creative Cloud desktop app, navigate to your Apps tab, and hit the Update button next to Photoshop. This is a CC-exclusive feature, so legacy licenses like CS3 or CS6 will not have access to it. Think of it as one of the more compelling reasons to keep your subscription current.
Step 2: Set Up a Background Color Layer Before You Cut
 Eyedropper sampling color from subject’s headband
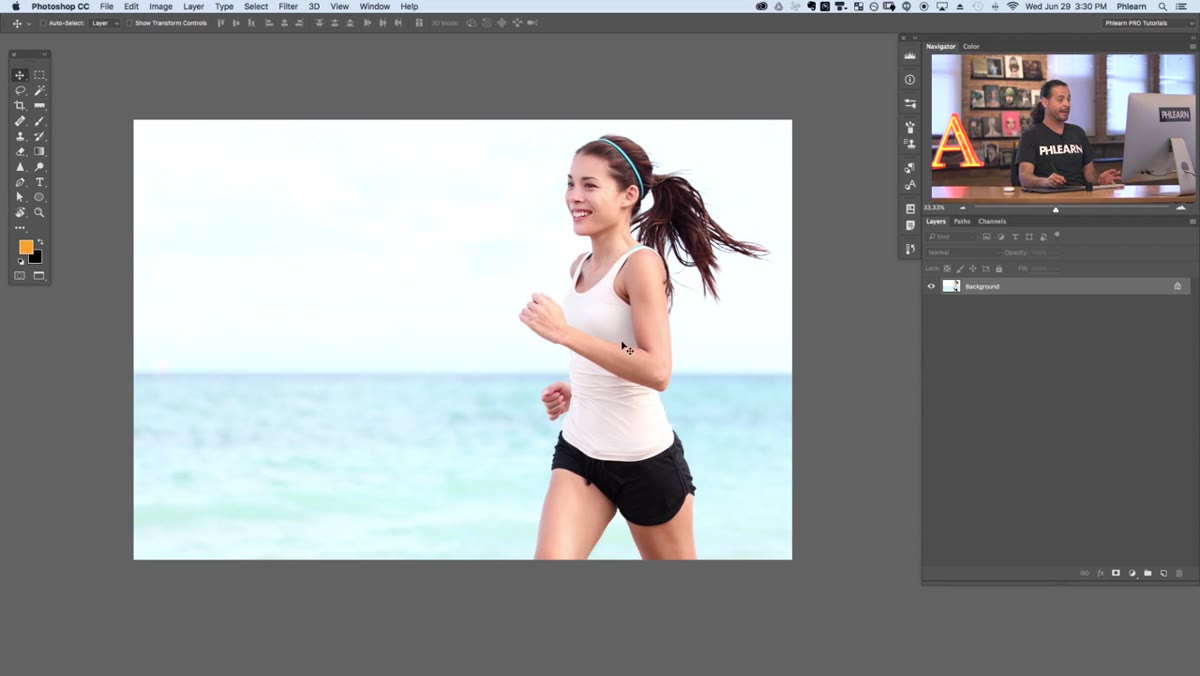
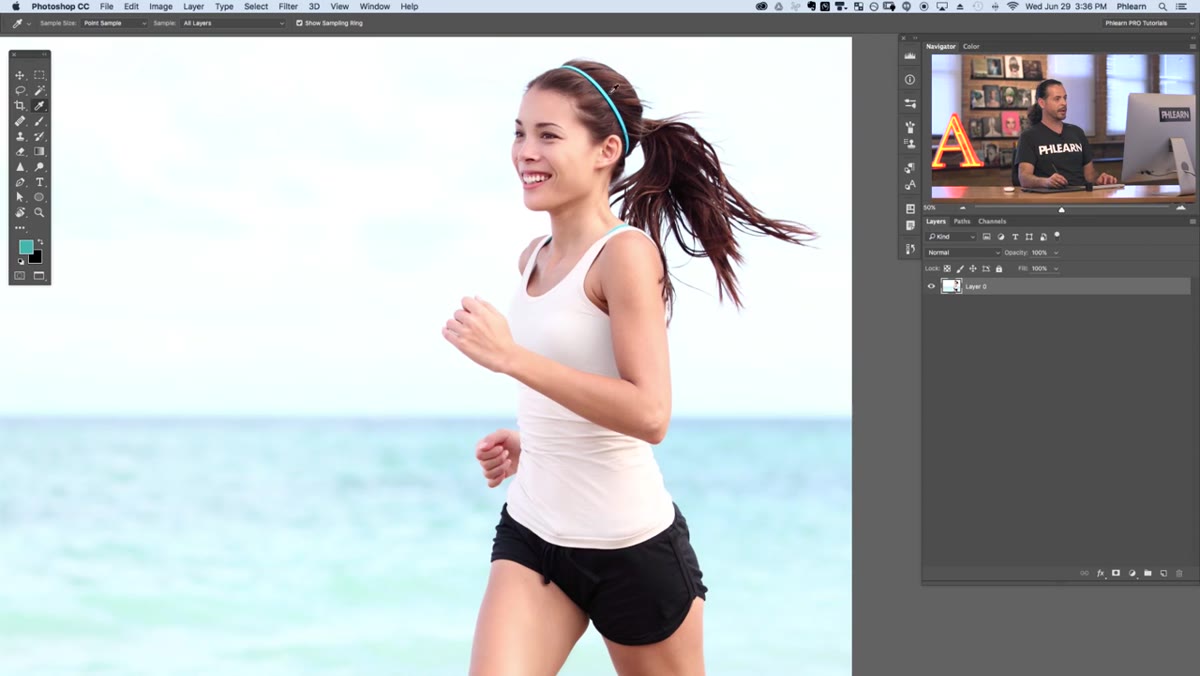
This step surprised me the first time I saw it, but it makes complete sense once you understand why. Before making any selection, Aaron samples a color from the subject’s headband using the Eyedropper tool, then creates a solid color fill layer using Layer > New Fill Layer > Solid Color. That sampled color loads automatically as the fill. He then moves this layer directly below the subject layer in the stack.
Eyedropper sampling color from subject’s headband
This step surprised me the first time I saw it, but it makes complete sense once you understand why. Before making any selection, Aaron samples a color from the subject’s headband using the Eyedropper tool, then creates a solid color fill layer using Layer > New Fill Layer > Solid Color. That sampled color loads automatically as the fill. He then moves this layer directly below the subject layer in the stack.
The reason is practical. When you are refining a mask, especially around hair or fine detail, you want a background color that is close to the tones in your subject. It makes problem edges much easier to see. Working against a neutral gray or white can hide fringing and color contamination that will become obvious the moment you drop in a real background. This extra thirty seconds of setup saves significant cleanup time later.
Step 3: Access the Select and Mask Workspace
 Select and Mask button visible in the options bar
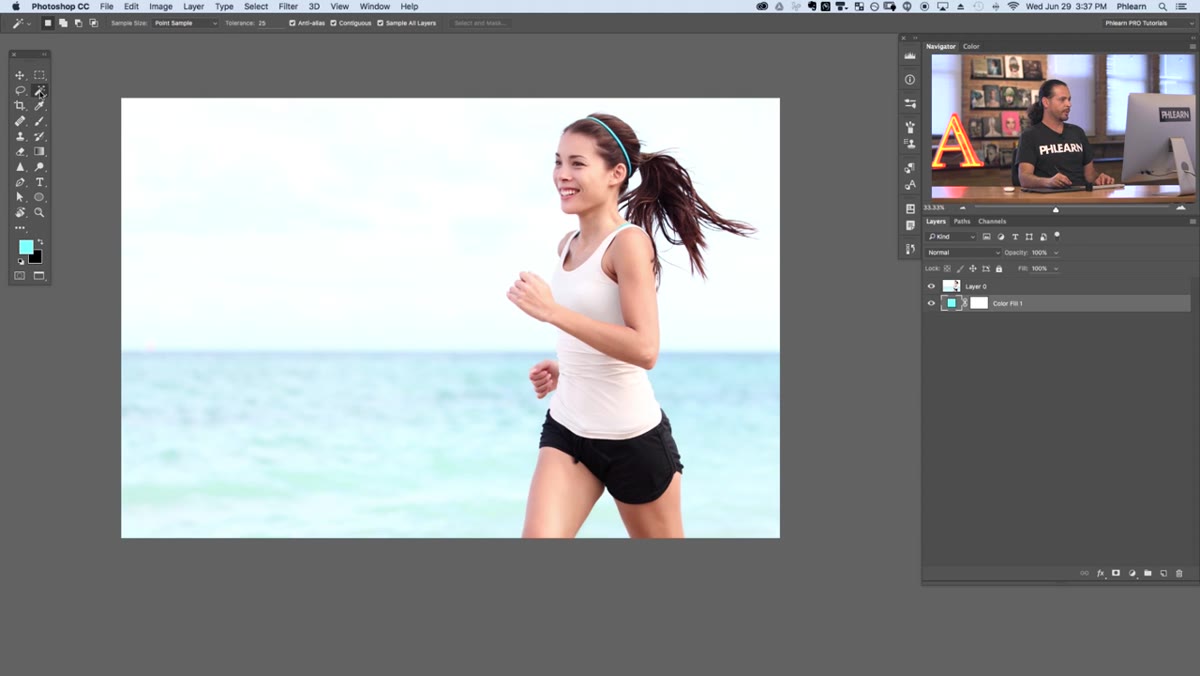
With a selection tool active, such as the Marquee, Magic Wand, or Lasso, a “Select and Mask” button appears in the options bar at the top of the screen. You can also reach it through the Select menu at the top, then choosing Select and Mask from the dropdown. Either path opens the same dedicated workspace, which replaces your canvas view with a focused environment built entirely around making and refining selections.
Select and Mask button visible in the options bar
With a selection tool active, such as the Marquee, Magic Wand, or Lasso, a “Select and Mask” button appears in the options bar at the top of the screen. You can also reach it through the Select menu at the top, then choosing Select and Mask from the dropdown. Either path opens the same dedicated workspace, which replaces your canvas view with a focused environment built entirely around making and refining selections.
Once inside, the interface may look unfamiliar at first. The tools are arranged along the left side, and the properties and view controls are on the right. Take a moment to orient yourself before diving in. Trying to rush through this workspace without understanding the layout will cost you more time than it saves.
Step 4: Use the Quick Selection Tool to Build Your Initial Selection
 Quick Selection tool being dragged over subject’s legs and shorts
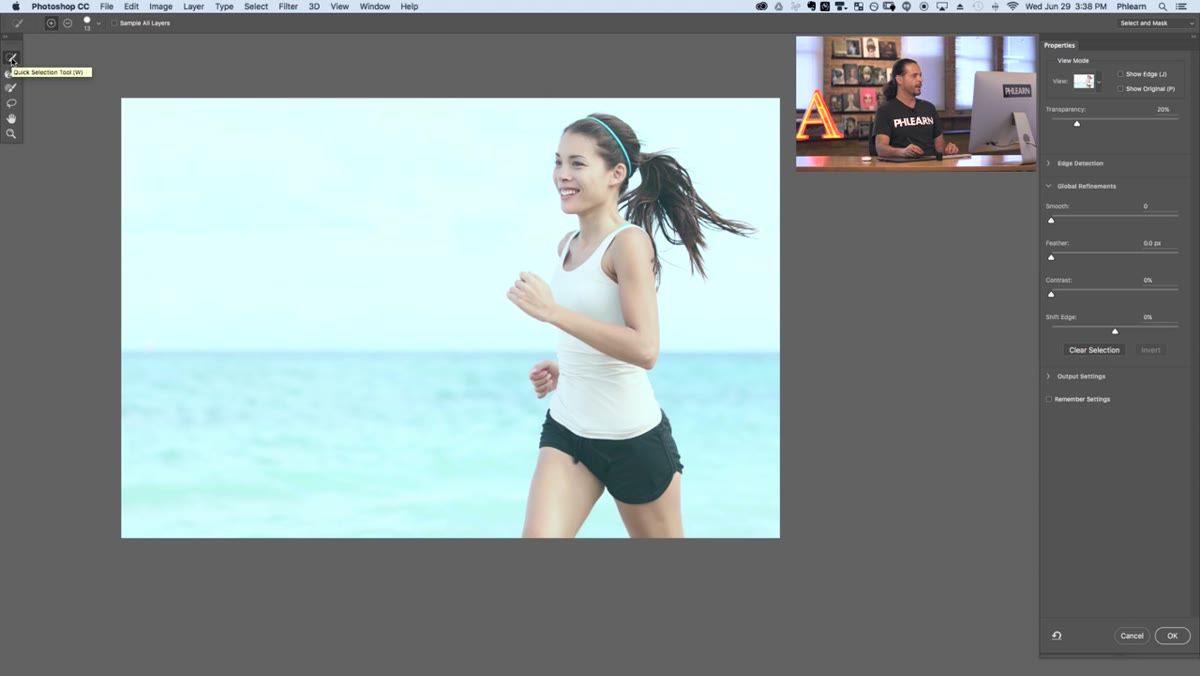
The Quick Selection tool is your starting point inside the workspace. Click and drag over the areas of your subject you want to include in the selection. Photoshop analyzes color and contrast as you drag and attempts to snap the selection boundary to natural edges in the image. You will see the selected area shift in color or opacity depending on the view mode you have active.
Quick Selection tool being dragged over subject’s legs and shorts
The Quick Selection tool is your starting point inside the workspace. Click and drag over the areas of your subject you want to include in the selection. Photoshop analyzes color and contrast as you drag and attempts to snap the selection boundary to natural edges in the image. You will see the selected area shift in color or opacity depending on the view mode you have active.
Do not worry about getting a perfect selection on the first pass. The goal here is to capture the broad shape of your subject. You are going to refine the edges in subsequent steps. Think of this as roughing in a sketch before you commit to linework. I sketch every composite on paper before I open Photoshop, and this first pass inside Select and Mask operates on the same principle: get the shape down first, then sharpen it.
Step 5: Switch Your View Mode to Better Evaluate the Mask
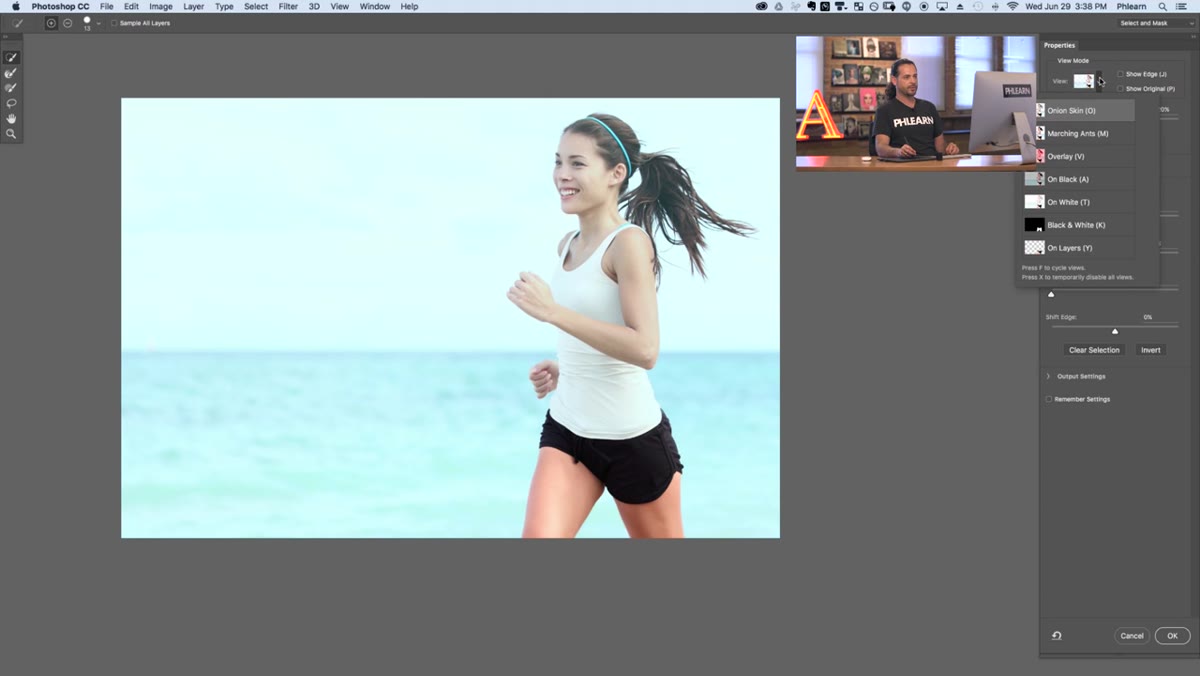 View mode dropdown showing Onion Skin option selected
On the right side of the workspace, there is a View dropdown that controls how your selection is displayed. One of the options introduced with Select and Mask is Onion Skin, which shows your selection as a semi-transparent overlay on the original image. Other options include Overlay, Black, White, and Black and White. Each one reveals different kinds of problems along your selection edge.
View mode dropdown showing Onion Skin option selected
On the right side of the workspace, there is a View dropdown that controls how your selection is displayed. One of the options introduced with Select and Mask is Onion Skin, which shows your selection as a semi-transparent overlay on the original image. Other options include Overlay, Black, White, and Black and White. Each one reveals different kinds of problems along your selection edge.
For detailed work around hair or fabric edges, toggling between Black and White is often the most revealing. White shows your selected areas as solid white against black, which makes gaps and rough patches immediately obvious. I typically spend time in two or three different view modes while I refine a mask, because problems that are invisible against one background become obvious against another.
The Part the Tutorial Doesn’t Cover (But You’ll Need in Practice)
Aaron’s walkthrough is excellent for understanding the workspace and building good habits around setup. What it doesn’t address in depth is what happens after you output the mask and bring it into a full composite with a dramatically different background. That is where fringing becomes the real challenge. Even a well-refined mask will often carry a thin halo of the original background color, particularly around hair.
My fix for this is a two-step process I run after every cutout. First, I use the Minimum filter under Filter > Other on the mask itself, with a pixel value of 1 or 2, to slightly contract the selection and eat into that fringe zone. Second, I sample the color of the new background and use a small brush to paint into the ends of the hair strands on a new layer set to Color blend mode. It is tedious, but it’s the difference between a cutout that reads as a photograph and one that reads as a cutout.
The single most important thing Select and Mask changes is that it stops you from having to guess. Every tool you need to build, evaluate, and refine a selection is in one place, with real-time visual feedback that tells you whether your mask is working before you commit to it. That feedback loop is what makes the difference in professional-level work.
Watch the full tutorial on YouTube and work through it with an image of your own alongside it. The techniques land differently when your hands are in it.
Comments (1)
Solid advice. Especially the part about taking your time with it.
Leave a Comment