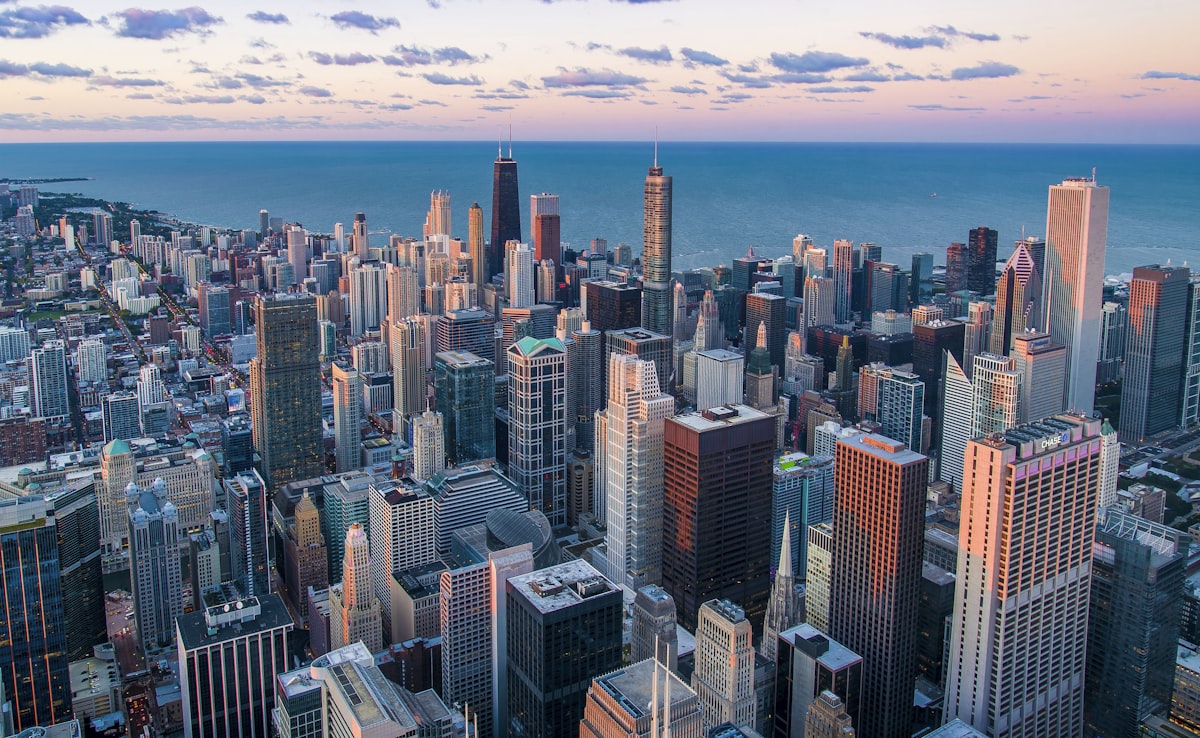
Urban composites are popular because cities provide dramatic backdrops — moody alleys, neon-lit streets, towering skylines. But they’re also unforgiving: everyone knows what a city street looks like, so errors in lighting, scale, or perspective are immediately obvious.
Shooting the Portrait Element
The composite starts in-camera, not in Photoshop. Shoot your subject with the final environment in mind:
Match the lighting direction. Study your background image. Where is the main light coming from? Position your studio light to match. If the background has strong light from the left, your key light goes on the left. Mismatched lighting direction is the most common reason composites look fake.
Match the lighting quality. Harsh sunlight in the background requires hard light on the subject (small light source, no diffusion). Overcast backgrounds require soft, diffused light. Mixing hard background light with soft portrait light breaks the illusion.
Shoot at the correct height. If the background was photographed at eye level, position your camera at eye level. If it was shot from a low angle looking up, match that angle. Perspective mismatches are subtle but the viewer’s brain detects them.
Use a gray or green background. Gray is easier to match — it doesn’t spill color. Green gives you the option of chroma keying, but gray with good edge lighting is usually sufficient for Photoshop extraction.
Extracting the Subject
For portraits against studio backdrops:
- Use Select Subject for the initial selection
- Refine hair with Select and Mask — spend time here, it matters
- Use the Pen Tool for clothing edges and any hard-edged accessories
- Check the mask at 200% zoom against both white and black backgrounds to catch any remaining fringe
Placing and Scaling
Perspective matching. Find the horizon line in the background image. If the background was shot at eye level, the horizon line passes through the eye level of standing figures. Place your subject so their eyes align with this horizon line.
Scale. Use known reference points in the background — doorways (roughly 7 feet tall), cars (roughly 5 feet to the roof), parking meters, street signs. Scale your subject so their proportions make sense against these references.
Grounding. The feet must connect convincingly with the ground surface. If the surface is pavement, the subject’s feet should sit on the pavement plane, not float above it. Use Transform to align the feet with the ground’s perspective lines.
Color and Light Integration
Step 1: Match color temperature. Sample a midtone color from the background environment. Create a Photo Filter or Color Balance adjustment layer clipped to the subject. Shift the subject’s overall tone toward the environment’s color cast.
Step 2: Match contrast. Urban scenes shot in daylight have different contrast characteristics than studio shots. Use Curves clipped to the subject to match the background’s black point and highlight intensity.
Step 3: Add ambient light. In a neon-lit alley, the subject would pick up colored light from the signs. Paint colored light on a separate layer clipped to the subject using Soft Light or Color blend mode. Red from a neon sign on the right side, blue from a storefront on the left.
Step 4: Add shadows. The subject casts a shadow on the ground and on nearby surfaces. Create a shadow layer beneath the subject, paint with a dark color (sampled from existing shadows in the scene), and use Multiply blend mode. Blur the shadow edges — harder near the feet (contact shadow), softer farther away.
Atmospheric Integration
Depth haze. If the subject is positioned in the middle or far distance, they need atmospheric haze. Paint a subtle white or blue-gray wash over the subject at low opacity (5-15%) to match the haze visible on other objects at the same distance.
Grain matching. Urban backgrounds often have visible noise from high ISO or low light. Add matching grain to the subject layer using Filter > Noise > Add Noise. Match the grain size and intensity by comparing the subject and background at 100% zoom.
Edge interaction. Where the subject overlaps background elements, the edges should interact naturally. If the subject walks past a streetlamp, the lamp should cast light on the near side of the subject. If they stand in front of a foggy background, the edges should soften slightly.
Final Checks
Flip the image horizontally. Fresh perspective reveals integration errors your eyes have become blind to. Check: Does the lighting make sense? Does the scale feel right? Are the shadows consistent? Would this scene be physically possible? If any answer is no, fix it before considering the composite finished.
Comments (3)
Just spent an hour experimenting with this approach. Worth every minute.
Used this technique for a wedding shoot last week. Client was thrilled.
Thanks for reading, Paul Henderson!
Leave a Comment