Every working compositing workflow has a graveyard of steps that slow you down. For years, dropping images into shaped containers meant reaching for clipping masks, and if you were doing it right, that meant building the base shape first, placing the image above it, and clipping it in, layer by layer. It works. It’s reliable. But for quick layout work, for clients who need to see six concept directions in an afternoon, the ceremony adds up.
That’s why I paid attention when Aaron Nace over at PHLEARN walked through the new Frame Tool introduced in Photoshop CC 2019. Watch the full tutorial on YouTube before or after reading this. His breakdown is clean and honest about where the tool earns its place and where it hands the job back to clipping masks. What follows is my own walk-through of the technique, grounded in how I’d actually use it on a real project.
The short version is this: the Frame Tool is genuinely useful for early-stage layout work and for anyone building simpler compositions. For complex, multi-layer movie poster or album cover work, clipping masks still win. But the Frame Tool has one specific advantage that made me rethink part of my intake process, and I’ll get to that.
Step 1: Select the Frame Tool and Draw Your Container
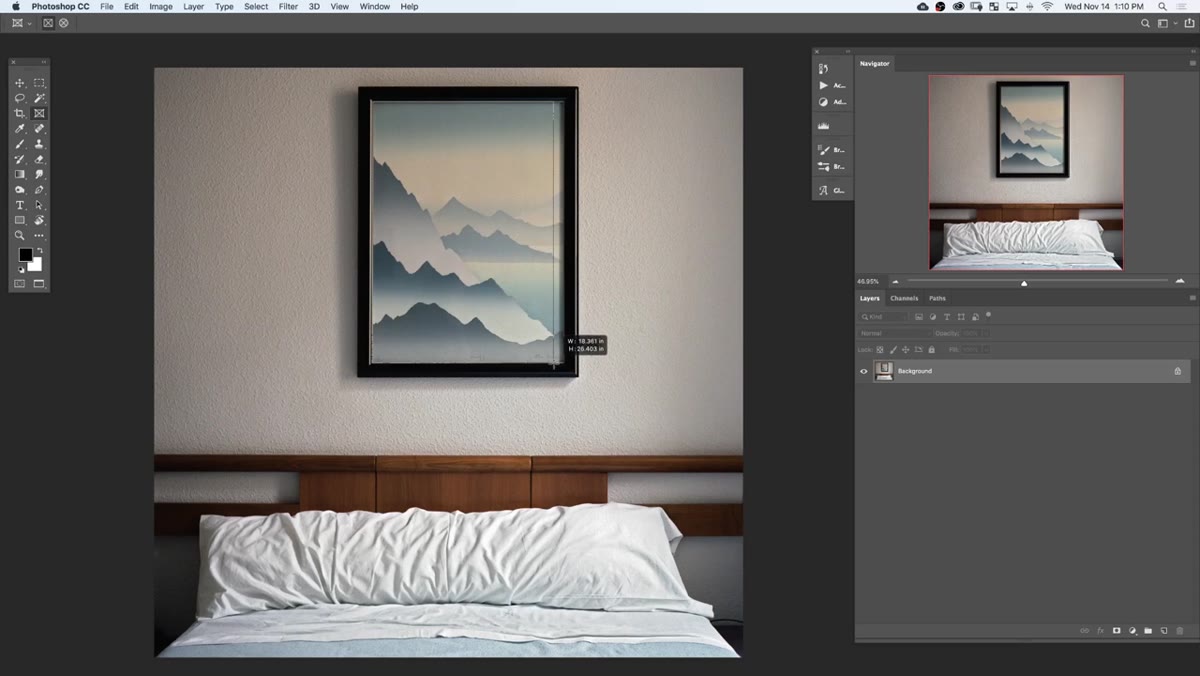 Frame Tool selected with rectangle and ellipse options visible
Find the Frame Tool in the toolbar. It sits with the shape and text tools, and its options are deliberately minimal: rectangle or ellipse. That simplicity is the point. Click and drag across your canvas to define the frame area. While you’re still dragging, hold the spacebar to reposition the frame without releasing the mouse. This is the same behavior you get when drawing shapes, and it saves you from placing a frame, hating its position, and deleting it to start over.
Frame Tool selected with rectangle and ellipse options visible
Find the Frame Tool in the toolbar. It sits with the shape and text tools, and its options are deliberately minimal: rectangle or ellipse. That simplicity is the point. Click and drag across your canvas to define the frame area. While you’re still dragging, hold the spacebar to reposition the frame without releasing the mouse. This is the same behavior you get when drawing shapes, and it saves you from placing a frame, hating its position, and deleting it to start over.
When you release, Photoshop generates a Frame Layer in the Layers panel. You’ll see it listed with a frame icon and an empty contents thumbnail beside it. Think of the frame as the container and that thumbnail as the slot where your image will live.
Step 2: Place an Image into the Frame Using Place Linked or Place Embedded
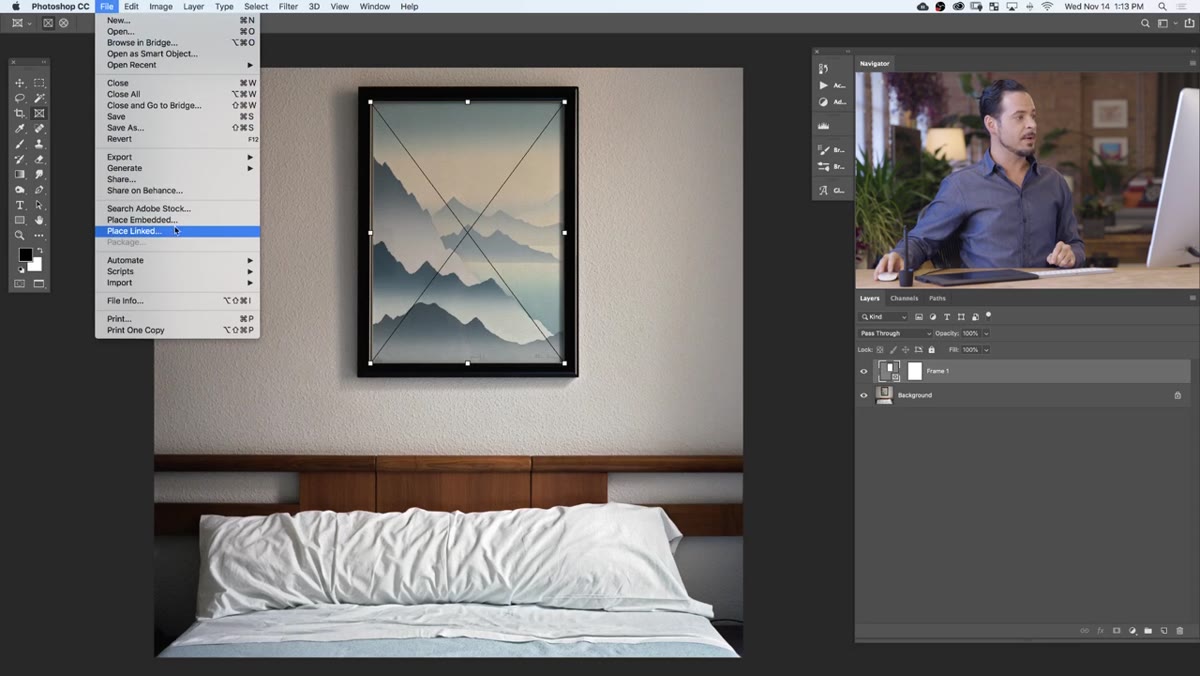 File menu open showing Place Embedded and Place Linked options
Go to File and look for the Place options. You have two: Place Embedded and Place Linked. Place Embedded pulls the external file into your document and increases its file size. Place Linked keeps the file where it lives on your drive, references it, and leaves your document size untouched. For layout mockups or any situation where you’re pulling from a master image library, linked is almost always the smarter call.
File menu open showing Place Embedded and Place Linked options
Go to File and look for the Place options. You have two: Place Embedded and Place Linked. Place Embedded pulls the external file into your document and increases its file size. Place Linked keeps the file where it lives on your drive, references it, and leaves your document size untouched. For layout mockups or any situation where you’re pulling from a master image library, linked is almost always the smarter call.
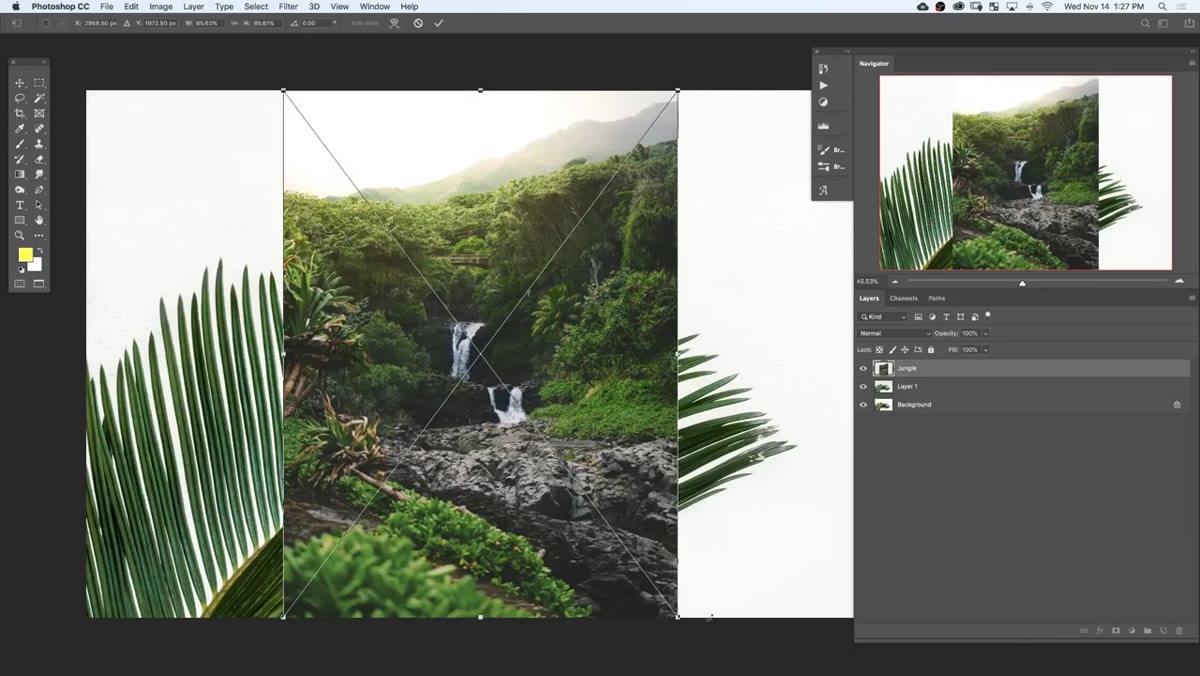
With your frame layer selected, choose Place Linked and navigate to your image. Once you confirm, Photoshop drops the image directly inside the frame, already masked to the frame’s boundaries. No clipping required. The image comes in as a Smart Object, which matters more than it might seem at first.
Step 3: Resize the Frame and the Image Independently
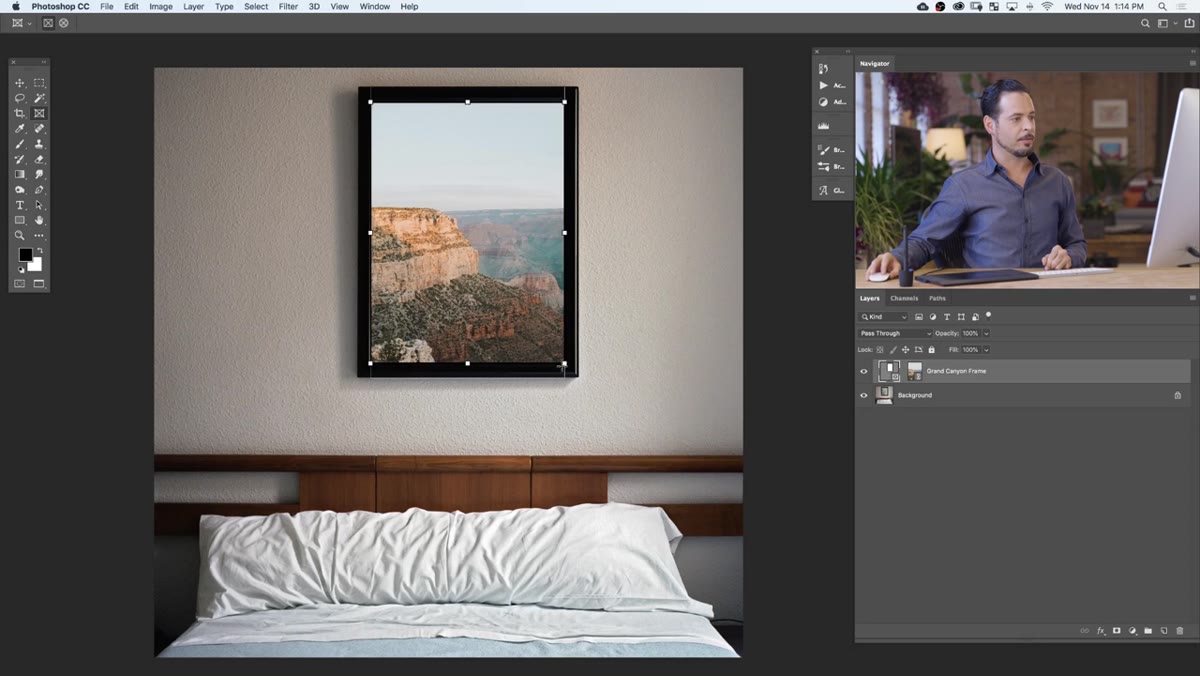 Frame selected with transform handles visible on the frame boundary
Click on the frame itself using the Frame Tool and you’ll see handles around the frame boundary. Drag those handles to resize the container, the shape you’re masking to, without touching the image inside. Click instead on the image thumbnail in the Layers panel and use Command-T (Mac) or Control-T (Windows) to transform the image independently. You can scale, reposition, or rotate the image content without changing the frame shape.
Frame selected with transform handles visible on the frame boundary
Click on the frame itself using the Frame Tool and you’ll see handles around the frame boundary. Drag those handles to resize the container, the shape you’re masking to, without touching the image inside. Click instead on the image thumbnail in the Layers panel and use Command-T (Mac) or Control-T (Windows) to transform the image independently. You can scale, reposition, or rotate the image content without changing the frame shape.
This separation is cleaner than it sounds. With a clipping mask setup, resizing the base shape and repositioning the clipped image are also separate operations, but the Frame Tool makes the relationship between container and content more visually obvious in the Layers panel. For clients watching over your shoulder, that clarity alone is worth something.
Step 4: Understand the Four Shape Options Available to the Frame Tool
 Frame Tool options showing rectangle, ellipse, text conversion, and shape conversion
The Frame Tool is not limited to the rectangle and ellipse you get in the toolbar options. Aaron covers two additional paths worth knowing. First, you can type a word using the Text Tool and then convert that text layer into a frame, letting you place a photograph inside the letterforms. Second, you can draw any shape using the Pen Tool or the standard shape tools, then convert that shape layer into a frame. So the real constraint is not shape variety. It’s that the workflow for anything beyond a rectangle or ellipse requires you to build the shape first and convert it, rather than drawing the frame directly.
Frame Tool options showing rectangle, ellipse, text conversion, and shape conversion
The Frame Tool is not limited to the rectangle and ellipse you get in the toolbar options. Aaron covers two additional paths worth knowing. First, you can type a word using the Text Tool and then convert that text layer into a frame, letting you place a photograph inside the letterforms. Second, you can draw any shape using the Pen Tool or the standard shape tools, then convert that shape layer into a frame. So the real constraint is not shape variety. It’s that the workflow for anything beyond a rectangle or ellipse requires you to build the shape first and convert it, rather than drawing the frame directly.
For my own work, that extra step is where I typically abandon the Frame Tool and reach for clipping masks. But for text-based compositions where a client wants a headline letter filled with a texture or landscape, the text-to-frame conversion is genuinely fast.
Step 5: Know When to Switch to Clipping Masks Instead
 Timeline showing clipping mask section about to begin
Aaron is direct about this, and I’ll be equally direct: the Frame Tool is a simplified entry point, not a replacement. Clipping masks do everything the Frame Tool does and add layer effects, blending modes, and the ability to clip multiple adjustment layers above a single base, all of which compound in complex composites. If you’re building a movie poster with a character composited against an environment, with dodge and burn layers clipped to specific zones and luminosity masks adjusting color only within certain shapes, clipping masks are still your tool.
Timeline showing clipping mask section about to begin
Aaron is direct about this, and I’ll be equally direct: the Frame Tool is a simplified entry point, not a replacement. Clipping masks do everything the Frame Tool does and add layer effects, blending modes, and the ability to clip multiple adjustment layers above a single base, all of which compound in complex composites. If you’re building a movie poster with a character composited against an environment, with dodge and burn layers clipped to specific zones and luminosity masks adjusting color only within certain shapes, clipping masks are still your tool.
The Frame Tool’s advantage is speed and the Smart Object workflow with linked files. If you’re building a layout with several image placeholders, placing linked smart objects into each frame keeps your file light and your images non-destructive. For that specific use case, it is genuinely more efficient.
From My Own Workflow: The Placeholder Value Is Real
I sketch every composite on paper before I open Photoshop. Not thumbnails, actual compositional sketches where I work out placement, scale relationships, and light direction before I touch the software. What I’ve started doing is using the Frame Tool to digitize those sketches as a layout layer, dropping rough placeholder images into each frame to match the sketch before committing to the actual comp.
That early-stage use is where the Frame Tool earns its keep in my process. The linked Smart Object behavior means my document stays fast, the frames act as labeled placeholders I can hand to a client for approval, and nothing is baked in before I’ve confirmed direction. Once the layout is approved, I dismantle the frames and rebuild the actual comp with clipping masks and the full layer structure the work requires.
The single most important thing to take away here is the distinction Aaron draws between tools that simplify for accessibility and tools that scale with complexity. The Frame Tool belongs in the first category, and that is not a criticism. Knowing which tool fits which phase of a project is what keeps your workflow from working against you.
Watch the full tutorial on YouTube to see Aaron walk through the live demonstration, including the Grand Canyon placement and the shape-to-frame conversion, both of which are easier to follow in motion.
Comments (6)
Printing this out and pinning it next to my monitor. That good.
Wow, I had no idea you could do this. Mind blown.
Really solid breakdown. This pairs perfectly with the business work I've been writing about.
Finally someone explains this in a way that actually makes sense.
Bookmarked. Coming back to this one for sure.
Excellent tutorial. I'd add that from a retouching standpoint, this technique is incredibly versatile.
Leave a Comment