
Every composite I build starts with a problem of light. Not the dramatic, poetic kind of problem — the practical, frustrating kind. I’ve got a subject shot in flat afternoon light that I need to drop into a scene with hard directional shadows. Before I ever open Photoshop, I’m in Lightroom trying to wrestle the raw file into something workable. And the core issue is always the same: I don’t want to adjust the whole image. I want to adjust this part. The face. The hair. The rim light on the shoulder. Global sliders are useful up to a point, and then they start robbing Peter to pay Paul.
That’s what makes masking in Lightroom such a genuinely useful skill, and why I kept coming back to this tutorial from Aaron Nace over at PHLEARN. His 30 Days of Lightroom series is methodical in the best way — no fluff, just technique. This particular video, Day 5, covers masking basics in Lightroom Classic from the ground up, and it’s worth your time even if you’ve been using the software for years. Watch the full tutorial on YouTube
What I want to do here is give you a step-by-step breakdown you can follow alongside the video — or use as a reference when you’re sitting at your own machine with your own images. I’ll add a few notes from my own workflow where the technique connects to compositing specifically.
Step 1: Understand What Masking Actually Does
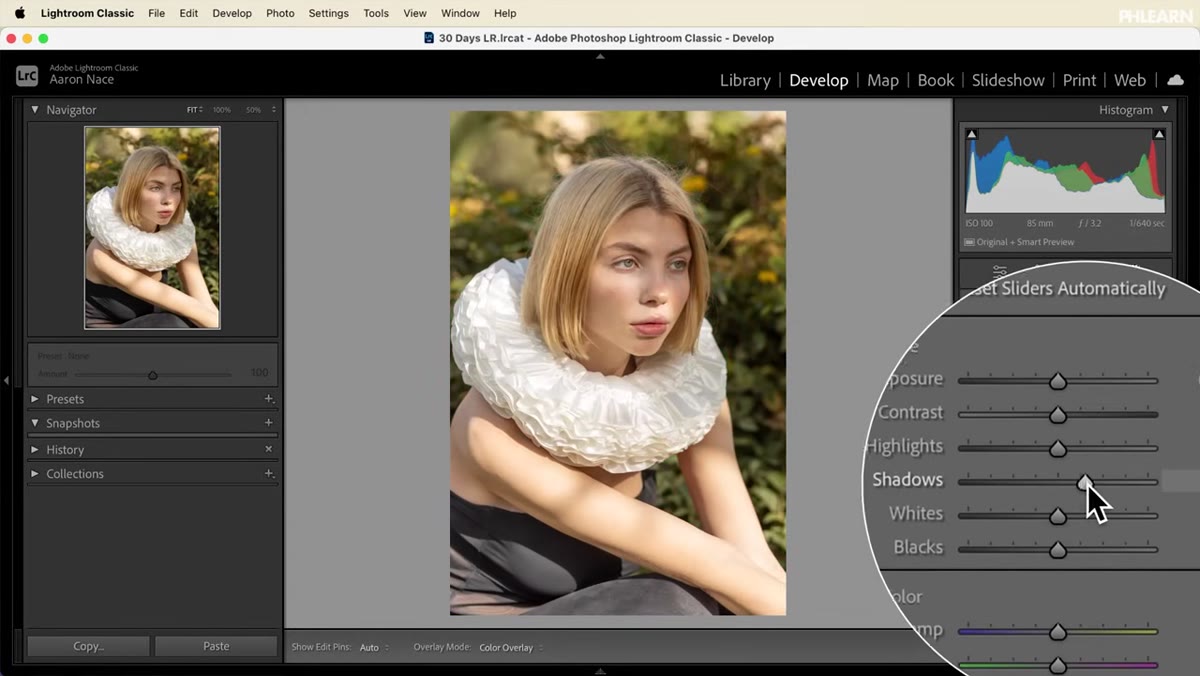 Masking panel overview in Lightroom Classic
Before you click anything, get the concept straight. A mask in Lightroom is a way of telling the software which pixels you want your adjustments to apply to. Everything outside the mask stays untouched. So if you pull exposure down by half a stop with a mask active on your subject’s face, the background holds exactly where it was. This is the bridge between basic global editing and real precision work.
Masking panel overview in Lightroom Classic
Before you click anything, get the concept straight. A mask in Lightroom is a way of telling the software which pixels you want your adjustments to apply to. Everything outside the mask stays untouched. So if you pull exposure down by half a stop with a mask active on your subject’s face, the background holds exactly where it was. This is the bridge between basic global editing and real precision work.
Aaron makes the point clearly: all those sliders in the Basic tab affect every single pixel in the frame simultaneously. Masking is what lets you break that constraint. Once you internalize that, the rest of the tool makes intuitive sense.
Step 2: Find the Masking Panel
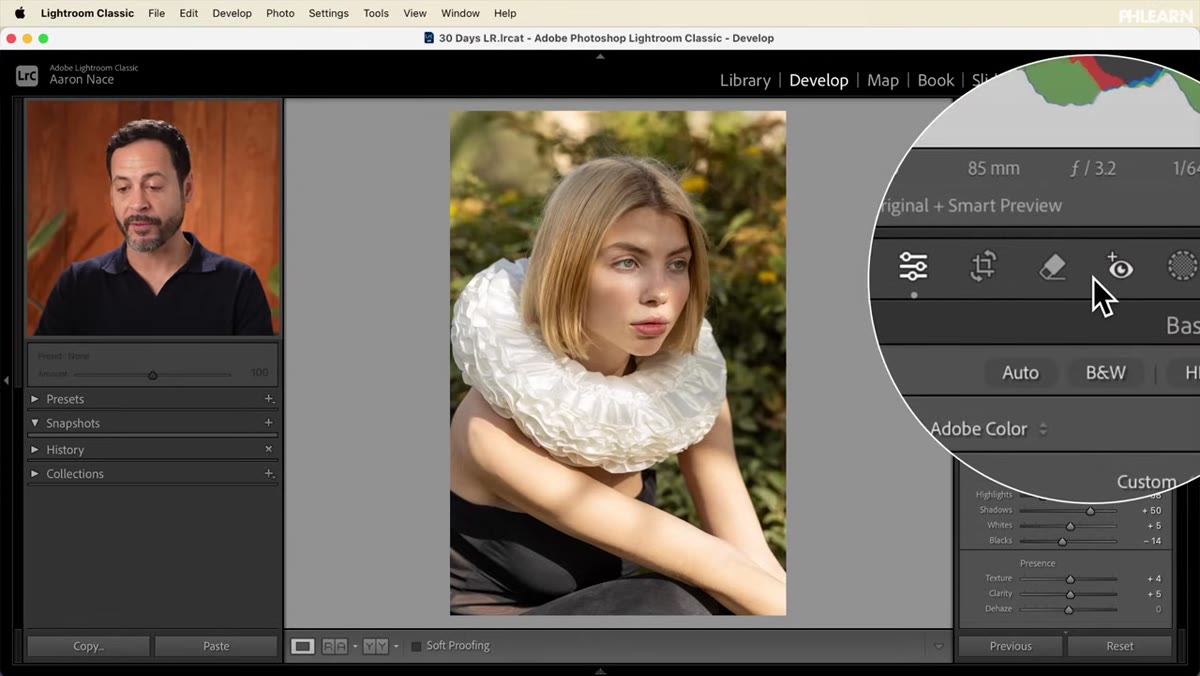 Masking icon highlighted in the editing toolbar
In Lightroom Classic, the masking tool lives in the editing toolbar at the top right of your workspace, alongside cropping, spot removal, and red-eye correction. It’s represented by a small icon that looks like a dotted circle. Click it and the masking interface opens below, giving you access to every mask type available in the software.
Masking icon highlighted in the editing toolbar
In Lightroom Classic, the masking tool lives in the editing toolbar at the top right of your workspace, alongside cropping, spot removal, and red-eye correction. It’s represented by a small icon that looks like a dotted circle. Click it and the masking interface opens below, giving you access to every mask type available in the software.
This is not buried in a submenu — Adobe put it front and center, which reflects how central selective editing has become to the modern Lightroom workflow.
Step 3: Use Subject Select for Instant Isolation
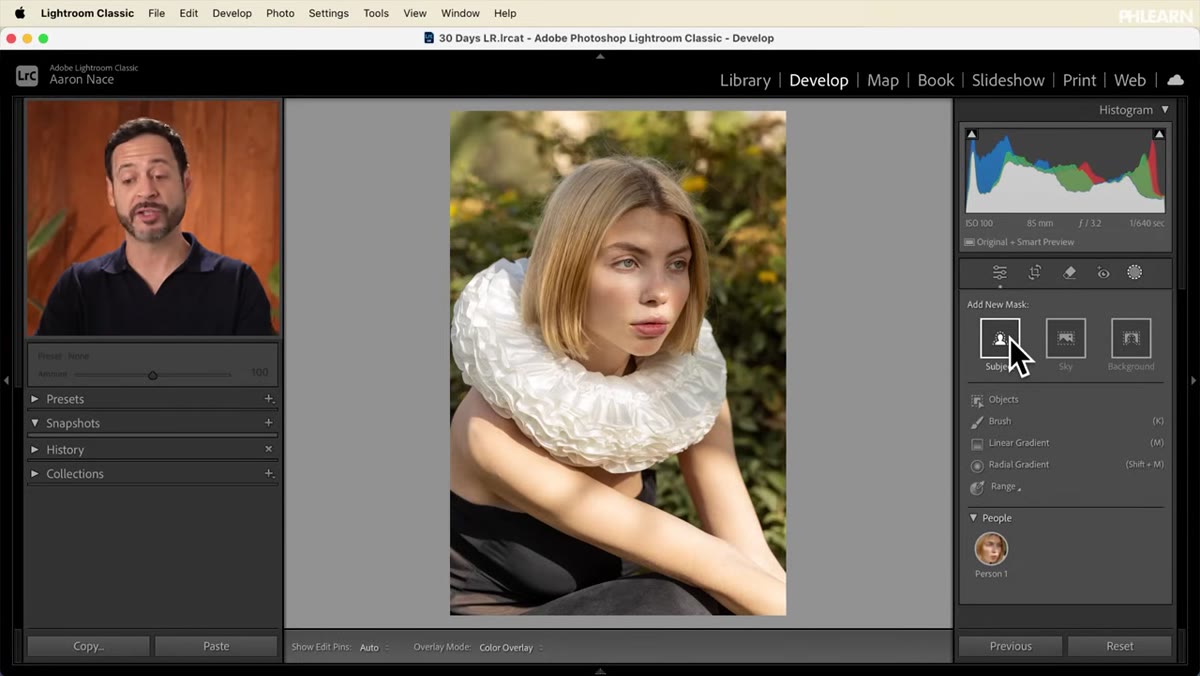 Subject mask applied over a person in the photo
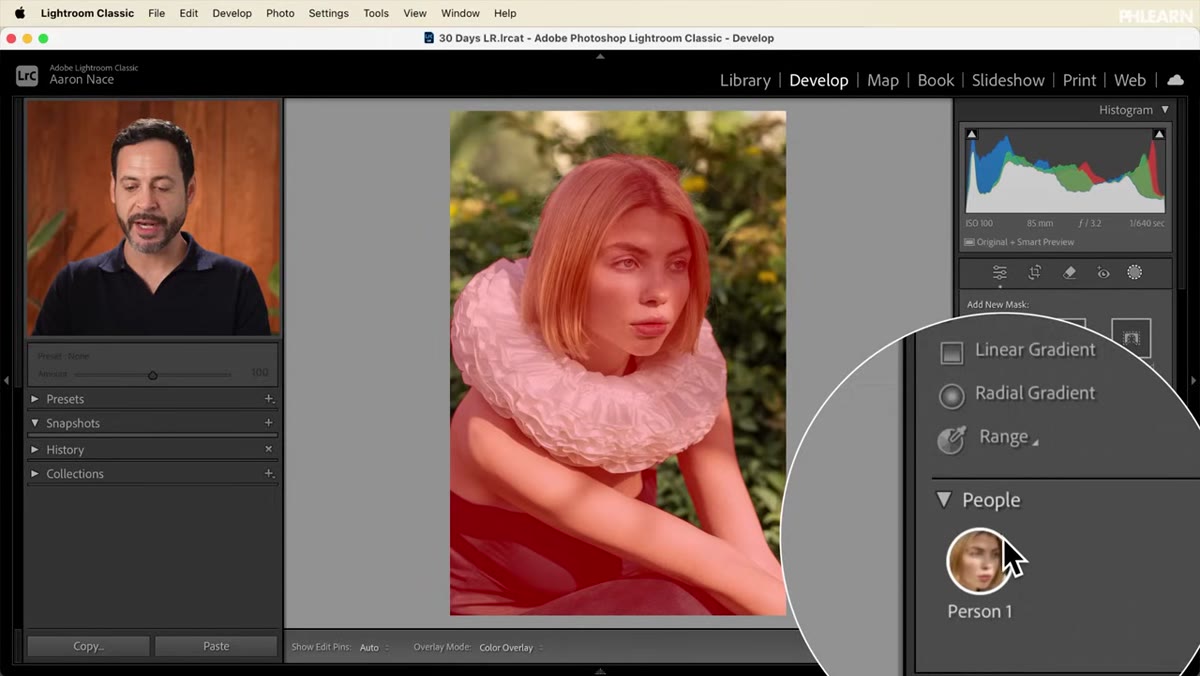
The fastest mask you can create is the Subject mask. Click “Select Subject” and Lightroom’s AI analyzes the image and draws a mask around whatever it identifies as the primary subject — typically a person. The software is genuinely good at this now. You’ll see the masked area highlighted in red (or your chosen overlay color) so you know exactly what’s selected.
Subject mask applied over a person in the photo
The fastest mask you can create is the Subject mask. Click “Select Subject” and Lightroom’s AI analyzes the image and draws a mask around whatever it identifies as the primary subject — typically a person. The software is genuinely good at this now. You’ll see the masked area highlighted in red (or your chosen overlay color) so you know exactly what’s selected.
From there, any adjustment you make — brightness, contrast, color temperature — applies only to that subject. For portrait retouching, this alone is a significant time saver. For compositing prep, it’s a solid starting point before you move into more surgical work.
Step 4: Try the Sky and Background Masks
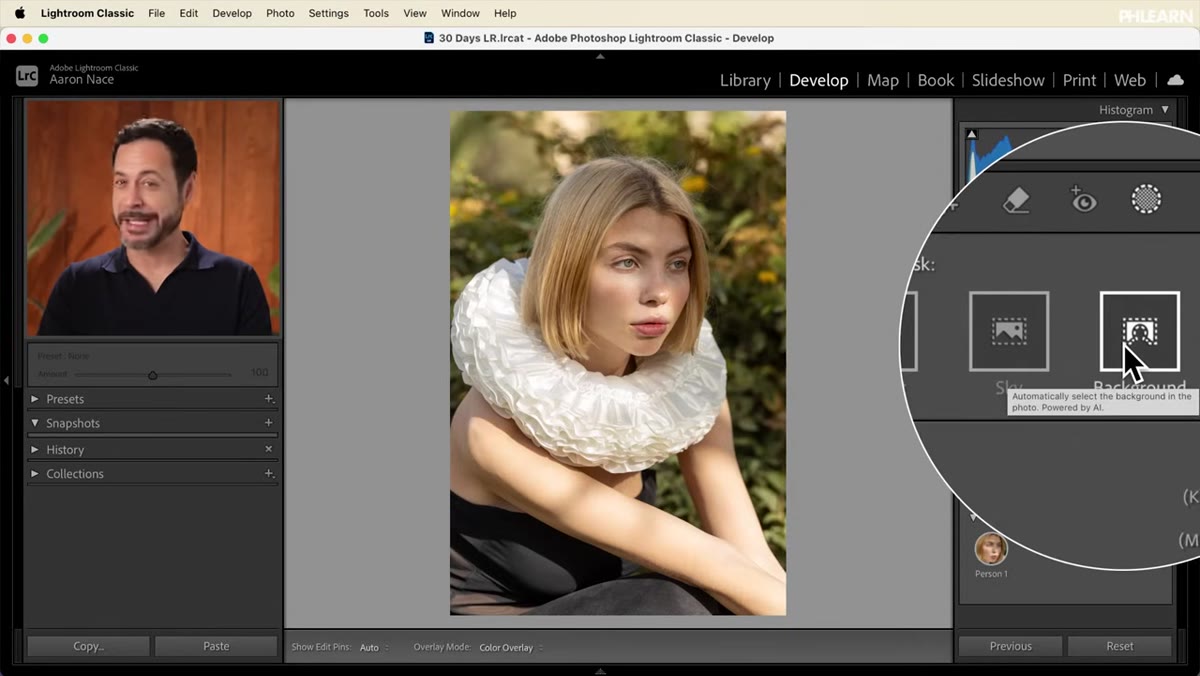 Sky and Background options listed in the masking menu
Below Subject Select, you’ll find Sky and Background. Sky does exactly what it sounds like — it identifies the sky in your image and masks it separately. Background is essentially the inverse of the Subject mask: everything that isn’t your primary subject.
Sky and Background options listed in the masking menu
Below Subject Select, you’ll find Sky and Background. Sky does exactly what it sounds like — it identifies the sky in your image and masks it separately. Background is essentially the inverse of the Subject mask: everything that isn’t your primary subject.
These are situational tools, but powerful ones. If you’re shooting environmental portraits and the sky is blowing out while your subject is properly exposed, the Sky mask lets you pull down highlights in just that region without touching the face or clothing. I’ve used this approach when prepping background plates for composites — isolating the sky to match its tone to the lighting in a scene I’m building.
Step 5: Explore the Brush, Linear Gradient, and Radial Gradient
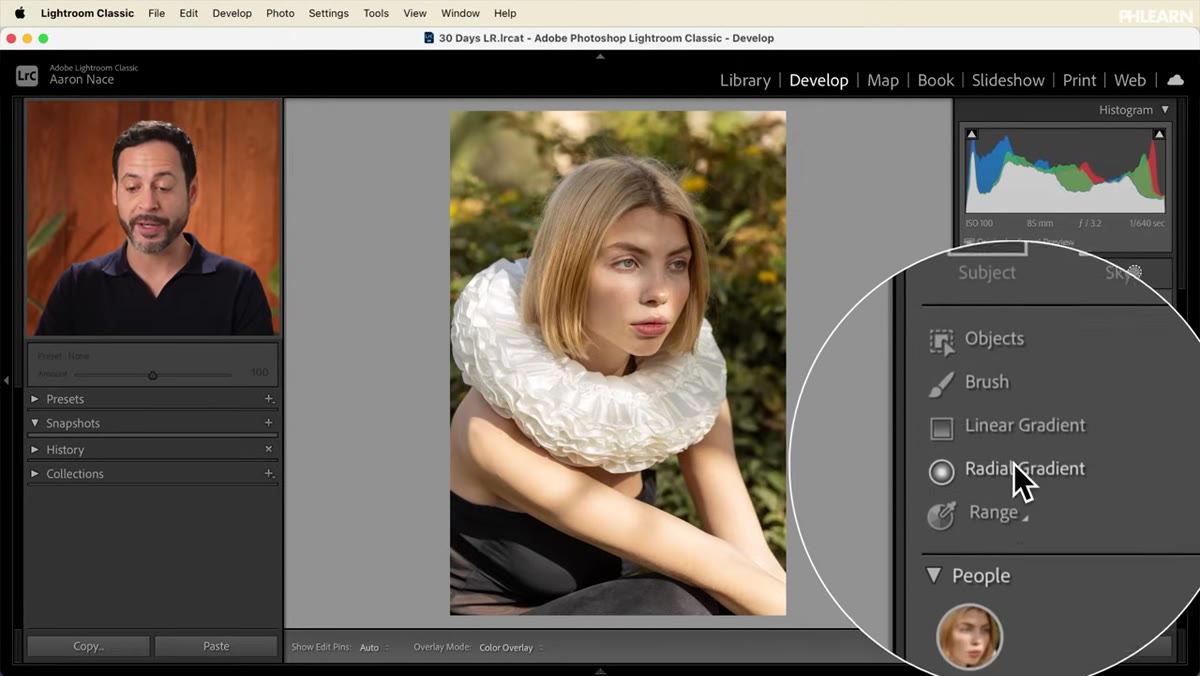 Brush, Linear Gradient, Radial Gradient options in masking menu
When the AI tools don’t give you the precision you need, you go manual. The brush lets you paint a mask by hand directly on the image. The linear gradient creates a gradual mask across the frame in a straight line — useful for skies, foregrounds, or transitions. The radial gradient creates an elliptical mask that you can position anywhere, which is ideal for isolating a face or adding a vignette-style adjustment to draw the eye.
Brush, Linear Gradient, Radial Gradient options in masking menu
When the AI tools don’t give you the precision you need, you go manual. The brush lets you paint a mask by hand directly on the image. The linear gradient creates a gradual mask across the frame in a straight line — useful for skies, foregrounds, or transitions. The radial gradient creates an elliptical mask that you can position anywhere, which is ideal for isolating a face or adding a vignette-style adjustment to draw the eye.
These three tools have been in Lightroom for years, and they’re reliable. The brush especially rewards a little patience. Use a low flow and build up your mask gradually rather than painting hard edges in one stroke.
Step 6: Use Color Range and Luminance Range for Precision
 Color Range and Luminance Range options shown in masking panel
Color Range lets you sample a specific hue in the image and build a mask from it. Luminance Range (sometimes called Light Range) masks based on brightness values. These are the tools I reach for when I’m trying to isolate something the AI can’t identify cleanly — a specific fabric color, a shadow zone, a patch of highlight.
Color Range and Luminance Range options shown in masking panel
Color Range lets you sample a specific hue in the image and build a mask from it. Luminance Range (sometimes called Light Range) masks based on brightness values. These are the tools I reach for when I’m trying to isolate something the AI can’t identify cleanly — a specific fabric color, a shadow zone, a patch of highlight.
For compositing work, luminance masking is particularly valuable. When I’m matching a subject to a background, I often need to identify where the brightest areas are and adjust them independently to match the lighting direction of the new scene. A luminance mask gets me there faster than any brush.
Step 7: Manage Your Masks in the Panel
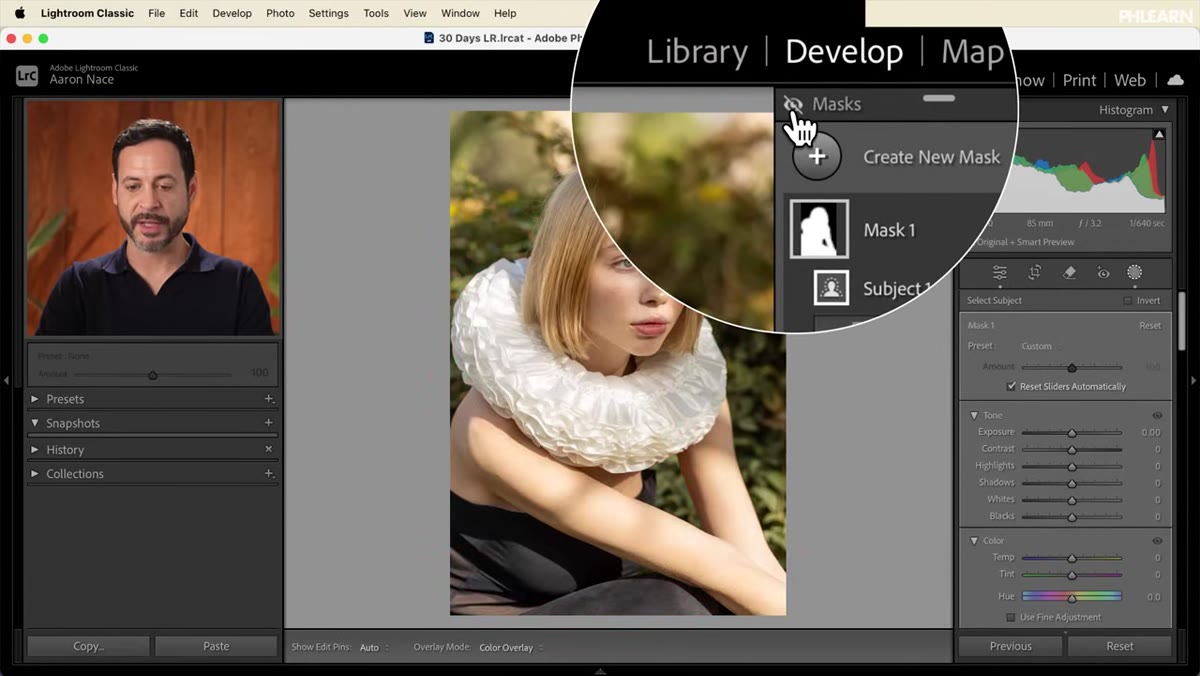 Masks panel showing Mask 1 with subject mask listed
Every mask you create gets logged in the masks panel with its own label. You can toggle individual masks on and off using the eyeball icon next to each one, which makes it easy to compare your adjustments before and after. The plus icon at the top of the panel lets you add a new mask without losing the ones you’ve already built.
Masks panel showing Mask 1 with subject mask listed
Every mask you create gets logged in the masks panel with its own label. You can toggle individual masks on and off using the eyeball icon next to each one, which makes it easy to compare your adjustments before and after. The plus icon at the top of the panel lets you add a new mask without losing the ones you’ve already built.
Aaron mentions that the following video in his series covers how to add to or subtract from masks, which is where this tool gets truly powerful. But even at the basic level, knowing you can stack and manage multiple independent masks is what separates a flexible workflow from a rigid one.
How This Connects to Composite Work
Here’s what Lightroom masking gives compositing artists that’s easy to overlook: it lets you condition your raw files intelligently before you ever enter Photoshop. When I’m pulling a subject from one shoot and placing them into a built environment, I’ll often use a Subject mask in Lightroom to push the midtones on their skin before export, or use a luminance range mask to control how specular highlights read. That preliminary work means fewer correction layers in the composite and a cleaner starting file.
The caveat is that Lightroom masks are non-destructive but not infinitely precise. For complex hair selections or anything requiring pixel-level edge control, you’ll still move into Photoshop. Think of Lightroom masking as the first pass, not the final word.
The single most important idea in this tutorial is that selective editing isn’t advanced technique — it’s just the next step after global editing. You learn the sliders first, and then you learn how to aim them. That’s the whole move.
Watch the full tutorial on YouTube and follow along with Aaron’s sample images to get the hands-on repetition that actually makes the tool stick.
Comments (2)
Wow, I had no idea you could do this. Mind blown.
Tried this technique this morning. Game changer for real.
Leave a Comment