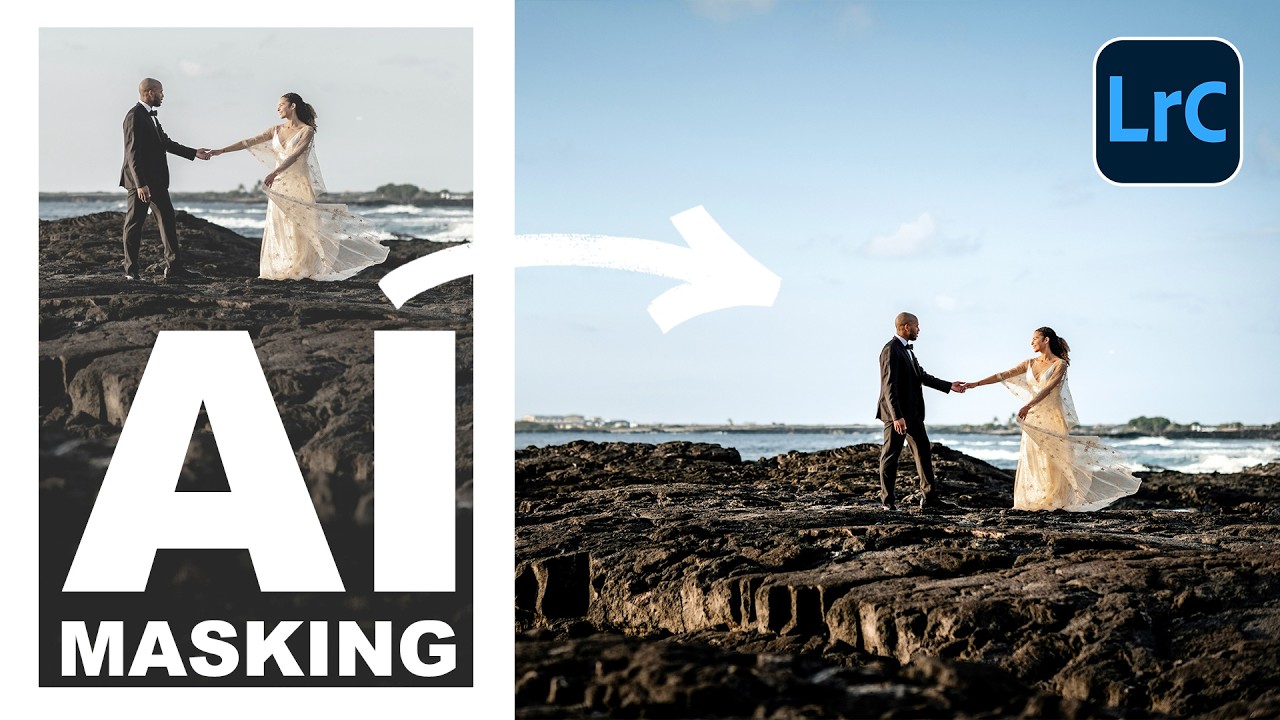
Every composite I build starts with a single question: where is the light coming from, and does everything in the frame believe it? I sketch the answer on paper before I ever open software. But sketching is one thing. Getting a raw photograph’s background to cooperate with the light story you’re trying to tell is another problem entirely, and for a long time, Lightroom felt too blunt an instrument for that kind of surgical work. You’d make a global adjustment and lose detail in the wrong place, or you’d jump into Photoshop for a mask and break your non-destructive editing chain.
That’s changed. In this Aaron Nace tutorial from PHLEARN’s 10-part AI editing series, he walks through Lightroom Classic’s AI masking suite in a way that finally made me take these tools seriously for production work. Watch the full tutorial on YouTube before or after reading this, but the walkthrough below gives you everything you need to follow along step by step.
The thing that hit me watching this was the batch application angle. When you’re shooting a series, whether that’s an album cover session or a set of movie poster options, adjusting each frame individually is a time tax. Lightroom’s AI masking lets you build the logic once and push it across the whole series. That’s a real workflow shift.
Step 1: Open the Masking Panel in the Develop Module
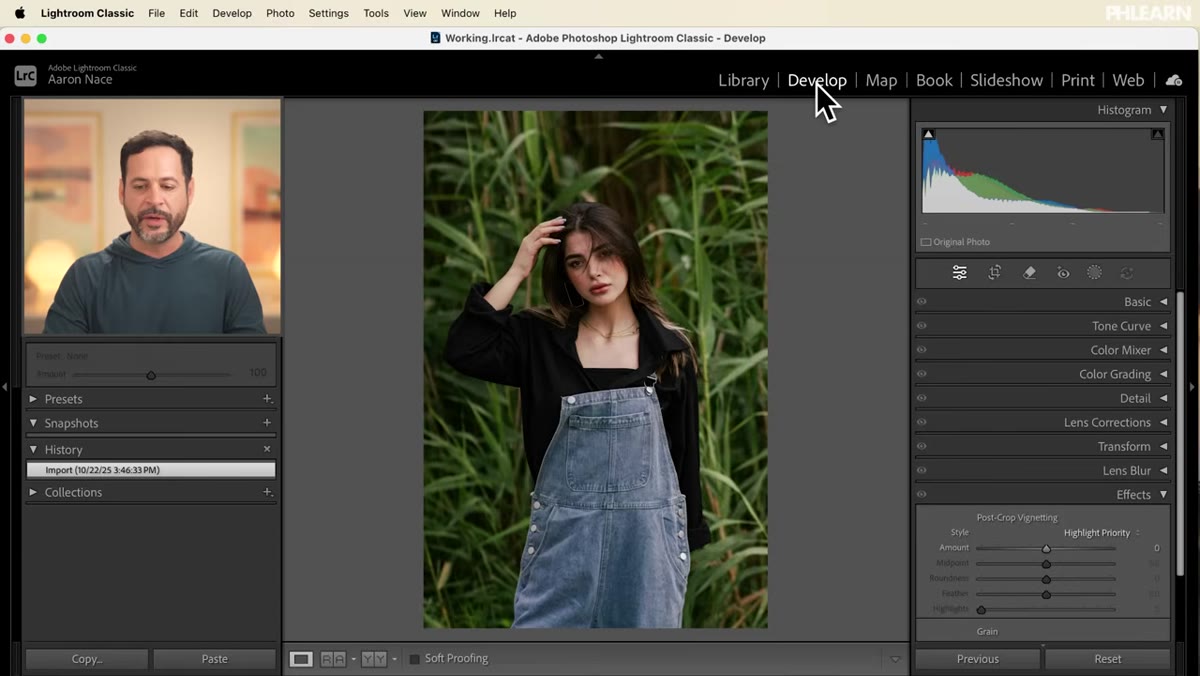 Lightroom Classic develop module with masking panel open
Once your images are imported into Lightroom Classic, click into the Develop module and look for the Masking icon on the right-hand panel. It sits just below the Histogram. Clicking it opens a full menu of detection options, and this is where the AI tools live.
Lightroom Classic develop module with masking panel open
Once your images are imported into Lightroom Classic, click into the Develop module and look for the Masking icon on the right-hand panel. It sits just below the Histogram. Clicking it opens a full menu of detection options, and this is where the AI tools live.
Before you touch anything, it’s worth reading the menu top to bottom. You have Subject, Sky, Background, Landscape, Object selection, Brush, Linear Gradient, Radial Gradient, and People. The first several are AI-driven. The last three are manual but still essential. Knowing which tool belongs to which category saves you from reaching for a brush when the AI would do the job in two seconds.
Step 2: Create a Background Mask to Darken the Scene
 Background mask selected, red overlay showing non-subject areas
The first practical edit Aaron demonstrates is darkening the background to push the subject forward visually. Click “Add a New Mask” and select Background. Lightroom’s AI calculates everything that isn’t the primary subject and applies a selection automatically.
Background mask selected, red overlay showing non-subject areas
The first practical edit Aaron demonstrates is darkening the background to push the subject forward visually. Click “Add a New Mask” and select Background. Lightroom’s AI calculates everything that isn’t the primary subject and applies a selection automatically.
Once the mask is created, you’ll see a red overlay on the affected areas. You can toggle this overlay on and off by pressing O on your keyboard, which is one of the most useful shortcuts in this workflow. It disappears the moment you grab a slider, so you can judge the result against the actual image. From there, go to the Tone section and pull the Exposure slider down. Aaron pushes it darker than you might expect, and he’s right to. Backgrounds that feel only slightly dark on a calibrated monitor read as flat and neutral on most screens people actually use.
Step 3: Subtract a Radial Gradient to Create a Glow Behind the Subject
 Radial gradient subtracted from background mask, glow effect visible
This is the step that changed how I think about Lightroom masks. You don’t have to accept a mask as a fixed shape. You can add to it or subtract from it using any other tool, including gradients.
Radial gradient subtracted from background mask, glow effect visible
This is the step that changed how I think about Lightroom masks. You don’t have to accept a mask as a fixed shape. You can add to it or subtract from it using any other tool, including gradients.
After darkening the background, Aaron clicks “Subtract” within the existing mask and chooses Radial Gradient. He draws the gradient centered just behind the subject. Because this gradient is subtracted from the background mask, the darkening effect lifts in that zone, leaving a band of relative brightness that reads as a rim of light behind the figure. It’s a lighting illusion built entirely in Lightroom, no layer blending, no Photoshop. The key is keeping the gradient feathered so the transition is invisible.
Step 4: Use the Landscape Mask to Target Specific Environmental Zones
 Landscape mask options showing sky, ground, mountain categories
The Landscape mask is where Lightroom separates itself from basic editing tools. Instead of one generic selection, it breaks a scene into components. Sky, ground, water, mountains, foliage, these are all individually detectable. You can select one or stack several, and each carries its own independent adjustment set.
Landscape mask options showing sky, ground, mountain categories
The Landscape mask is where Lightroom separates itself from basic editing tools. Instead of one generic selection, it breaks a scene into components. Sky, ground, water, mountains, foliage, these are all individually detectable. You can select one or stack several, and each carries its own independent adjustment set.
The practical use here is separating a sky from foreground terrain and treating both with different exposure and color grading. If your sky is blowing out while your foreground is underexposed, you no longer need to choose which one you sacrifice. Select Sky, recover the highlights. Select Ground, lift the shadows. The AI handles the edge detection between them, which in landscape photography is usually a complicated, time-consuming mask to draw by hand.
Step 5: Use the People Mask for Targeted Portrait Corrections
 People mask showing facial feature and clothing sub-selections
The People mask is the most granular option in the panel. When Lightroom detects a person in the frame, it doesn’t just select the whole figure. It offers sub-masks for individual facial features, skin, hair, and clothing. You can select the eyes and lift clarity without affecting skin texture. You can target lips for a color shift. You can treat the jacket differently than the face.
People mask showing facial feature and clothing sub-selections
The People mask is the most granular option in the panel. When Lightroom detects a person in the frame, it doesn’t just select the whole figure. It offers sub-masks for individual facial features, skin, hair, and clothing. You can select the eyes and lift clarity without affecting skin texture. You can target lips for a color shift. You can treat the jacket differently than the face.
For portrait retouching, this replaces a significant amount of manual masking work. The accuracy isn’t perfect at every edge, but for broad tonal and color corrections it holds up well. Aaron uses it to show how these sub-selections work in practice, and the speed alone is worth the learning curve.
Step 6: Sync the Adjustments Across a Series of Images
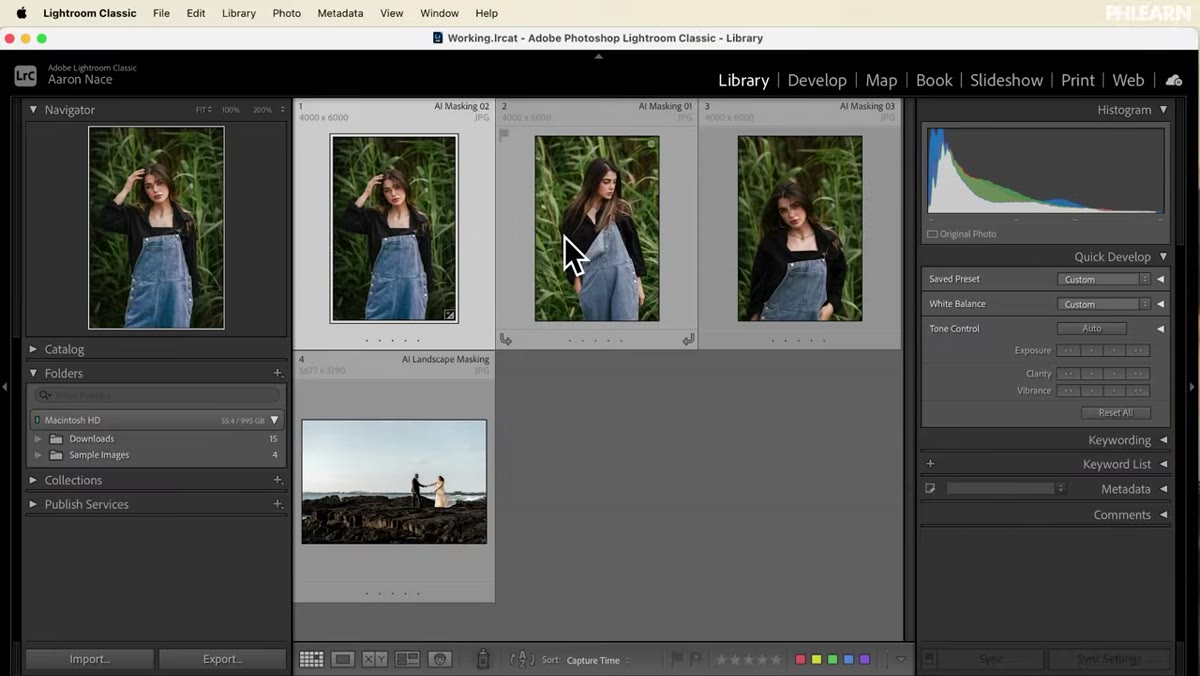 Multiple images in Lightroom filmstrip selected for syncing
This is the step that makes everything above worth doing inside Lightroom rather than Photoshop. Once you’ve built all your masks and adjustments on a single image, you can select the remaining images in your series in the filmstrip, and sync the settings across all of them.
Multiple images in Lightroom filmstrip selected for syncing
This is the step that makes everything above worth doing inside Lightroom rather than Photoshop. Once you’ve built all your masks and adjustments on a single image, you can select the remaining images in your series in the filmstrip, and sync the settings across all of them.
Lightroom re-processes the AI masking for each individual frame, so the subject selection adapts to each image rather than copying the pixel selection from the first. That means your masks stay intelligent. A subject who moved between frames still gets accurately selected. This is the genuine advantage of doing creative masking at the Lightroom stage.
How I’d Push This Further in a Composite Workflow
The one thing I’d add from my own practice is this: use these Lightroom masks to establish your foundational light logic before you ever open Photoshop. When I’m building a composite that involves a photographed subject dropped into a painted or constructed background, the Lightroom stage is where I make sure the subject’s tonal values are correct for the environment they’re about to enter. Darkening the subject’s edges slightly with a background-adjacent radial, for example, anticipates the way ambient light would fall off around a figure in the final scene. It’s pre-shadowing, and it saves a round of adjustments later.
The shadow direction issue still haunts me on projects that move fast. But getting the subject’s base exposure right in Lightroom, before Photoshop, closes one variable before it becomes a problem.
Lightroom’s AI masking is not a shortcut around understanding light. It’s a faster path to applying what you already know. The tools handle edge detection; you still have to know what adjustments to make and why. Get that part right, and the batch syncing turns one good decision into a consistent series. Watch the full tutorial on YouTube to see Aaron demonstrate each mask type with live adjustments on real images.
Comments
Leave a Comment