Last month I was grading a background plate for a book cover composite. Rolling hills, golden hour, the kind of pastoral scene that looks effortless until you’re staring at it at 2 AM wondering why the foreground grass looks like it was shot on Mars. I had pushed the white balance warmer to pull the sky into something usable, and in doing so I had cooked the ground vegetation into a muddy orange mess. Pull it back cooler, and the sky went clinical and flat. I kept splitting the difference, landing somewhere that satisfied neither zone. I knew the problem. I didn’t have a clean solution.
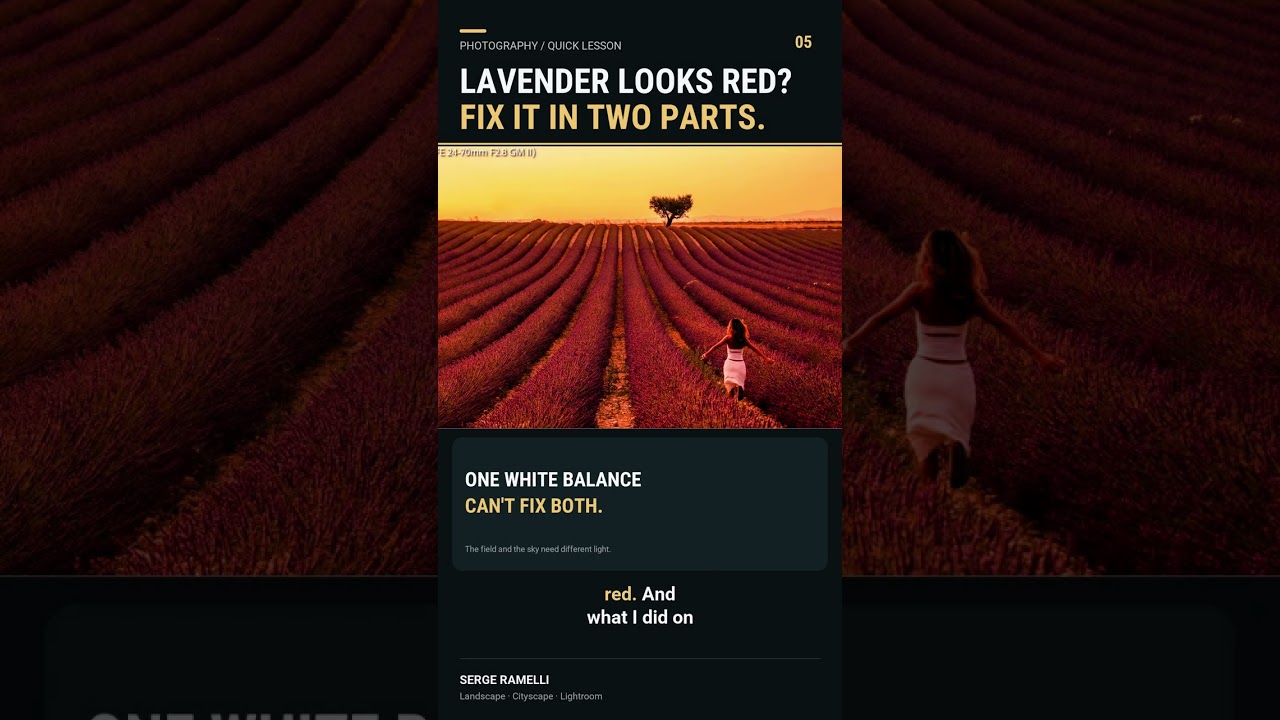
Then I came across this Serge Ramelli tutorial, and he names the problem in the first thirty seconds: Watch the full tutorial on YouTube
One white balance cannot fix the field and the sky at the same time. That’s the whole premise, stated without ceremony, and it’s the kind of thing that feels obvious the moment someone says it out loud.
Why a Single Global White Balance Is a Lie You Keep Telling Yourself
Here’s what actually happens when you photograph an open landscape at golden hour or midday. The sky is reading a different color temperature than the ground. The sky is lit by the sun at a particular angle filtered through atmosphere. The field below it is lit by that same sun but also bouncing ambient light from the sky itself, plus whatever the ground cover is contributing by way of reflected color. These are two separate light environments sharing one frame.
A global white balance is a compromise. Sometimes compromises are fine. But when you have a lavender field turning red, or grass going neon, or snow taking on a color cast that reads as a processing error rather than atmosphere, you’ve hit the wall of what a single value can do.
Ramelli’s fix is straightforward: stop treating the image as one light environment. Treat it as two.
How to Mask and Balance Each Zone Separately in Lightroom
The workflow Ramelli walks through uses Lightroom’s masking tools, and it moves in a logical sequence once you understand the goal. Here’s how to follow it.
Start with the sky. Use the Select Sky option in the masking panel. Lightroom’s AI selection handles most landscapes cleanly on the first pass, though you may need to refine edges along treelines or irregular horizons. Once the sky is isolated, adjust white balance specifically for that region. Push the temperature and tint until the sky reads true, ignoring what it does to the foreground because you’re not editing the foreground yet.
Then create a second mask for the field. Invert the sky selection, or use Select Subject or a linear/radial gradient depending on your composition. With the foreground isolated, adjust the white balance independently. In a lavender field that’s skewing red, you’ll typically pull the temperature cooler and shift the tint toward green to neutralize the red cast and recover that blue-purple tone that makes lavender look like lavender.
The key discipline here is to resist the urge to compromise either correction. Each mask is its own environment. The sky gets the white balance that makes the sky true. The field gets the white balance that makes the field true. Where they meet at the horizon, Lightroom blends the masks and the transition is usually invisible if your masking edge is clean.
What This Looks Like in Practice on Composite Work
I took this approach back to that book cover plate I mentioned. I masked the sky and pushed it toward the cooler, more neutral temperature I actually wanted. Then I masked the ground cover separately and corrected it without any concern for what it did to the sky region, because it wasn’t touching the sky region anymore.
The difference was immediate. Each zone snapped into a believable version of itself. And critically for compositing work, it gave me a cleaner starting plate to blend my subject layer against, because the ground light was now accurate rather than a compromise artifact.
Where I’d push Ramelli’s approach even further is on images with a third zone, the transition band right at the horizon where atmospheric haze or fog creates its own color temperature. In those cases I’ll sometimes add a third mask using a narrow linear gradient along the horizon line and give it a subtle correction that bridges the sky and ground adjustments. It’s an extra five minutes that keeps that midground from looking like a seam.
Where This Technique Has Limits
This method assumes the two zones are fairly distinct and that masking can separate them cleanly. In compositions with complex foreground elements crossing into the sky, trees with detailed canopies, smoke, motion blur at the edges, the mask selection becomes a battle and the white balance correction can bleed across the edge in ways that read as processing artifacts rather than atmosphere.
In those cases I’ll often do a rougher global correction first to get the image into a neutral baseline, then use localized brush masks with a low flow to nudge specific regions rather than relying on a hard mask edge. It’s slower, but it respects the complexity of the image rather than forcing a clean division that isn’t really there.
The One Thing Worth Remembering
A photograph contains multiple light environments. Editing it as if one setting can describe all of them is where most color problems begin. Isolate each zone, give each one a correction that makes it true, and stop splitting the difference.
Watch the full tutorial on YouTube to see Ramelli walk through the mask selections and white balance adjustments on the actual lavender image. Seeing the before and after on that specific photo makes the principle land faster than any written description can.
Comments (2)
The tip about one white balance was never go was the missing piece for me. Thank you.
This is fantastic. I've been recommending this approach to my readers too.
Leave a Comment