Weather effects transform the mood of an image completely. A sunny street becomes a moody noir scene with rain. A bland landscape becomes a winter wonderland with snow. But convincing weather effects require understanding how these elements actually look — and most tutorials get the details wrong.
Rain
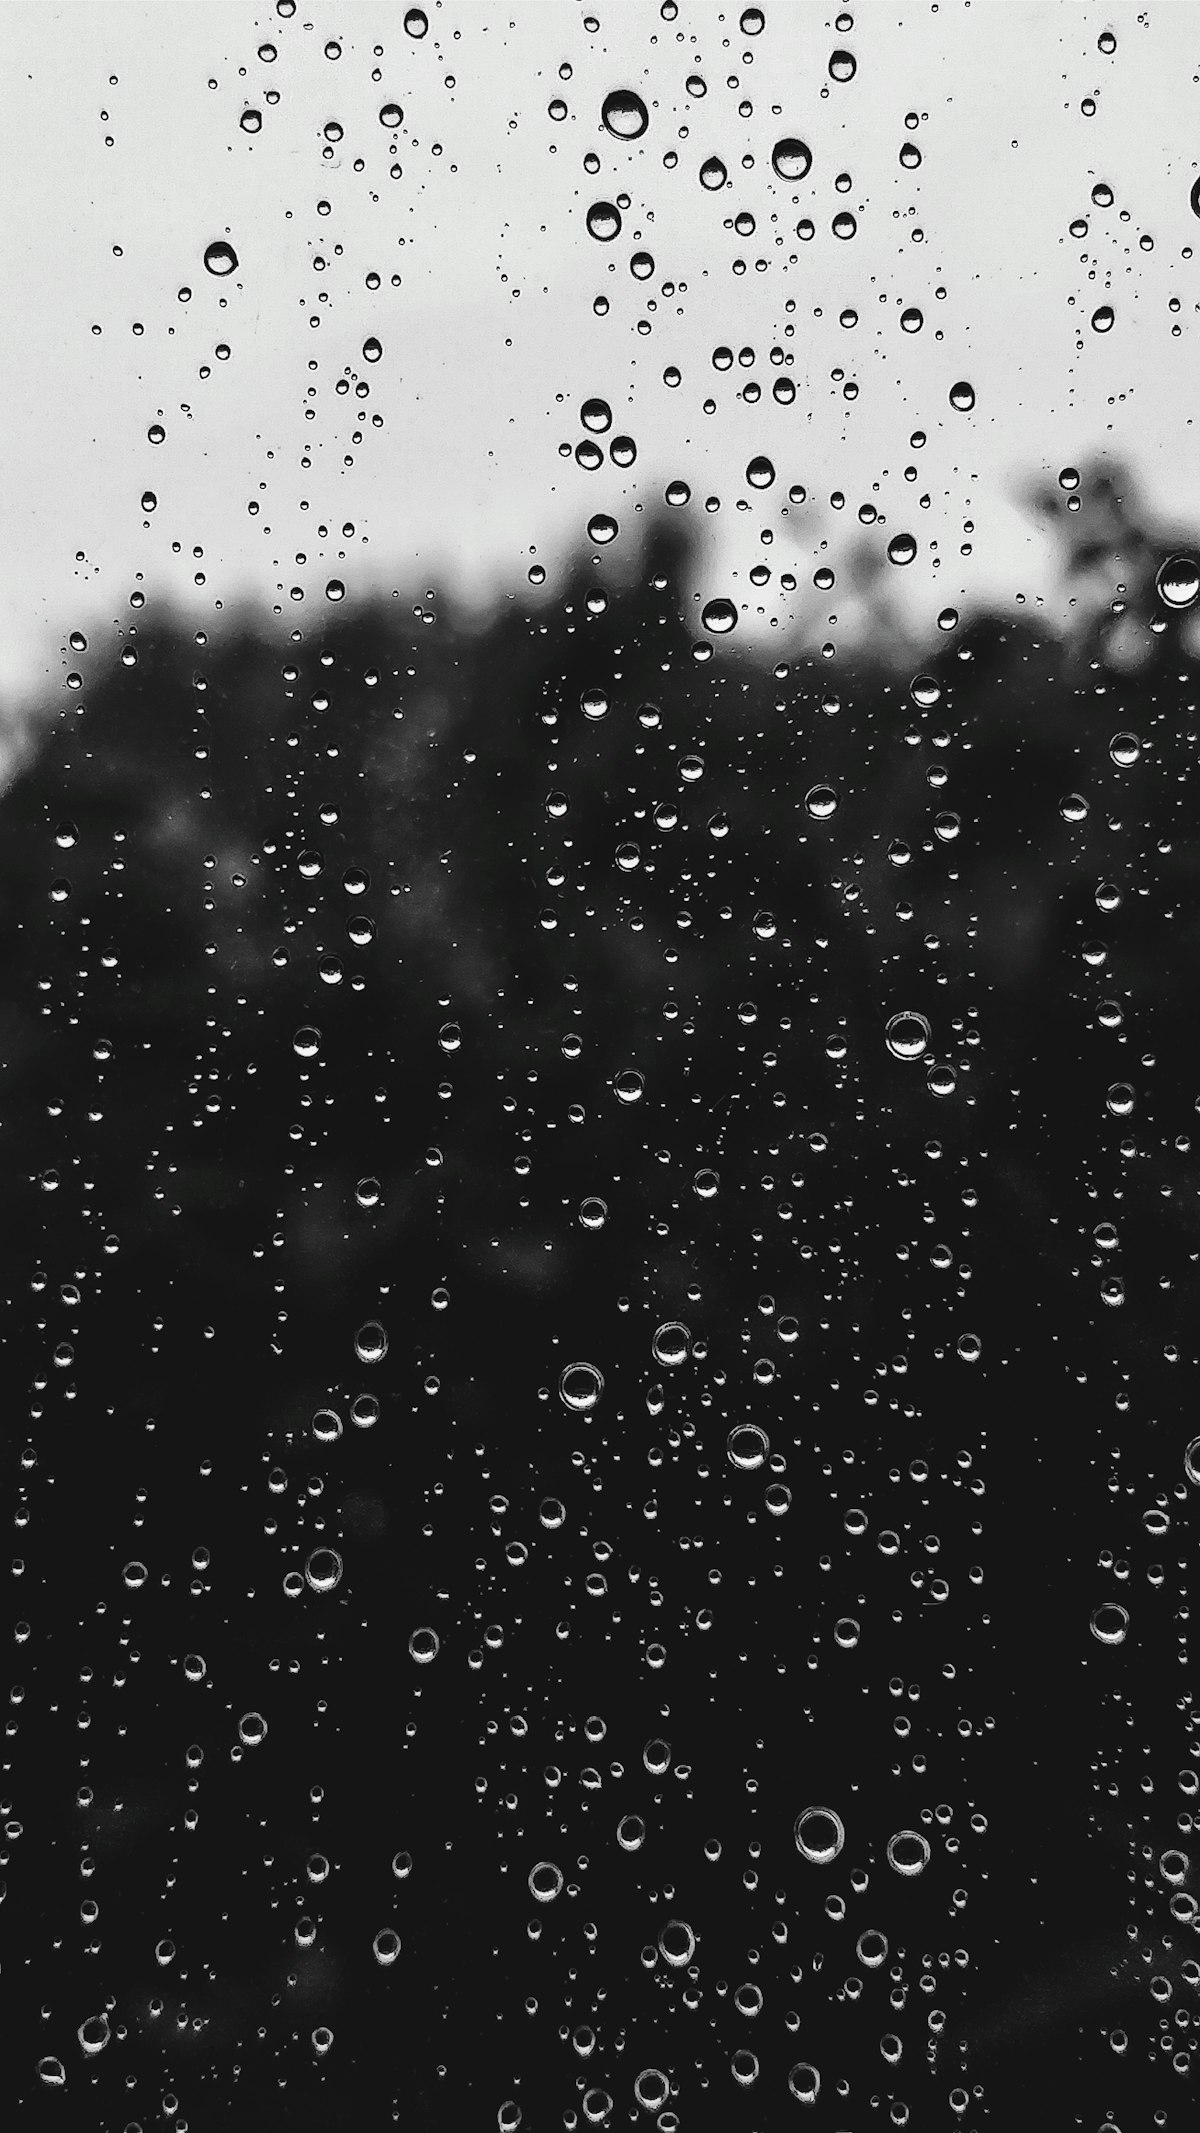
What Real Rain Looks Like
Photograph rain sometime and study the result. Depending on shutter speed, rain appears as either distinct drops (fast shutter, 1/1000+) or diagonal streaks (slow shutter, 1/60 and below). Most cinematic rain uses a slow-shutter aesthetic — visible streaks.
Real rain isn’t uniform. It’s heavier in some areas, lighter in others, and affected by wind. Rain close to the camera appears as larger, more distinct streaks. Rain in the background blurs into a general haze.
Creating Rain in Photoshop
- Create a new layer filled with black
- Add Noise (Filter > Noise > Add Noise): Amount 40%, Gaussian, Monochromatic
- Apply Motion Blur at an angle matching your scene’s wind direction (usually 70-80 degrees for slight wind), Distance 30-50px
- Set the layer to Screen blend mode — the black disappears, leaving only the bright streaks
- Adjust Levels to increase contrast: pull the black point to about 180 and the white point stays at 255
This creates uniform rain. To make it realistic:
- Duplicate the rain layer, scale it up 200%, and reduce opacity — this creates “foreground rain” that’s larger and softer
- Add a layer mask to both rain layers and paint with a soft black brush to reduce rain in areas where buildings or overhangs would provide shelter
- Add a Curves adjustment layer above everything, lifting the black point slightly to simulate the haze that accompanies real rain
Selling Rain With Secondary Effects
Rain alone isn’t enough. Add these to make it convincing:
- Wet surfaces. Increase contrast and add slight reflection to ground surfaces
- Puddles. Add ripple circles on flat surfaces (rings expanding outward)
- Mist. A subtle fog layer at ground level, because rain evaporates on warm surfaces
- Reduced visibility. Fade distant objects slightly with a subtle white overlay
Snow
What Real Snow Looks Like
Snow falls more slowly than rain and isn’t affected by Motion Blur the same way. Snowflakes close to the camera are large, out-of-focus circles (bokeh). Snowflakes at middle distance are small white dots. Background snow is invisible — it blends into general atmospheric haze.
Creating Snow in Photoshop
- Create a new layer filled with black
- Add Noise: Amount 25%, Gaussian, Monochromatic
- Apply Gaussian Blur at 1.5-2px (snow is softer than rain)
- Apply Levels to eliminate most dots, keeping only the brightest ones: black input to about 200
- Set to Screen blend mode
For depth variation:
- Create three snow layers at different scales — 100%, 150%, and 250%
- The largest scale layer represents foreground snow: apply Gaussian Blur at 4-6px to simulate shallow depth of field, reduce opacity to 50%
- The medium scale is your main snow layer: keep sharp, full opacity
- The smallest scale is background snow: slight blur, reduced opacity
Animating Snow (For Video Composites)
If you’re compositing snow into video, each frame needs different snow. Use the Offset filter (Filter > Other > Offset) to shift the noise pattern between frames, then apply the same blur and levels processing. This creates the appearance of falling snow without repeating patterns.
Fog and Mist
Fog is simpler than rain or snow but equally powerful for mood:
- Create a new layer
- Set foreground to white, background to light gray
- Apply Render > Clouds
- Set to Screen blend mode
- Reduce opacity to 20-40%
- Apply a gradient mask so fog is thickest at ground level and dissipates upward
For directional mist (rolling fog, steam):
- Use the Smudge tool to pull the cloud layer in the direction of movement
- Or apply Motion Blur at a low angle (0-15 degrees) for a gentle horizontal drift
Matching Lighting
Weather affects light. Rain scenes are overcast — reduce contrast and cool the color temperature. Snow scenes scatter light everywhere — shadows become softer and less defined. Fog reduces contrast dramatically — distant objects should have almost no contrast.
If your base image was shot in bright sunlight and you’re adding rain, you also need to reduce the global contrast and shift the color balance cool. Weather effects layered over sunny lighting look instantly fake.
Comments (4)
What would you change about this approach for event photography?
Quick question: does the order of steps matter or can I rearrange to fit my workflow?
Would this approach work the same way with natural light instead of strobes?
I'd push back slightly on the last point, but otherwise this is spot on.
Leave a Comment