Every composite I build starts with a problem: I don’t have the right piece. The sky is wrong, the ground texture is flat, or the background crowd is too recognizable to use without a release. I’ve spent real money licensing stock assets that were almost right, and I’ve lost hours trying to fix an image that was never going to work in the first place. What I needed wasn’t better compositing skills in those moments. I needed better source material, shot with intent.
That’s the gap this tutorial fills. Watch the full tutorial on YouTube - it’s a KelbyOne walkthrough on how to approach a photo walk not just as a creative outing but as a stock photography shoot. The instructor reframes the walk as an opportunity to build a library that can generate income. For composite artists, that reframe goes even further: every walk becomes a chance to fill your asset library with images you actually control.
I’ve started treating photo walks as production days. The mindset shift changes everything about how I move through a neighborhood, what I stop for, and what I walk past. Here’s how to apply the same thinking.
Step 1: Decide What Categories You’re Hunting Before You Leave
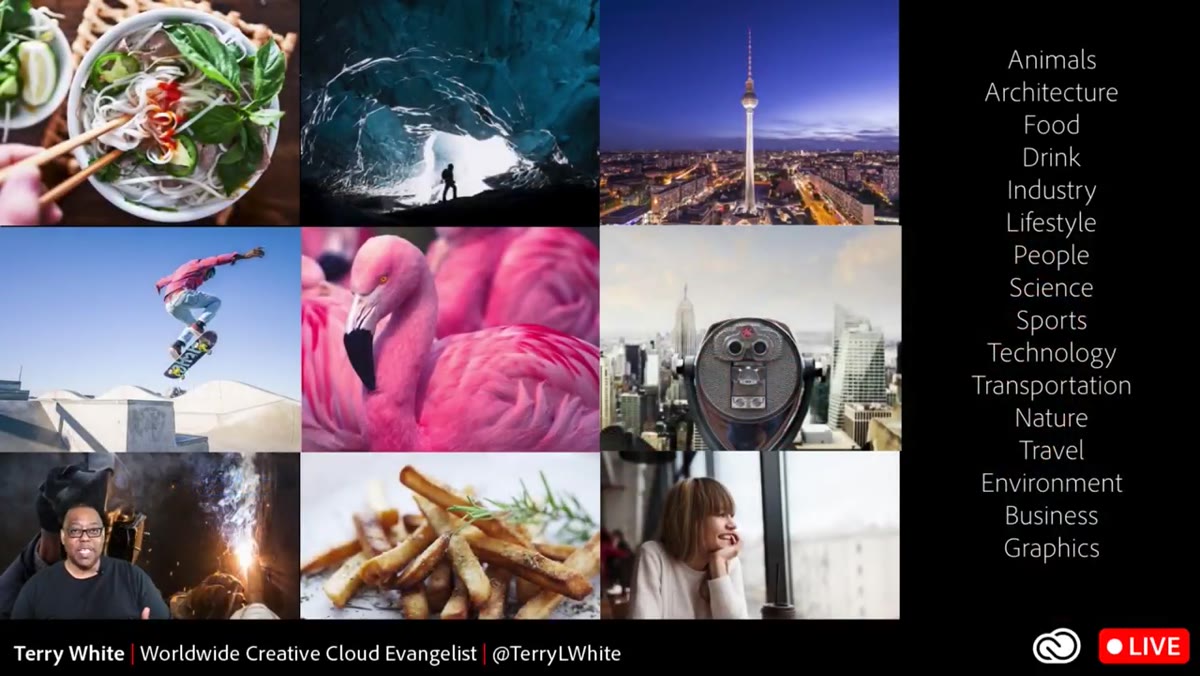 caption: Slide listing stock categories including animals, architecture, food, industry
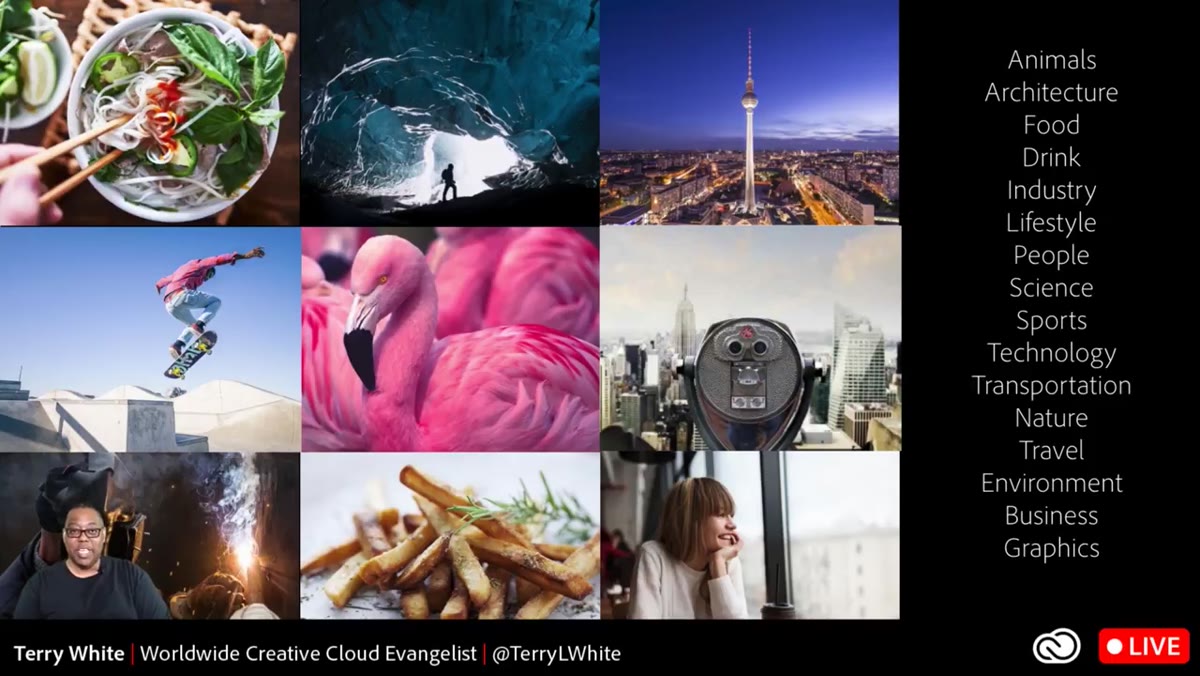
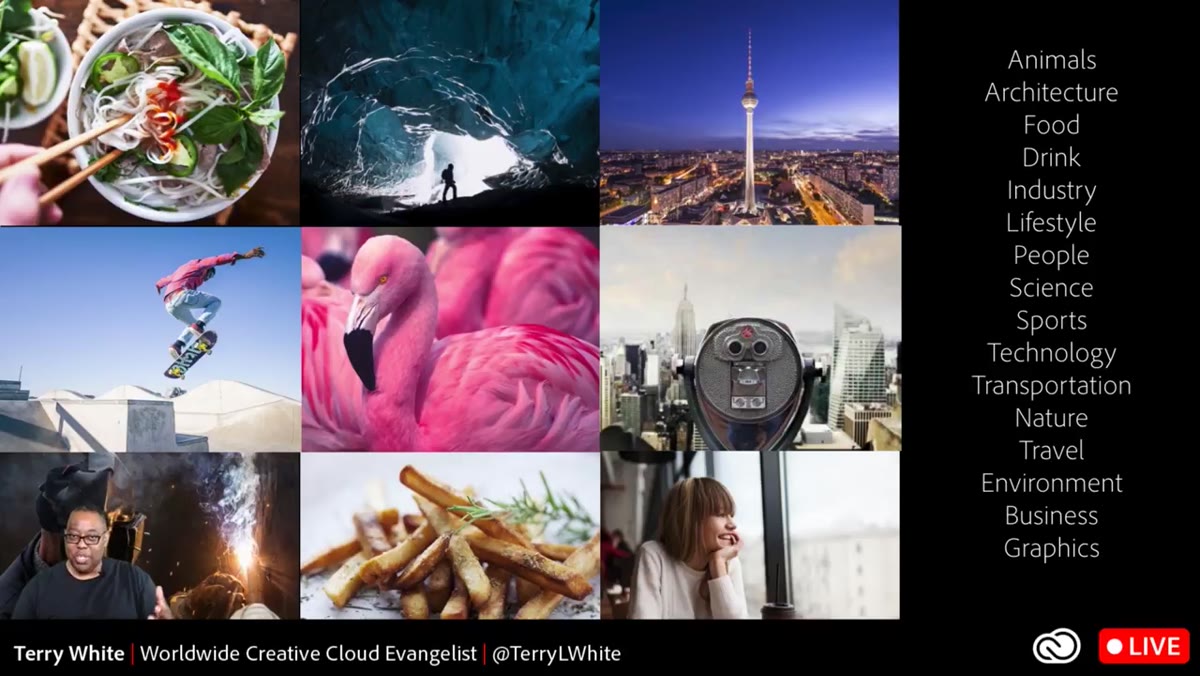
Before you step outside, make a short list of the stock categories you want to target. The tutorial calls out animals, architecture, food and drink, industry, lifestyle, science, sports, and technology as consistently strong performers. Pick two or three based on what your walk route will actually offer. If you’re walking through a commercial neighborhood, architecture and industry are realistic targets. If it’s a farmers market day, food becomes your primary subject. Going in without a category list means you’ll shoot everything loosely and end up with nothing usable.
caption: Slide listing stock categories including animals, architecture, food, industry
Before you step outside, make a short list of the stock categories you want to target. The tutorial calls out animals, architecture, food and drink, industry, lifestyle, science, sports, and technology as consistently strong performers. Pick two or three based on what your walk route will actually offer. If you’re walking through a commercial neighborhood, architecture and industry are realistic targets. If it’s a farmers market day, food becomes your primary subject. Going in without a category list means you’ll shoot everything loosely and end up with nothing usable.
For composite work specifically, I’d add a personal category to that list: textures and isolated elements. Rooflines, weathered doors, industrial machinery, puddle reflections. These are the pieces that end up in my composites more than anything I license.
Step 2: Understand How Stock Images Get Used - Then Compose Accordingly
 caption: Example image with deliberate negative space at top for text overlay
The single biggest technical adjustment the tutorial covers is composition for end use. Stock buyers need room to place headlines, logos, and body copy over your image. That means you should deliberately leave negative space - at the top, bottom, or sides - that you would never leave in a portfolio shot. The example in the video shows a scene with significant headroom above the subject that would feel wrong in a gallery context but is exactly right for a magazine spread or web banner.
caption: Example image with deliberate negative space at top for text overlay
The single biggest technical adjustment the tutorial covers is composition for end use. Stock buyers need room to place headlines, logos, and body copy over your image. That means you should deliberately leave negative space - at the top, bottom, or sides - that you would never leave in a portfolio shot. The example in the video shows a scene with significant headroom above the subject that would feel wrong in a gallery context but is exactly right for a magazine spread or web banner.
Think about the final product, not the frame. A wide open sky above a subject isn’t empty - it’s a text field. A clean wall beside a figure isn’t wasted space - it’s where a client puts their call to action. This is a mental model I apply constantly in compositing: every background element has a job. The same logic applies here.
Step 3: Plan for Model Releases Before You Raise the Camera
 caption: Discussion of lifestyle photography and model release requirements
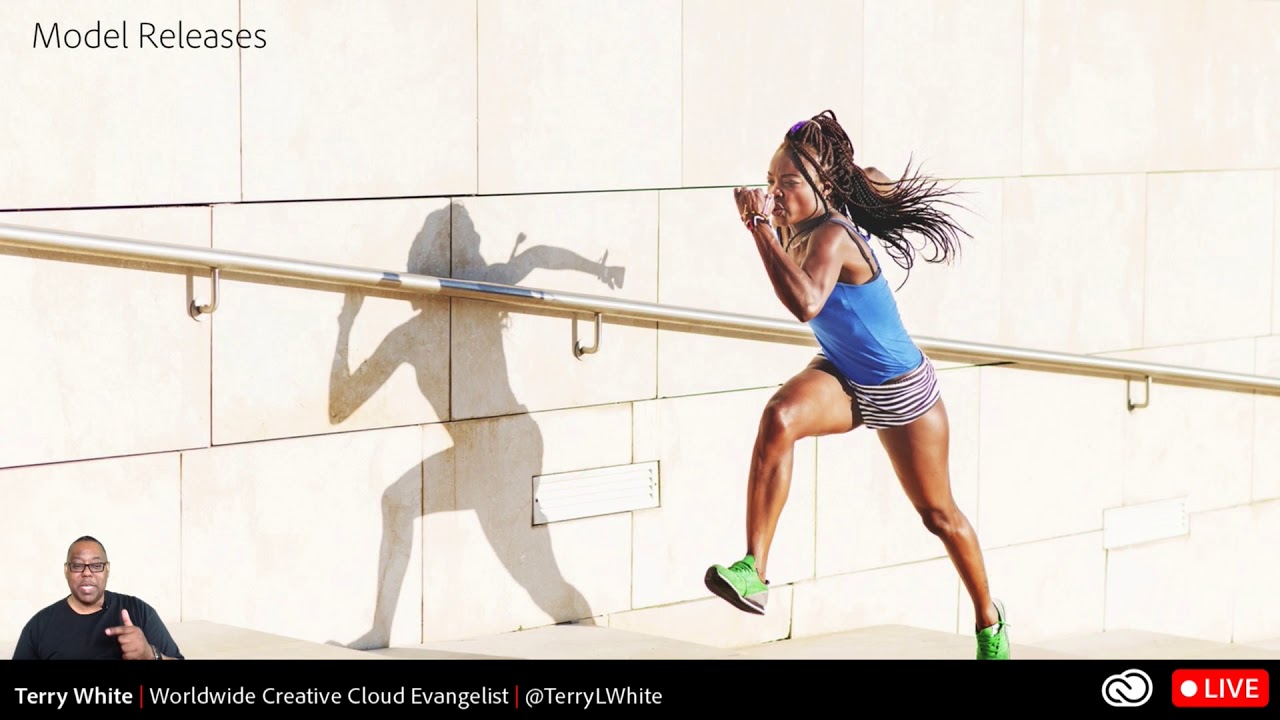
If you want to shoot people, you need a release. The tutorial is direct about this: any recognizable face requires a signed model release before that image can be sold as commercial stock. The practical solution it offers is to bring someone with you - a friend, neighbor, or family member who has agreed in advance to sign off. This isn’t a bureaucratic hurdle, it’s a production decision you make before the walk, not after.
caption: Discussion of lifestyle photography and model release requirements
If you want to shoot people, you need a release. The tutorial is direct about this: any recognizable face requires a signed model release before that image can be sold as commercial stock. The practical solution it offers is to bring someone with you - a friend, neighbor, or family member who has agreed in advance to sign off. This isn’t a bureaucratic hurdle, it’s a production decision you make before the walk, not after.
For those who don’t want to navigate releases at all, the tutorial points to a clean workaround: shoot silhouettes, shadows, and scenes where faces are obscured by angle or light. A figure backlit against a bright doorway. A shadow stretching across cobblestones. Hands wrapped around a coffee cup. These work just as well in composites, and often better, because they read as universal rather than specific.
Step 4: Check What Already Exists Before You Shoot a Location
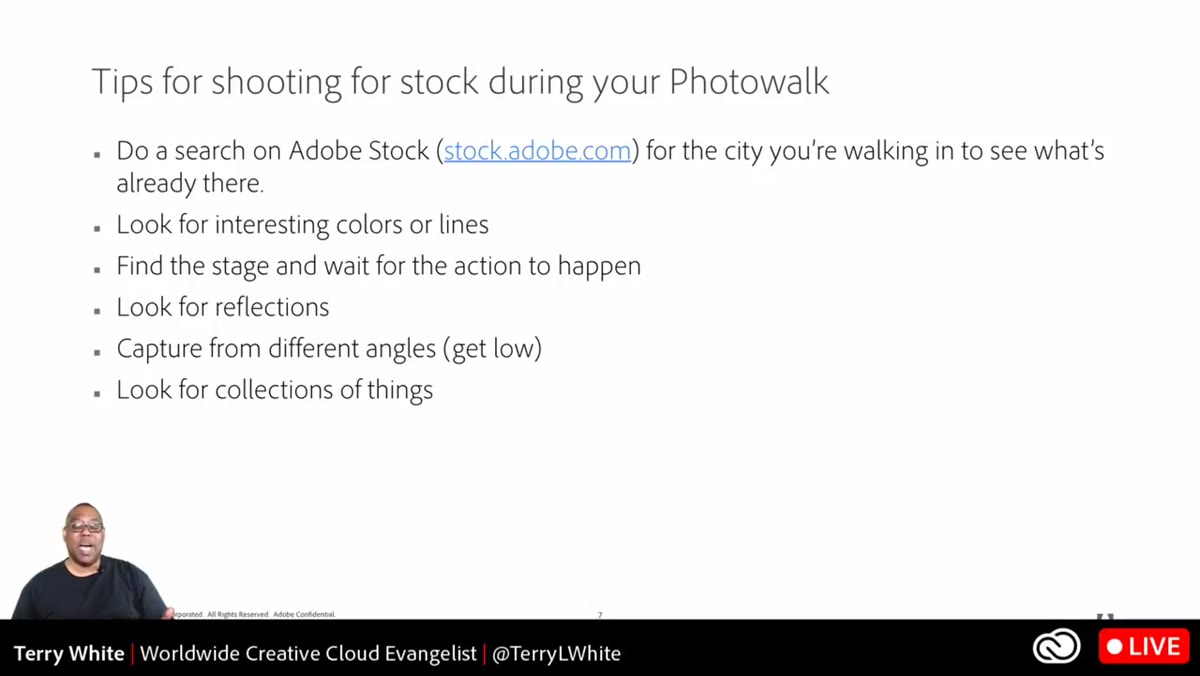 caption: Suggestion to search Adobe Stock for a location before shooting
The tutorial recommends searching Adobe Stock for your target location before the walk. Pull up the site, type in the neighborhood or landmark, and look at what’s already well-covered. Then shoot what’s missing. If there are 800 images of the main plaza from the obvious tourist angle, that angle isn’t worth your time. But if the back alley with the interesting ironwork returns almost nothing, that’s your shot.
caption: Suggestion to search Adobe Stock for a location before shooting
The tutorial recommends searching Adobe Stock for your target location before the walk. Pull up the site, type in the neighborhood or landmark, and look at what’s already well-covered. Then shoot what’s missing. If there are 800 images of the main plaza from the obvious tourist angle, that angle isn’t worth your time. But if the back alley with the interesting ironwork returns almost nothing, that’s your shot.
This is something I do with reference images before starting any composite. I search for what exists, identify the gaps, and build toward filling them. Apply the same logic to your stock shooting and you stop competing with thousands of identical images.
Step 5: Find the Stage First, Then Wait for the Action
 caption: Tip about identifying locations and waiting for the right moment to occur
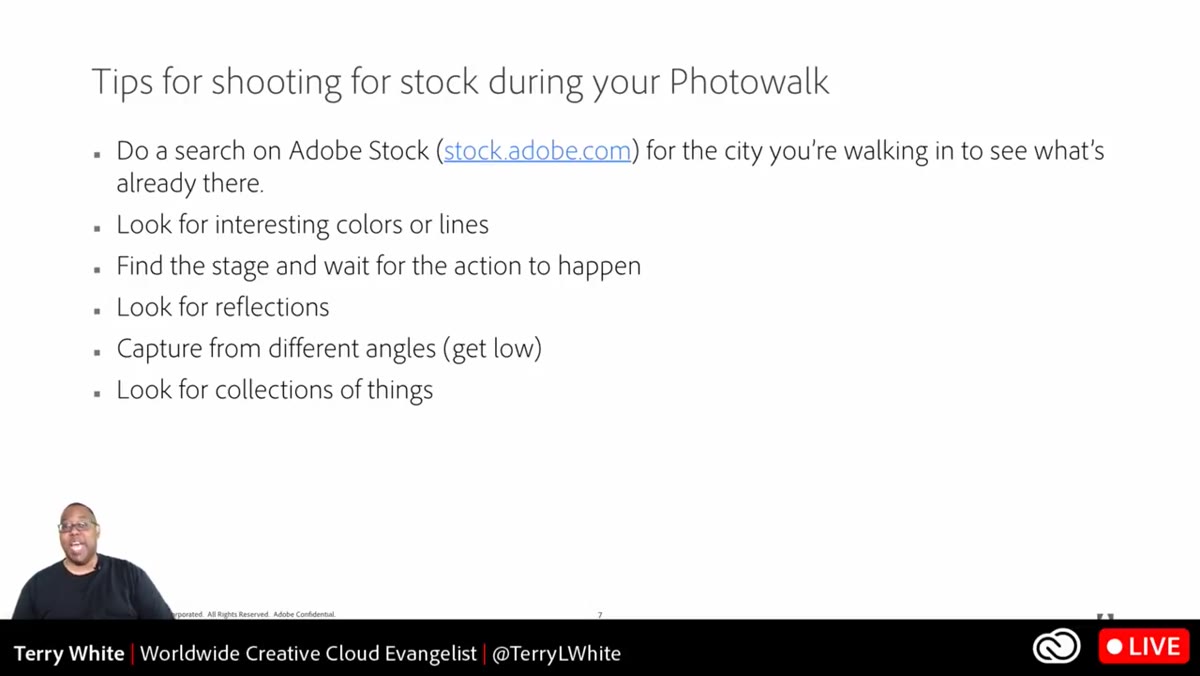
One of the sharper pieces of advice in the video is the idea of locating a strong background or setting - a particular tree, a busy intersection, a lit doorway - and then waiting for something interesting to enter it. The composition is already solved. You’re just waiting for the content to arrive. A flock of birds, a cyclist passing through, a couple stopping to look at a menu.
caption: Tip about identifying locations and waiting for the right moment to occur
One of the sharper pieces of advice in the video is the idea of locating a strong background or setting - a particular tree, a busy intersection, a lit doorway - and then waiting for something interesting to enter it. The composition is already solved. You’re just waiting for the content to arrive. A flock of birds, a cyclist passing through, a couple stopping to look at a menu.
This patience-based approach runs against the instinct to keep moving during a group walk, and the tutorial acknowledges that tension. The solution is to flag those locations mentally on your first pass and return to them if the walk loops back, or simply accept that a few strong held shots are worth more than fifty rushed ones.
Step 6: Avoid Identifiable Brands and Property Without Releases
 caption: Note on shooting architecture without identifiable building details
Stock agencies will reject images that contain identifiable logos, brand names, or trademarked architecture without the corresponding property release. The tutorial uses a construction site as an example: a crane against the sky, the geometry of scaffolding, the texture of poured concrete - all usable. But a branded equipment panel or a building with a distinctive registered facade - not without paperwork.
caption: Note on shooting architecture without identifiable building details
Stock agencies will reject images that contain identifiable logos, brand names, or trademarked architecture without the corresponding property release. The tutorial uses a construction site as an example: a crane against the sky, the geometry of scaffolding, the texture of poured concrete - all usable. But a branded equipment panel or a building with a distinctive registered facade - not without paperwork.
Train yourself to scan the frame for anything legally identifiable before you shoot. This becomes fast with practice. Crop in on the interesting structural detail, angle up to remove the logo on the equipment, shift left to cut out the signage. The image gets tighter and more useful at the same time.
What I’d Add From My Own Shooting
The tutorial is aimed at photographers building a stock portfolio, but as a composite artist I want to push one more point: shoot for layering, not just for finished images. When I’m out with a camera, I’m thinking about how a given shot will sit on top of or beneath something else. That means I actively look for clean edges - a tree branch against a flat gray sky, a building corner against open cloud cover. I look for consistent, diffused lighting that will match naturally with other elements. And I shoot variations: one with the subject, one without, one exposed for the sky, one exposed for the ground. A stock photo is one image. A compositing asset is a set.
The single most important idea from this tutorial is one that took me longer than it should have to internalize: the shot you need to plan for is not the shot you want to make. Stock photography, like compositing source material, is made for someone else’s project. Compose for their blank space. Shoot for their release requirements. Scout against their existing library. When you do that, a two-hour photo walk stops being a creative outing and starts being a production day.
Watch the full tutorial on YouTube to see the examples and category breakdowns in full.
Comments (2)
Love how you break down complex stuff into manageable steps.
Wow, I had no idea you could do this. Mind blown.
Leave a Comment