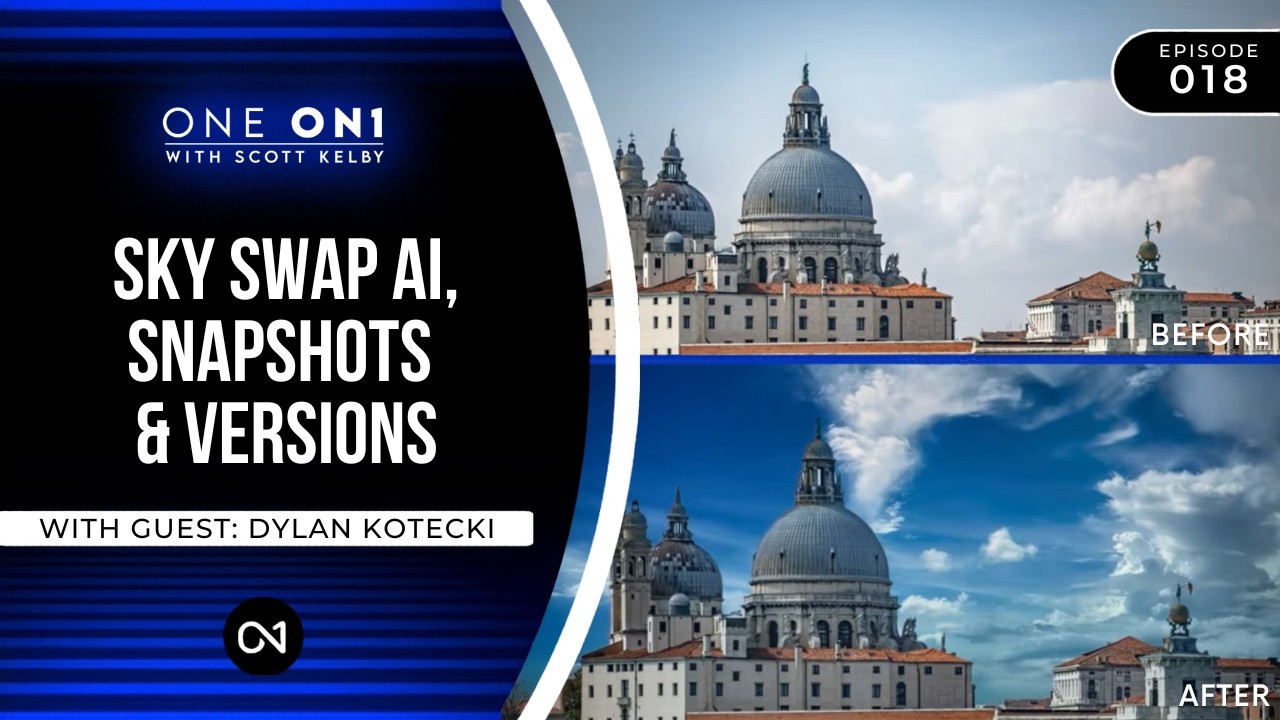
There is a specific kind of frustration that hits when a sky replacement looks almost right. The tones match, the horizon line is clean, and then you zoom in and see it: a ghostly halo tracing the rooftops, or a water surface that has no memory of the sky above it. I spent six months studying how light behaves on water for a single album cover project, and I still get burned by the small things. Sky replacement tools have gotten genuinely powerful, but power without technique just gives you faster mistakes.
That is what made this episode click for me. In this KelbyOne tutorial, Scott Kelby works through a Venice canal photograph and uses it to surface a handful of specific, named controls inside ON1’s Sky Swap AI that most users scroll past. He is not showing you where the feature lives. He is showing you why each slider exists and what problem it was designed to solve. That is a different kind of tutorial, and it is worth your time. Watch the full tutorial on YouTube
The second half, with Dylan Kotecki walking through Snapshots and Versions, landed just as hard. I have been duplicating files to preserve alternate looks for years. That stops now.
Step 1: Open Sky Swap AI and Choose Your Sky Category First
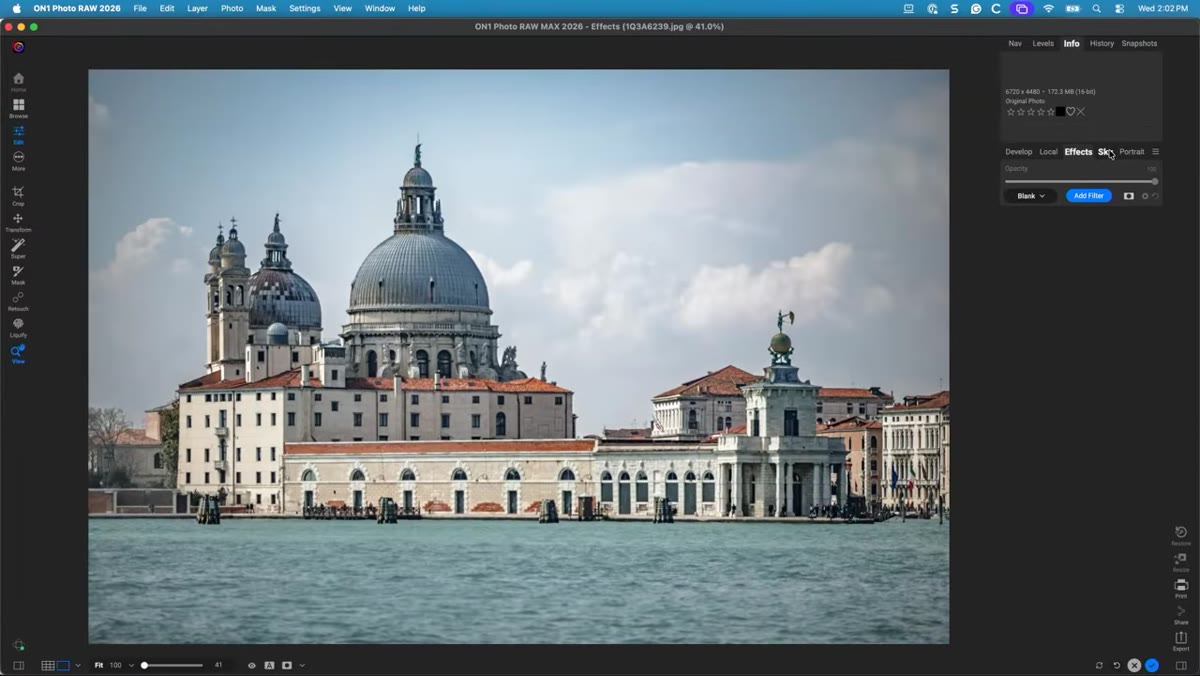 Sky tab selected, cloud category panel open in ON1
Before you commit to any single sky image, navigate to the Sky tab inside ON1 Photo Raw and pick a broad category first, such as clouds or golden hour. The preview thumbnails are small, and clicking through them one by one wastes time. What Scott demonstrates here is that hovering over a thumbnail for a moment will load a live preview on your image without committing to that sky. You are essentially window shopping at full scale. Pick the category, then hover slowly through the options until the right atmosphere shows up on your canvas.
Sky tab selected, cloud category panel open in ON1
Before you commit to any single sky image, navigate to the Sky tab inside ON1 Photo Raw and pick a broad category first, such as clouds or golden hour. The preview thumbnails are small, and clicking through them one by one wastes time. What Scott demonstrates here is that hovering over a thumbnail for a moment will load a live preview on your image without committing to that sky. You are essentially window shopping at full scale. Pick the category, then hover slowly through the options until the right atmosphere shows up on your canvas.
Step 2: Use the Fade Edge Slider to Kill the Halo
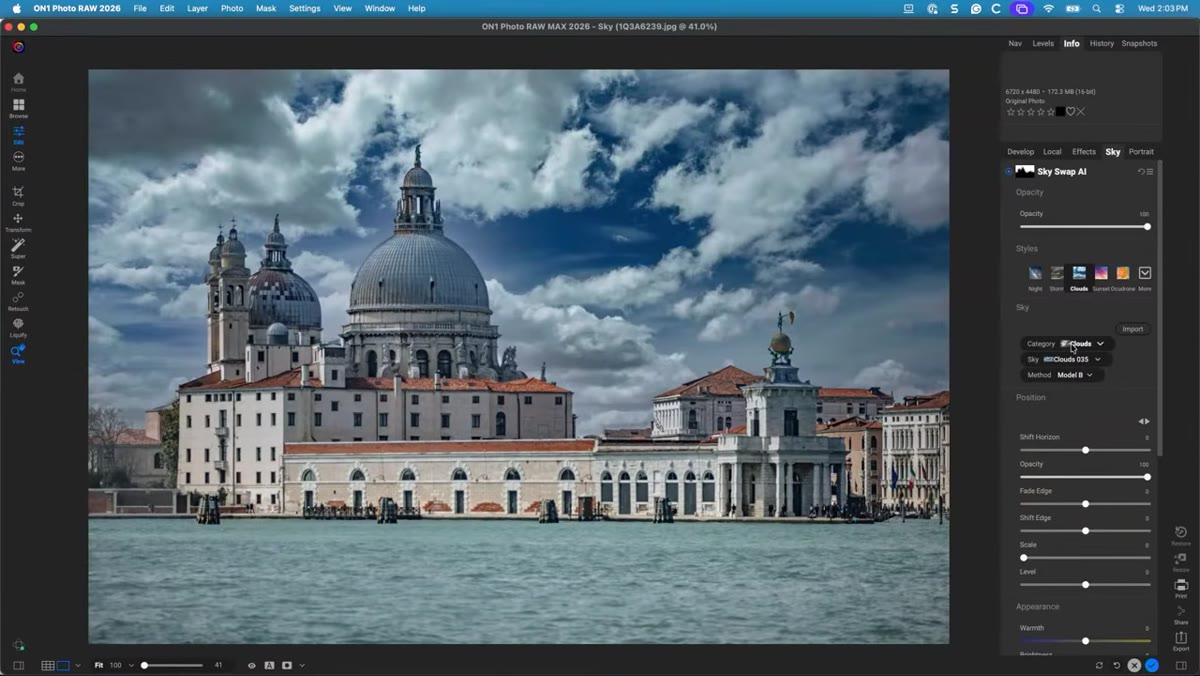 Fade Edge slider highlighted, halo disappearing along roofline
The halo problem, that bright or dark fringe that appears right at the boundary between your original scene and the new sky, usually comes from a hard mask edge. The Fade Edge slider softens that boundary by feathering the mask outward so the transition becomes gradual rather than surgical. Scott pulls this slider and shows the halo dissolving along the Venice roofline in real time. The key insight is not just that the slider exists, but that you should apply it before you start chasing individual mask problems. A lot of what looks like masking failure is actually a feathering problem, and Fade Edge addresses it in one move.
Fade Edge slider highlighted, halo disappearing along roofline
The halo problem, that bright or dark fringe that appears right at the boundary between your original scene and the new sky, usually comes from a hard mask edge. The Fade Edge slider softens that boundary by feathering the mask outward so the transition becomes gradual rather than surgical. Scott pulls this slider and shows the halo dissolving along the Venice roofline in real time. The key insight is not just that the slider exists, but that you should apply it before you start chasing individual mask problems. A lot of what looks like masking failure is actually a feathering problem, and Fade Edge addresses it in one move.
Step 3: Choose the Right Masking Model for Your Scene Type
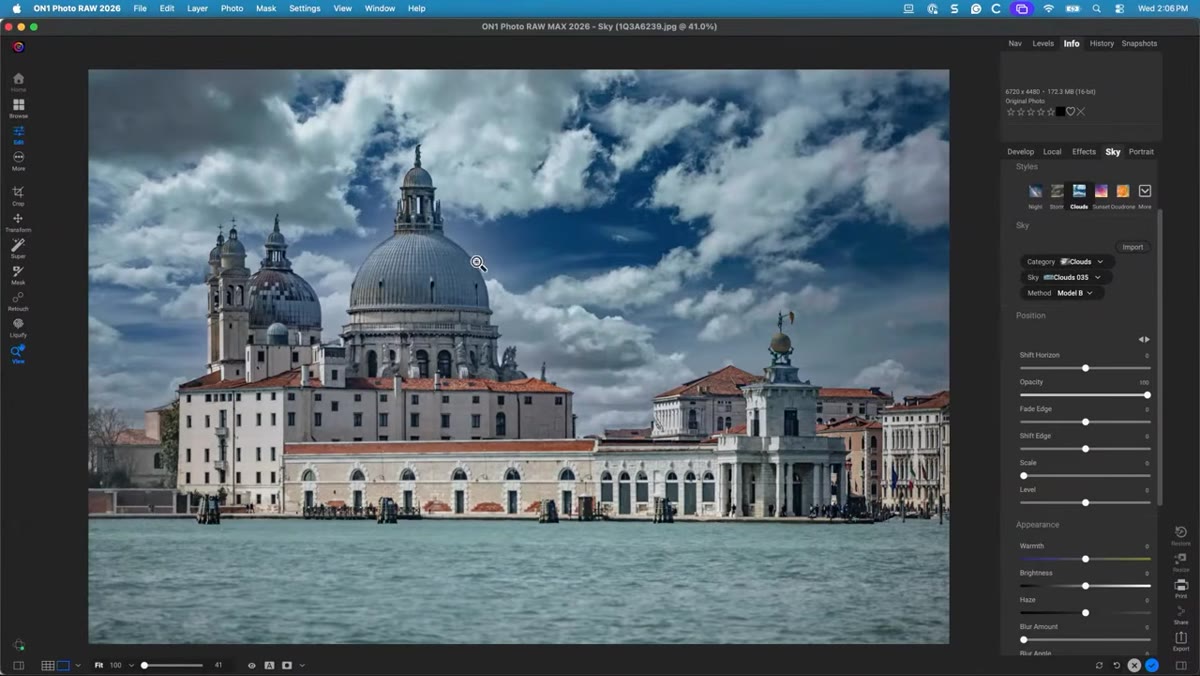 Masking model dropdown showing landscape versus architecture options
ON1’s Sky Swap AI offers different AI masking models, and the choice between them matters more than most people realize. The landscape model is built to read organic edges like tree lines, hills, and water horizons. The architecture model is trained on hard geometric edges like buildings, bridges, and window frames. Scott makes the point that using the wrong model for your scene type is the single most common reason sky masks look sloppy at the edges. If you are working on an urban scene with strong verticals, switch to the architecture model before you do anything else. If you are in a field, stay with landscape. It takes two seconds and it changes the quality of the starting mask significantly.
Masking model dropdown showing landscape versus architecture options
ON1’s Sky Swap AI offers different AI masking models, and the choice between them matters more than most people realize. The landscape model is built to read organic edges like tree lines, hills, and water horizons. The architecture model is trained on hard geometric edges like buildings, bridges, and window frames. Scott makes the point that using the wrong model for your scene type is the single most common reason sky masks look sloppy at the edges. If you are working on an urban scene with strong verticals, switch to the architecture model before you do anything else. If you are in a field, stay with landscape. It takes two seconds and it changes the quality of the starting mask significantly.
Step 4: Refine the Mask on Tricky Areas Manually
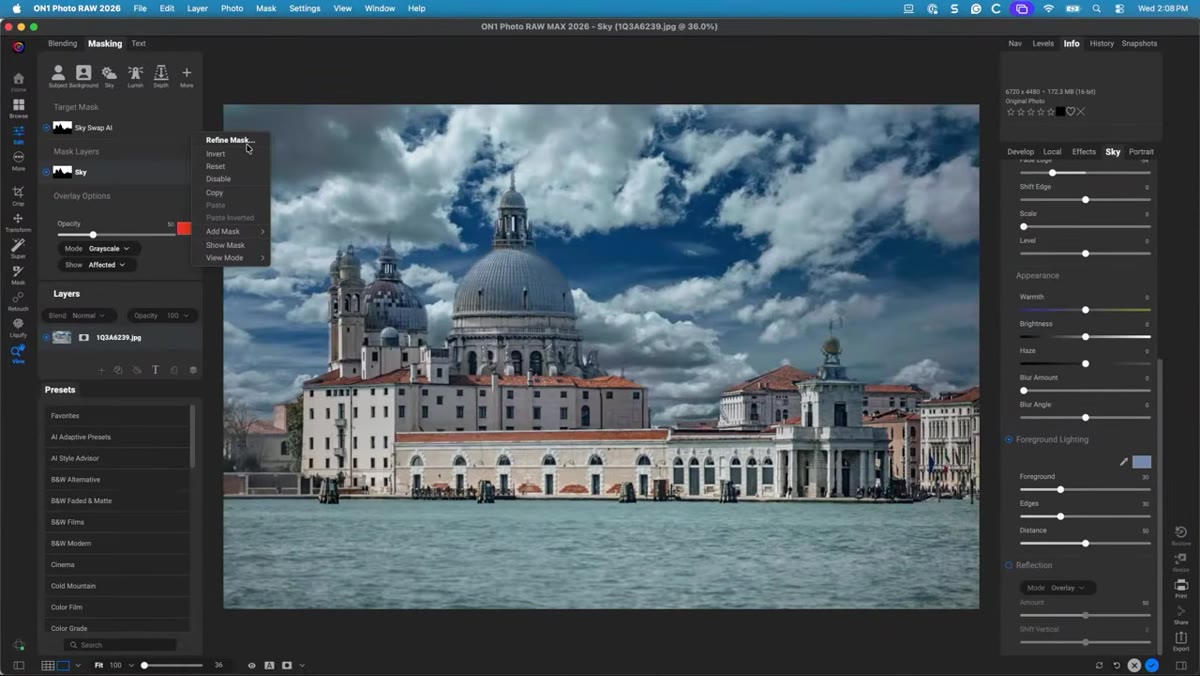 Brush tool refining mask along complex edge detail
The AI gets you most of the way there, but complex edges, think latticework, bare branches, or patterned ironwork, will need a human hand. Scott uses the masking brush in refinement mode to paint corrections directly onto the sky mask. The workflow is straightforward: zoom to 100 percent, look for areas where the sky bleeds into the foreground or the foreground clips into the sky, and paint to correct. Work in short strokes and keep your brush size matched to the detail you are refining. Trying to fix a thin railing edge with a massive brush just creates new problems.
Brush tool refining mask along complex edge detail
The AI gets you most of the way there, but complex edges, think latticework, bare branches, or patterned ironwork, will need a human hand. Scott uses the masking brush in refinement mode to paint corrections directly onto the sky mask. The workflow is straightforward: zoom to 100 percent, look for areas where the sky bleeds into the foreground or the foreground clips into the sky, and paint to correct. Work in short strokes and keep your brush size matched to the detail you are refining. Trying to fix a thin railing edge with a massive brush just creates new problems.
Step 5: Add a Reflection to Ground the Composite in Reality
 Reflection toggle enabled, sky mirrored onto water surface below
This is the step that separates a believable sky composite from a pasted-in sky. When your scene includes water, a wet street, or any reflective surface, ON1 gives you a reflection toggle that mirrors the new sky back into that surface. Scott enables it on the Venice canal and the image immediately feels like a photograph rather than a collage. The reflection is not just a flip. You can control its intensity and blur to match the roughness of the water. Calm water takes a sharper, brighter reflection. Choppy water needs a more diffused one. Match that to your actual surface and the eye accepts the whole composite without question.
Reflection toggle enabled, sky mirrored onto water surface below
This is the step that separates a believable sky composite from a pasted-in sky. When your scene includes water, a wet street, or any reflective surface, ON1 gives you a reflection toggle that mirrors the new sky back into that surface. Scott enables it on the Venice canal and the image immediately feels like a photograph rather than a collage. The reflection is not just a flip. You can control its intensity and blur to match the roughness of the water. Calm water takes a sharper, brighter reflection. Choppy water needs a more diffused one. Match that to your actual surface and the eye accepts the whole composite without question.
Step 6: Create Snapshots to Preserve Multiple Creative Directions
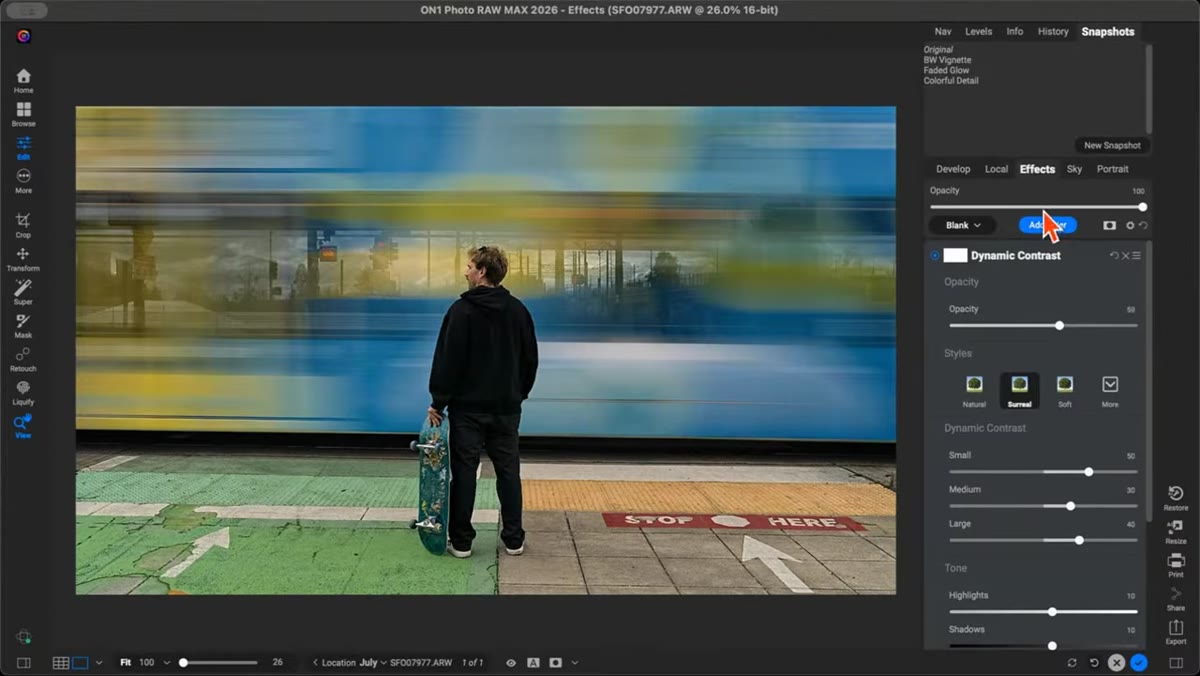 Snapshots panel open with multiple named versions listed
Dylan Kotecki takes over here to walk through Snapshots, and the concept is simple but the implications are significant. A Snapshot captures your current editing state, every slider, every mask, every adjustment, and saves it as a named moment inside the same file. No duplicate. No exported TIFF sitting in a folder. You can create a moody low-contrast version, take a snapshot, push the edit toward a bright airy look, take another snapshot, and move back and forth between them instantly. Name your snapshots clearly. Something like “warm grade - client A” is more useful six weeks later than “snapshot 3.”
Snapshots panel open with multiple named versions listed
Dylan Kotecki takes over here to walk through Snapshots, and the concept is simple but the implications are significant. A Snapshot captures your current editing state, every slider, every mask, every adjustment, and saves it as a named moment inside the same file. No duplicate. No exported TIFF sitting in a folder. You can create a moody low-contrast version, take a snapshot, push the edit toward a bright airy look, take another snapshot, and move back and forth between them instantly. Name your snapshots clearly. Something like “warm grade - client A” is more useful six weeks later than “snapshot 3.”
Step 7: Use Versions and Batch Export to Deliver Multiple Looks
 Versions panel showing side-by-side comparison of two edits
Versions take the snapshot idea one step further. Where a snapshot is a saved state you navigate to, a Version is a parallel edit that you can view side by side with your original or with other versions. This is the comparison tool I have been building manually for years by exporting JPEGs and dragging them into a grid in Photoshop. The batch export function means you can select multiple snapshots or versions and send them all to export in one operation, each with the correct settings. For client delivery, where you are often presenting two or three creative directions, this changes the entire back end of your workflow.
Versions panel showing side-by-side comparison of two edits
Versions take the snapshot idea one step further. Where a snapshot is a saved state you navigate to, a Version is a parallel edit that you can view side by side with your original or with other versions. This is the comparison tool I have been building manually for years by exporting JPEGs and dragging them into a grid in Photoshop. The batch export function means you can select multiple snapshots or versions and send them all to export in one operation, each with the correct settings. For client delivery, where you are often presenting two or three creative directions, this changes the entire back end of your workflow.
What I Would Add From My Own Practice
The reflection step is where I would push further than the tutorial goes. Water is not a mirror. I keep a reference folder dedicated to how different water surfaces reflect light at different times of day, built up over years and informed heavily by that album cover project. When I add a sky reflection in any compositing tool, I cross-reference that folder before I accept the default settings. The blur and intensity sliders in ON1’s reflection tool give you real control, but you have to know what “correct” actually looks like before you can dial it in. Study real water. Photograph puddles after rain. The AI gives you the tool. You still have to bring the knowledge.
The single most important thing Scott demonstrates in this episode is that sky replacement quality lives in the transition zones, not the sky itself. Fix the edge, match the reflection, pick the right masking model, and the sky almost does not matter anymore. The composite holds because the seams disappear.
Watch the full tutorial on YouTube and pay particular attention to the Fade Edge moment. It is less than a minute of screen time and it will change how you approach every sky replacement you do from here.
Comments (2)
This is exactly what I needed today. Been struggling with this for weeks.
Simple but effective. Sometimes that's all you need.
Leave a Comment