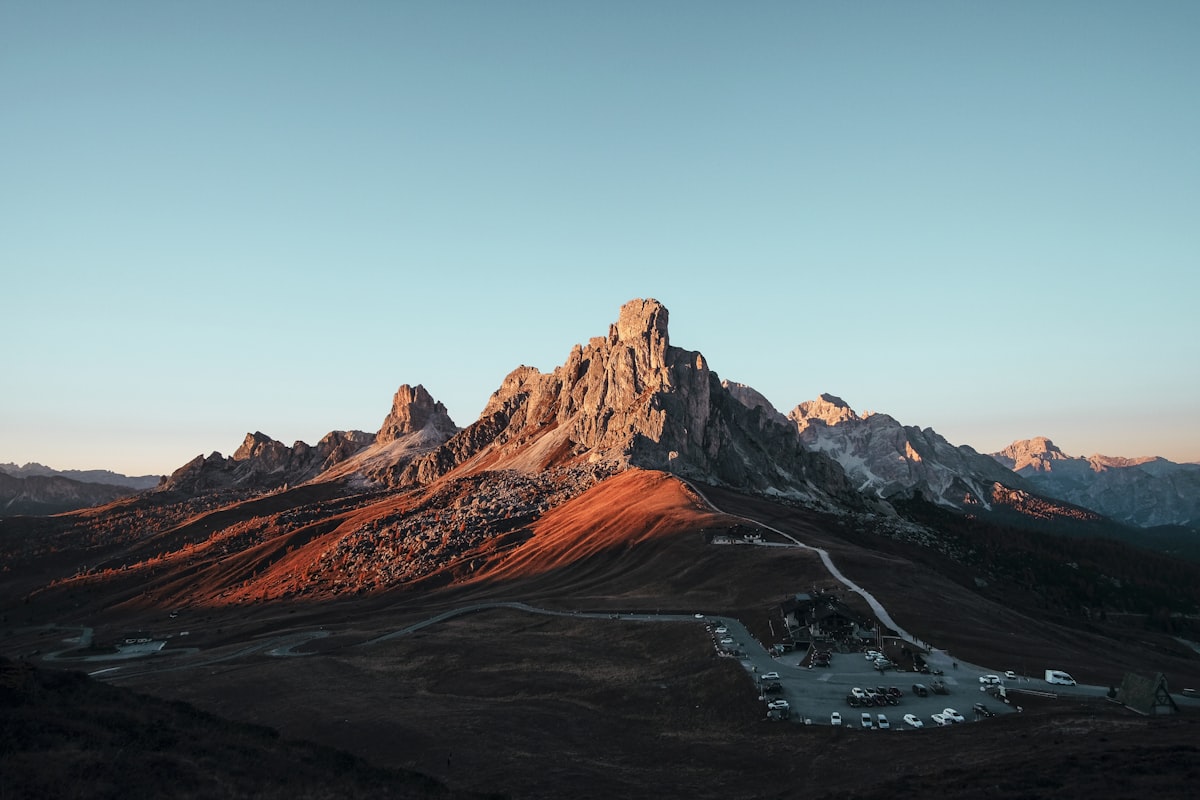
Time-lapse compositing combines photographs taken at different times into a single image that tells a story about the passage of time. The classic example is a day-to-night transition across a cityscape, but the technique extends to any scenario where showing temporal change creates a more interesting image than any single moment.
Planning the Shoot
Time-lapse composites require planning that starts before you pick up the camera:
Lock down the tripod. Every exposure must be from the identical position. Use a sturdy tripod and don’t touch it between shots. Mark the leg positions with tape if you’re shooting over hours and might accidentally bump it.
Shoot in manual mode. Auto exposure compensates for changing light, which is exactly what you’re trying to capture. Manual mode preserves the real brightness differences between times.
Use the same focal length. Don’t zoom between shots. If you’re using a zoom lens, tape the zoom ring. Any focal length change shifts the frame and makes compositing much harder.
Plan your timing. Decide in advance what time points you want. For a day-to-night transition: golden hour, blue hour, dusk, twilight, and full night. For a weather change: clear sky, approaching clouds, storm, aftermath. Shoot more frames than you think you’ll need.
The Sliced Approach
The most visually striking time-lapse composite divides the frame into vertical or diagonal slices, each from a different time:
Step 1: Open All Frames as Layers
Load your time-stamped images as layers in a single Photoshop document. File > Scripts > Load Files into Stack. Check “Attempt to Automatically Align Source Images” even though they should be aligned — it corrects minor tripod shifts.
Step 2: Arrange Chronologically
Order the layers from bottom (earliest time) to top (latest time). This makes masking intuitive — each mask reveals the layer below.
Step 3: Create Gradient Masks
For each layer, add a layer mask. Use the Gradient tool to create a vertical gradient that fades from black (concealed) on the left to white (revealed) on the right. Offset each layer’s gradient so the transition points are evenly spaced across the frame.
For five time slices across a horizontal image:
- Layer 2 mask: black from 0-20%, gradient from 20-25%, white from 25-100%
- Layer 3 mask: black from 0-40%, gradient from 40-45%, white from 45-100%
- Layer 4 mask: black from 0-60%, gradient from 60-65%, white from 65-100%
- Layer 5 mask: black from 0-80%, gradient from 80-85%, white from 85-100%
The result shows time progressing from left to right across the image.
Step 4: Refine Transitions
Straight gradient transitions work for open scenes (sky, water, fields) but look awkward when they cut through buildings or other distinct objects. Refine the masks manually:
- Use a soft brush on the mask to shift transition lines to natural break points — between buildings, along tree lines, at road edges
- Blend areas where the transition would be visually jarring
- Ensure that no object is split in a way that shows two different lighting states on the same surface
The Blended Approach
Instead of slices, blend all time states smoothly:
- Stack all frames as layers
- Set each layer to Normal mode at equal opacity (for 5 layers, each at 20%)
- This creates a single image that contains all time states simultaneously
The result is dreamy and ethereal — moving elements (cars, people, clouds) appear as ghosts while static elements (buildings, mountains) remain solid. This works beautifully for urban scenes where traffic creates light trails and people become transparent apparitions.
Day-to-Night Specifics
The most popular time composite is day-to-night. Specific considerations:
White balance shift. Daylight is cool-neutral while artificial night lighting is warm. This color temperature shift is part of the story — don’t correct it. Let the warm night lighting contrast with the cool daylight.
Dynamic range challenge. Midday frames and nighttime frames have vastly different brightness ranges. You may need to apply exposure adjustments to individual layers to prevent the bright daytime sections from overwhelming the dark nighttime sections, or vice versa.
Star trails. If your night frames span enough time, stars trail across the sky. This is a beautiful detail that reinforces the time passage concept. Include it deliberately by spacing your night shots.
Dealing With Moving Elements
People and vehicles move between frames. In slice composites, this creates figures that appear at different positions in different slices — which is actually desirable, as it reinforces the temporal progression.
In blended composites, moving elements become ghosts. If you want a specific element solid (a parked car, a street vendor’s cart), mask it from one frame and use that single version across all layers.
Output Considerations
Time-lapse composites make stunning large prints because viewers can spend time exploring the transitions between time states. Print large enough that the time progression reads clearly — at least 20 inches on the long edge for sliced composites with subtle transitions.
Comments (4)
Just spent an hour experimenting with this approach. Worth every minute.
Finally someone explains this without making it overly complicated.
I tried this on my last shoot and the difference was noticeable immediately.
Good stuff. Photoshop can do wonders when you understand the fundamentals like this.
Leave a Comment