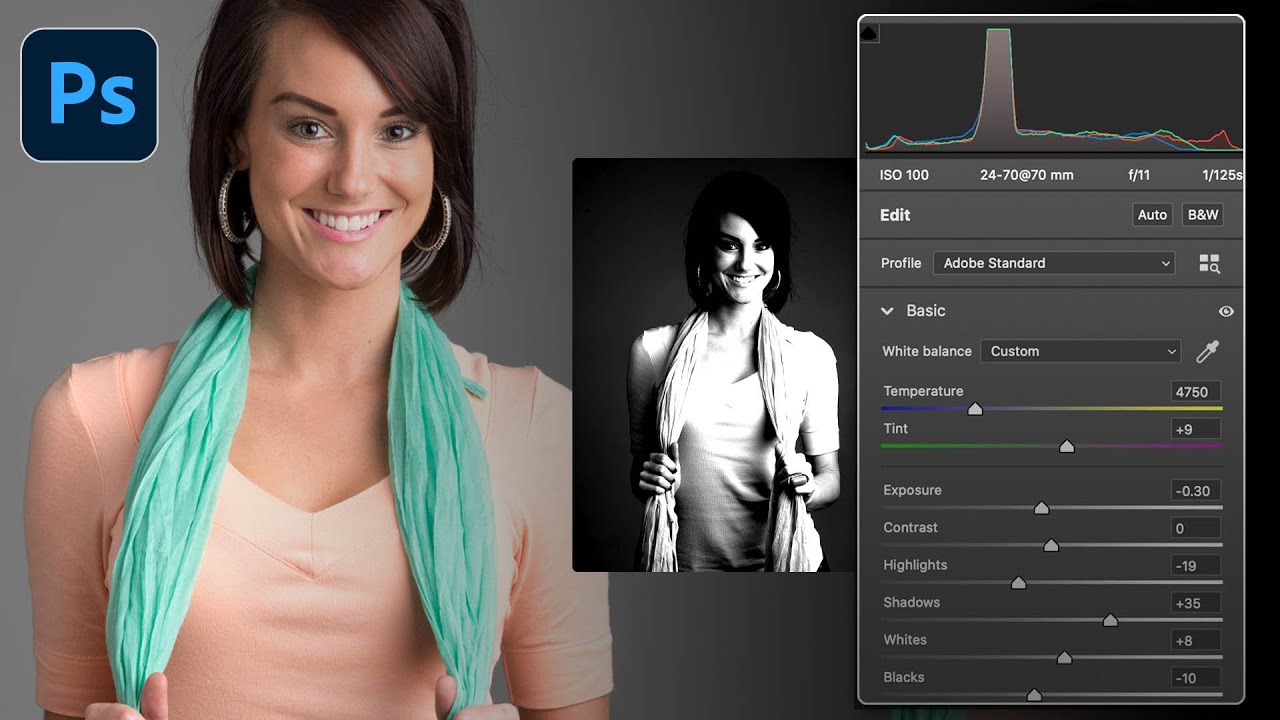
Every composite I build starts with a problem I can’t solve the easy way. That’s not a complaint. That’s actually where the interesting work begins. But when the problem is a blown-out sky or a wall of white that refuses to respond to global corrections, the frustration is real, and it compounds fast. You pull down the highlights slider, the sky flattens, the gradation goes weird, and the foreground takes collateral damage it never asked for. I’ve been in that loop more times than I want to count, usually at midnight with a deadline the next morning.
What I found in this Matt Kloskowski tutorial changed how I approach any shot where I need surgical control over the brightest tones. Watch the full tutorial on YouTube – it’s worth your time even if you think you already know masking. The technique is essentially a streamlined take on luminosity masking, the kind that usually requires channels, stacked selections, and plugin panels most people never fully learn. Matt strips all of that away and gets to the same result in a handful of clicks.
For me, this is the exact kind of technique that justifies opening Photoshop at all. I love Lightroom and Camera Raw for what they do, but the moment I need a mask that actually understands the tonal structure of an image, I need to be somewhere with more precision. This method delivers that without turning into a three-hour deep dive.
Step 1: Identify Why Your Raw Editor Is Failing You
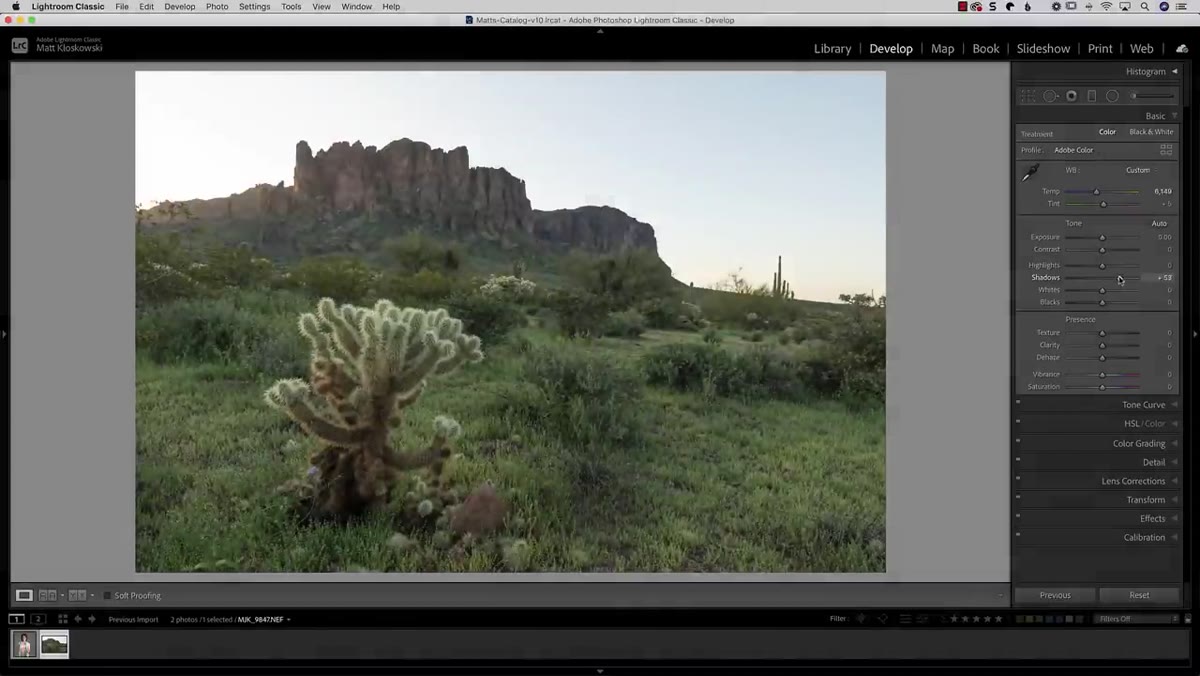 Highlights slider pulling sky down with visible banding and halo
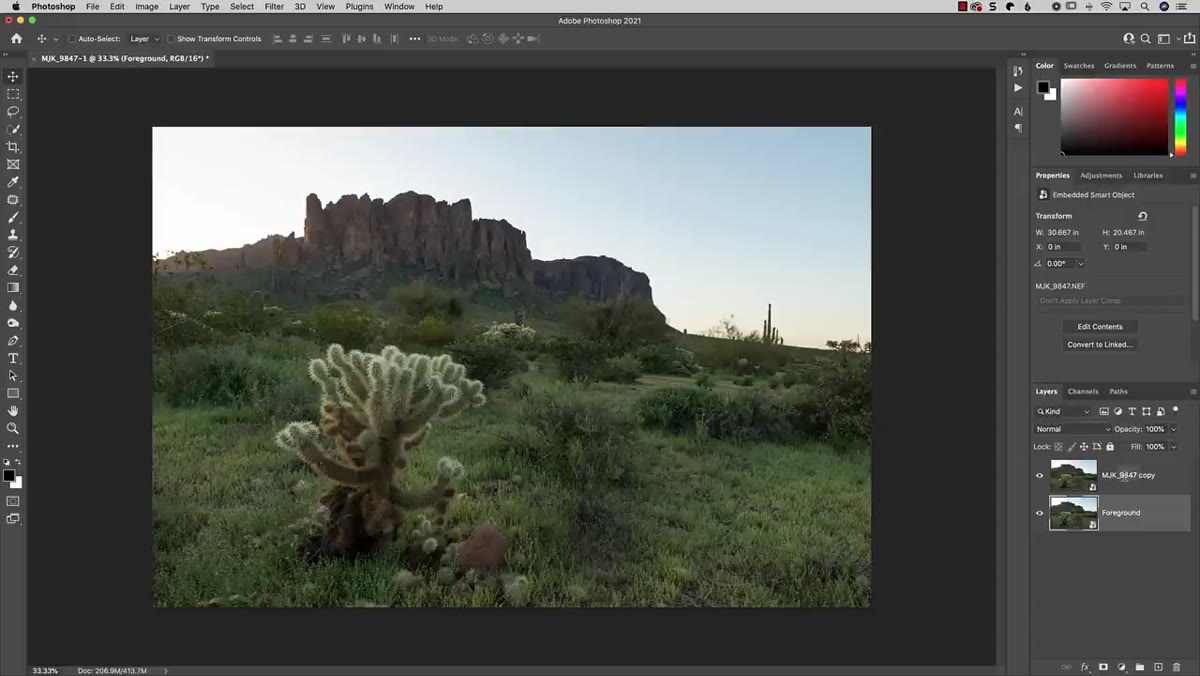
Before you even open Photoshop, Matt makes a point worth sitting with. He works through the full range of what Lightroom and Camera Raw can offer for a problem sky: global highlights, exposure adjustments, graduated filters, even the built-in luminance range masking tool. Each one gets him closer but not there. The graduated filter bleeds into the foreground. The luminance range mask creates a sky that looks muddy or contrasty depending on where you push the smoothness slider.
Highlights slider pulling sky down with visible banding and halo
Before you even open Photoshop, Matt makes a point worth sitting with. He works through the full range of what Lightroom and Camera Raw can offer for a problem sky: global highlights, exposure adjustments, graduated filters, even the built-in luminance range masking tool. Each one gets him closer but not there. The graduated filter bleeds into the foreground. The luminance range mask creates a sky that looks muddy or contrasty depending on where you push the smoothness slider.
The takeaway here is diagnostic. If you’re getting a harsh gradation in the sky, or your corrections are visibly affecting areas you didn’t intend to touch, that’s the signal. You’re not doing it wrong. You’ve just hit the ceiling of global and semi-local corrections. That ceiling is real, and recognizing it quickly will save you a lot of time spinning in the wrong tools.
Step 2: Send the File to Photoshop
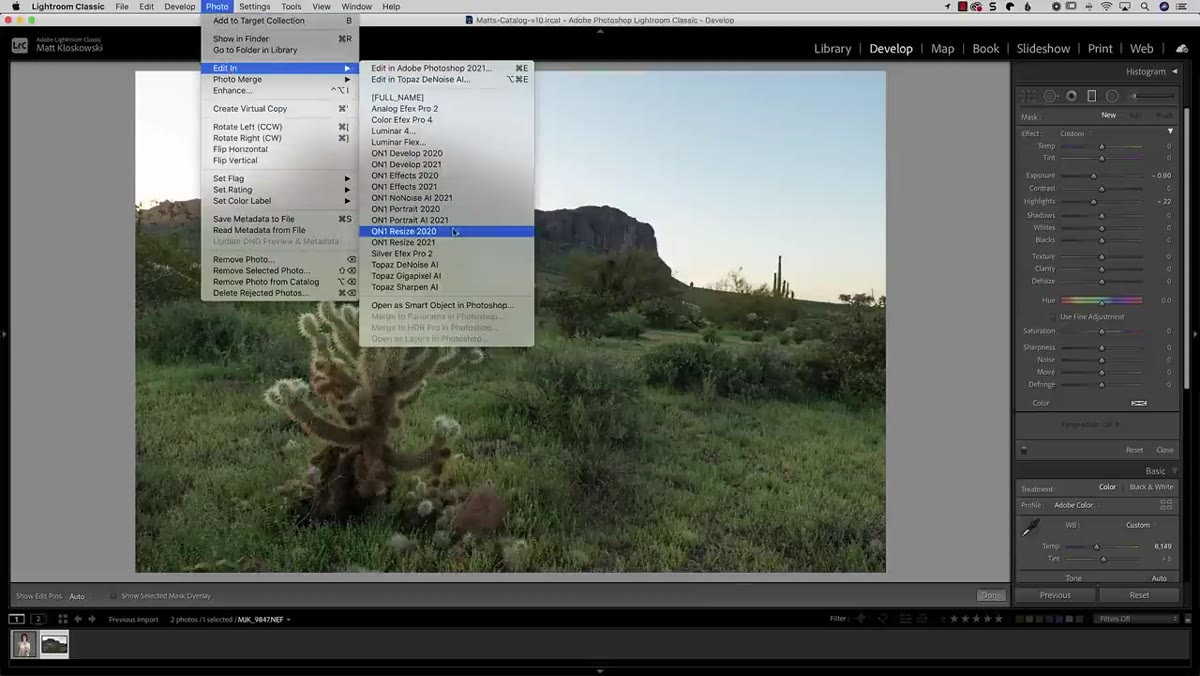 Lightroom menu open, Edit In Photoshop option highlighted
From Lightroom, go to Photo, then Edit In, then Edit in Adobe Photoshop. If you’re working in Camera Raw, the path is slightly different but the destination is the same. You want to open the file as a smart object if your workflow supports it, though Matt keeps it straightforward here and just opens the image directly.
Lightroom menu open, Edit In Photoshop option highlighted
From Lightroom, go to Photo, then Edit In, then Edit in Adobe Photoshop. If you’re working in Camera Raw, the path is slightly different but the destination is the same. You want to open the file as a smart object if your workflow supports it, though Matt keeps it straightforward here and just opens the image directly.
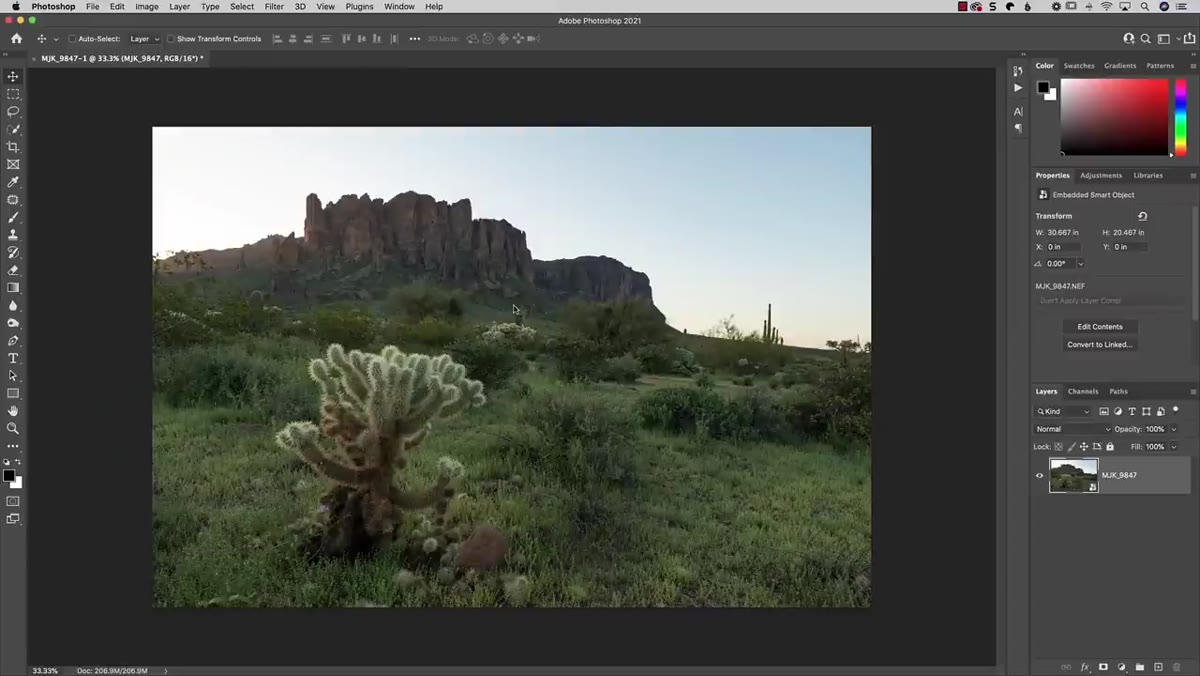
The key thing to understand is that you’re not abandoning your raw processing. You’re taking the developed image as a starting point and using Photoshop’s more powerful selection architecture to do what Camera Raw can’t. Everything you did in your raw editor travels with the file.
Step 3: Load a Highlight-Based Selection Using Color Range
 Select menu open, Color Range dialog appearing on screen
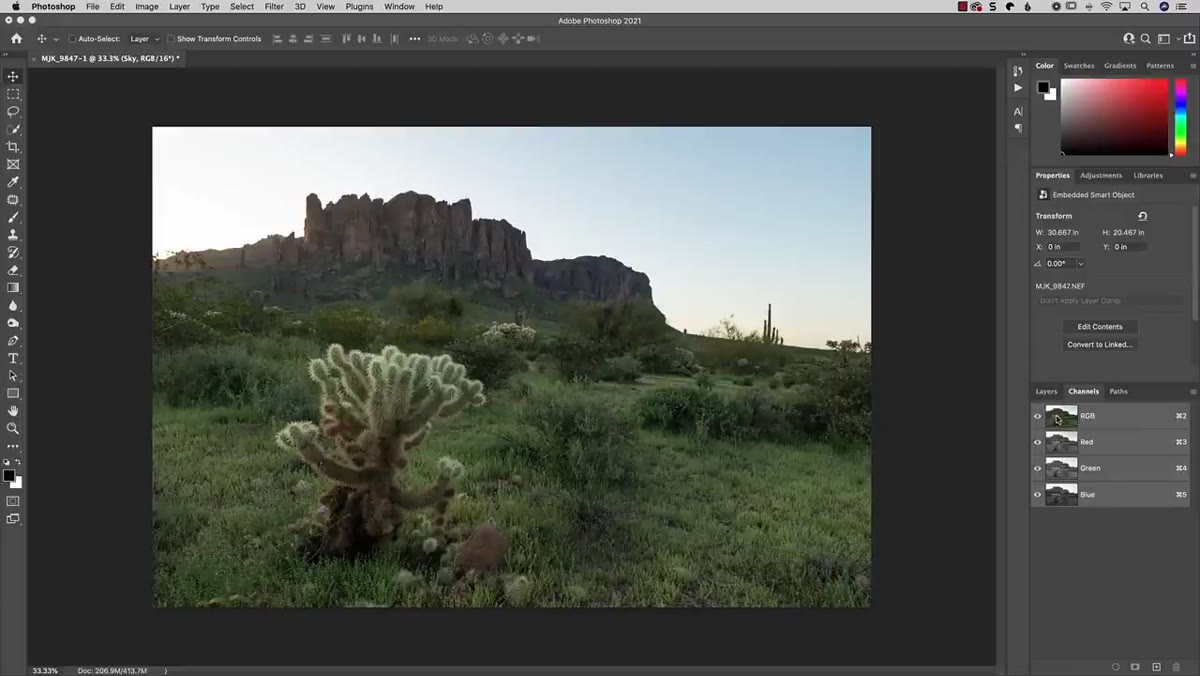
This is where the technique earns its efficiency. Go to Select, then Color Range. In the dialog that opens, change the dropdown from Sampled Colors to Highlights. That single menu choice does something that used to require building selections manually through the Channels panel. Photoshop reads the luminosity of the entire image and generates a selection weighted toward the brightest tones.
Select menu open, Color Range dialog appearing on screen
This is where the technique earns its efficiency. Go to Select, then Color Range. In the dialog that opens, change the dropdown from Sampled Colors to Highlights. That single menu choice does something that used to require building selections manually through the Channels panel. Photoshop reads the luminosity of the entire image and generates a selection weighted toward the brightest tones.
You’ll see a preview in the dialog. White areas in the preview are fully selected, black areas are not selected, and the gray areas are partially selected with feathering baked in. This is exactly what makes luminosity-based masks so powerful for skies and light sources. The selection already knows the difference between a bright cloud edge and a midtone blue sky. You didn’t have to paint a single pixel.
Step 4: Refine the Range Before Confirming
 Color Range dialog with Highlights selected and Range slider visible
Inside the Color Range dialog, you have a Range slider and a Fuzziness slider. Range controls which luminosity values get included as highlights. Pulling it left tightens the selection to only the very brightest areas. Fuzziness controls how gradual the falloff is between selected and unselected areas, which translates directly to how natural your correction will look at the edges.
Color Range dialog with Highlights selected and Range slider visible
Inside the Color Range dialog, you have a Range slider and a Fuzziness slider. Range controls which luminosity values get included as highlights. Pulling it left tightens the selection to only the very brightest areas. Fuzziness controls how gradual the falloff is between selected and unselected areas, which translates directly to how natural your correction will look at the edges.
For a sky correction, you generally want a moderately tight range with enough fuzziness that the transition into the blue areas reads smoothly. There’s no single right number here. Watch the preview thumbnail and look for a selection that captures the blown or near-blown areas without eating into tones you don’t want to affect. Confirm the selection by clicking OK.
Step 5: Apply the Selection as a Layer Mask
 Curves adjustment layer added with highlight selection as mask
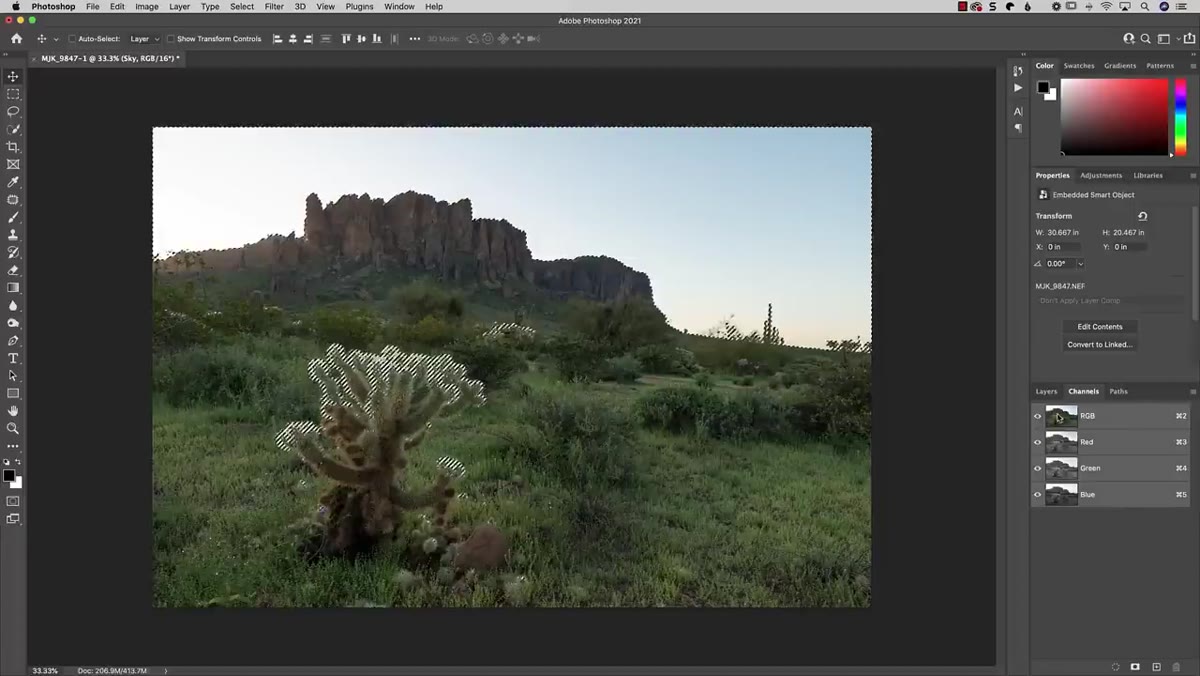
With the selection active, add an adjustment layer. Matt uses Curves here, which gives you the most direct control over tonal range. When you add the adjustment layer with an active selection, Photoshop automatically converts that selection into the layer mask. The marching ants become a grayscale mask that targets precisely the tonal areas you defined.
Curves adjustment layer added with highlight selection as mask
With the selection active, add an adjustment layer. Matt uses Curves here, which gives you the most direct control over tonal range. When you add the adjustment layer with an active selection, Photoshop automatically converts that selection into the layer mask. The marching ants become a grayscale mask that targets precisely the tonal areas you defined.
Now pull down the curve in the highlights region. Because the mask is luminosity-aware, the correction applies most strongly where the image is brightest and fades out naturally as tones get darker. The sky responds. The foreground, which sits in the midtone and shadow range, barely moves. This is the control that graduated filters and global sliders can’t give you.
Step 6: Evaluate and Refine the Mask
 Layer mask thumbnail visible in Layers panel, mask shown in white and gray
Click on the mask thumbnail in the Layers panel and apply a slight Gaussian Blur if the transitions feel hard. Alternatively, use the Properties panel with the mask selected to adjust the Feather value non-destructively. You can also use the Density slider to reduce the overall intensity of the mask without touching the Curves adjustment itself.
Layer mask thumbnail visible in Layers panel, mask shown in white and gray
Click on the mask thumbnail in the Layers panel and apply a slight Gaussian Blur if the transitions feel hard. Alternatively, use the Properties panel with the mask selected to adjust the Feather value non-destructively. You can also use the Density slider to reduce the overall intensity of the mask without touching the Curves adjustment itself.
If certain areas of the correction are landing in places you didn’t intend, grab a soft black brush and paint directly on the mask to exclude them. Because the base mask is already doing the heavy lifting with luminosity data, you often only need a small amount of manual cleanup, if any.
How I Use This in Composite Work
Highlight masking earns its place in compositing the moment you’re blending a sky replacement or integrating a light source into a scene. When I’m dropping a new sky into a landscape or painting light onto a subject, the edges between elements need to respect the tonal logic of the original image. A hard selection will never give you that. A luminosity-based mask built through Color Range lets the blend breathe in a way that feels photographic rather than cut-and-pasted.
One habit I’ve developed: I’ll often invert the highlight mask and use it to protect the shadows while I push the brighter areas. The same mask, flipped, becomes a shadow protection layer. You built one selection and suddenly you have two useful tools.
The single most important thing Matt demonstrates here is that luminosity masking doesn’t require a complicated workflow. It requires understanding which tones you need to isolate, and letting Photoshop do the mathematical work of finding them. Once that clicks, you’ll reach for Color Range constantly.
Watch the full tutorial on YouTube to see Matt walk through both the landscape and portrait applications back to back. Seeing both in sequence makes the transferability of the technique much clearer than any written description can.
Comments (2)
Applied this to my portfolio shots and the improvement is noticeable.
Solid advice. Especially the part about taking your time with it.
Leave a Comment