Light is the thing that kills most composites before the editing even begins. I know this because I’ve been fixing bad lighting decisions in post for years, and every hour I spend trying to paint in a convincing rim light or manufacture shadows that should have been captured in-camera is an hour I’m not spending on the work that actually matters. The shadow problem has haunted me since my first published composite, where the light source on my subject pointed east and every shadow in the background scene pointed west. Nobody flagged it during the approval process. I noticed it the morning after it went live and I still think about it. That’s the kind of mistake that sticks.
So when I came across this CreativeLive tutorial on practical lighting approaches for composite photographers, I paid close attention. Watch the full tutorial on YouTube. What makes it useful isn’t that it teaches you how to run a professional lighting rig. It’s that it approaches lighting the way most of us actually work: with limited gear, limited space, and a specific compositing problem to solve. The instructor’s honesty about her own learning curve with lights makes the whole thing feel like a conversation rather than a lecture.
Step 1: Define Your Lighting Goal Before You Touch a Single Light
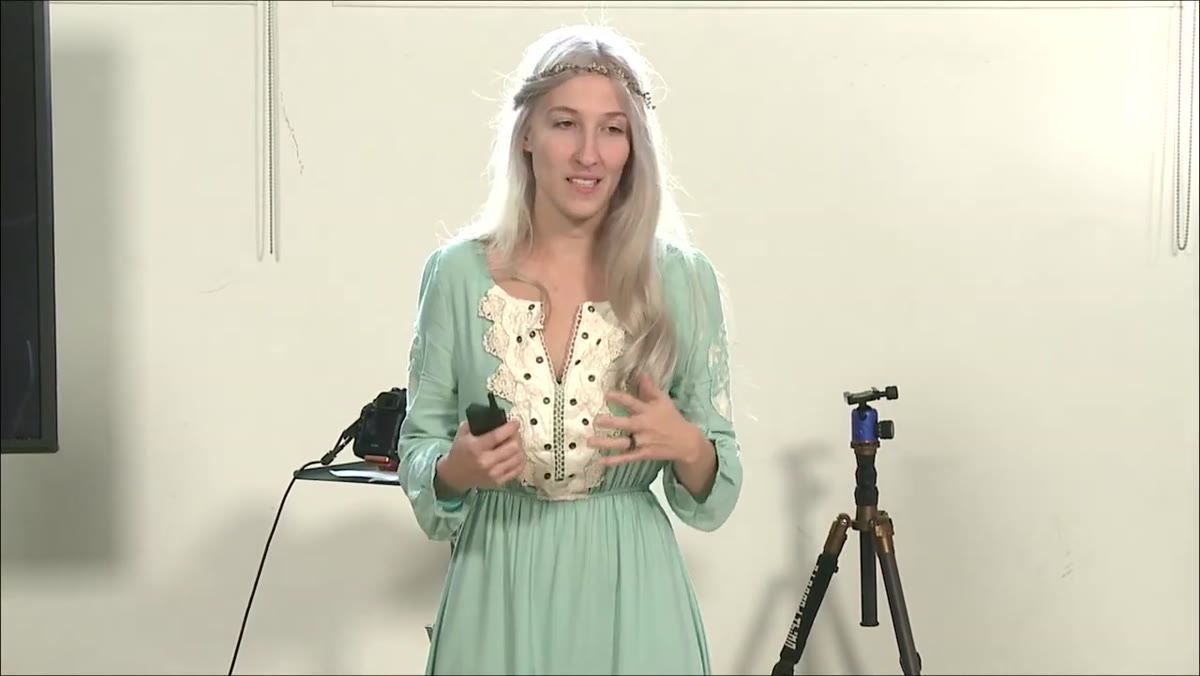 Instructor describing practical light sources at the workspace
Before any gear gets positioned, the tutorial makes a point that most lighting guides skip entirely: know what problem your lighting needs to solve, not just what looks good in isolation. The goal here isn’t beauty lighting or three-point setups from a film textbook. The goal is matching a subject to a background that doesn’t yet exist. That changes everything about how you make decisions. Ask yourself what direction the light is coming from in your background plate, what quality it has (hard or soft), and whether your subject will need separation from a dark or light backdrop. Write it down before you shoot.
Instructor describing practical light sources at the workspace
Before any gear gets positioned, the tutorial makes a point that most lighting guides skip entirely: know what problem your lighting needs to solve, not just what looks good in isolation. The goal here isn’t beauty lighting or three-point setups from a film textbook. The goal is matching a subject to a background that doesn’t yet exist. That changes everything about how you make decisions. Ask yourself what direction the light is coming from in your background plate, what quality it has (hard or soft), and whether your subject will need separation from a dark or light backdrop. Write it down before you shoot.
Step 2: Use Backlighting to Create Hair Separation From Dark Backgrounds
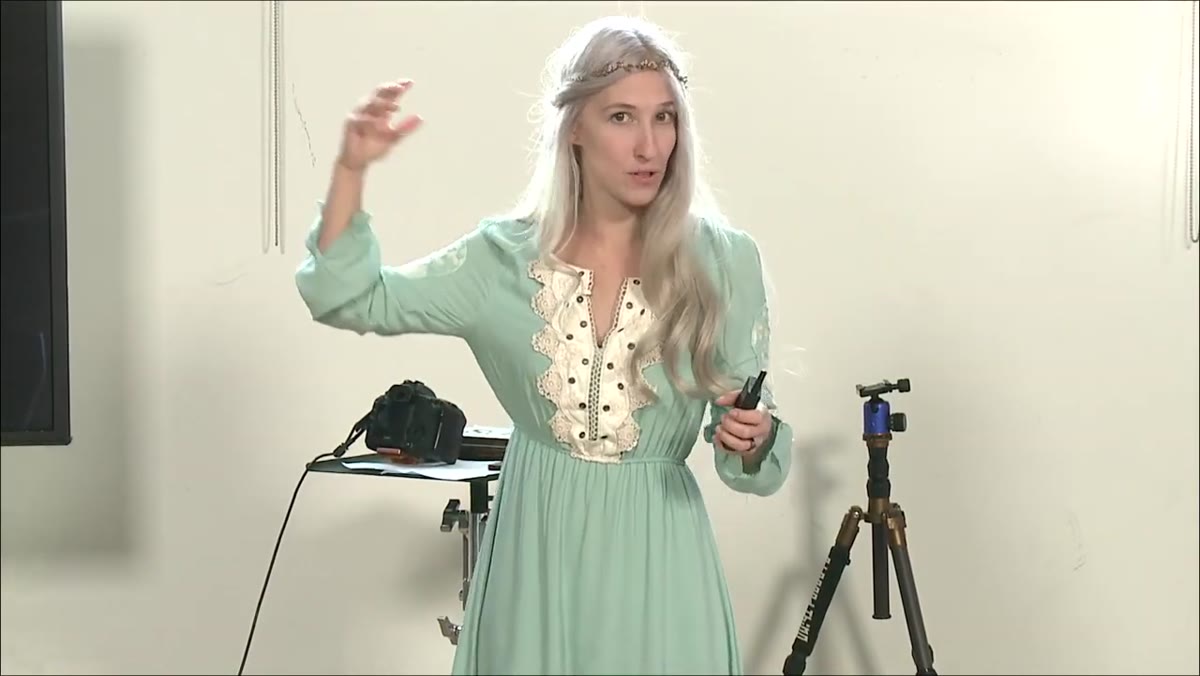 Two lights positioned behind subject aimed down at hair
One of the most practical techniques in the tutorial involves using two continuous lights placed behind and above the subject, angled downward toward the hair. This creates a rim or halo effect that lifts the subject visually off a dark backdrop, which is critical when you’re planning to cut out hair in post. Position one light on each side at roughly the same height, both aimed down at the crown and shoulders. The symmetry keeps the separation even and avoids a situation where one side of the hair blends back into the background while the other glows.
Two lights positioned behind subject aimed down at hair
One of the most practical techniques in the tutorial involves using two continuous lights placed behind and above the subject, angled downward toward the hair. This creates a rim or halo effect that lifts the subject visually off a dark backdrop, which is critical when you’re planning to cut out hair in post. Position one light on each side at roughly the same height, both aimed down at the crown and shoulders. The symmetry keeps the separation even and avoids a situation where one side of the hair blends back into the background while the other glows.
This technique serves a dual purpose: it makes the masking cleaner in post, and it also gives you a consistent edge light you can match when you drop your subject into a scene. If your background plate has a light source behind the subject (a sunset, a lamp post, a glowing doorway), this setup gives you the practical foundation to make that match believable.
Step 3: Combine Artificial Backlights With a Natural Fill Source
 Window light used as fill combined with two artificial backlights
Rather than trying to solve everything with artificial lights, the tutorial shows how a window can function as the primary fill light for the face while the artificial lights handle separation in the back. This hybrid approach is smart because window light is soft, directional, and free. Position your subject so the window is in front of them and slightly to one side. The backlights handle the rim, the window handles the face, and you end up with a lighting setup that feels natural because part of it actually is.
Window light used as fill combined with two artificial backlights
Rather than trying to solve everything with artificial lights, the tutorial shows how a window can function as the primary fill light for the face while the artificial lights handle separation in the back. This hybrid approach is smart because window light is soft, directional, and free. Position your subject so the window is in front of them and slightly to one side. The backlights handle the rim, the window handles the face, and you end up with a lighting setup that feels natural because part of it actually is.
This also creates an important reference point for compositing. Window light is consistent during a shoot session and gives you a real-world light direction you can use to anchor your subject into a background scene. If you’re placing your subject into an outdoor environment with overcast sky, window light on the face is a closer approximation than a bare bulb pointed at them directly.
Step 4: Shoot a Lighting Test First, Then Dress for the Shot
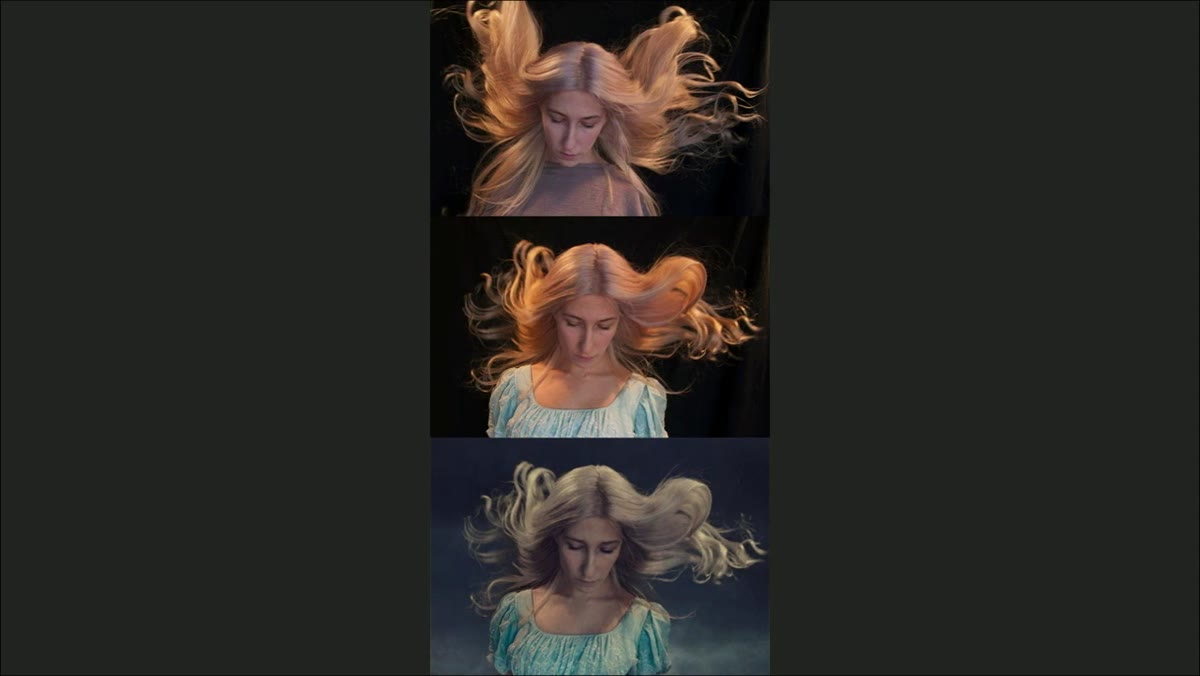
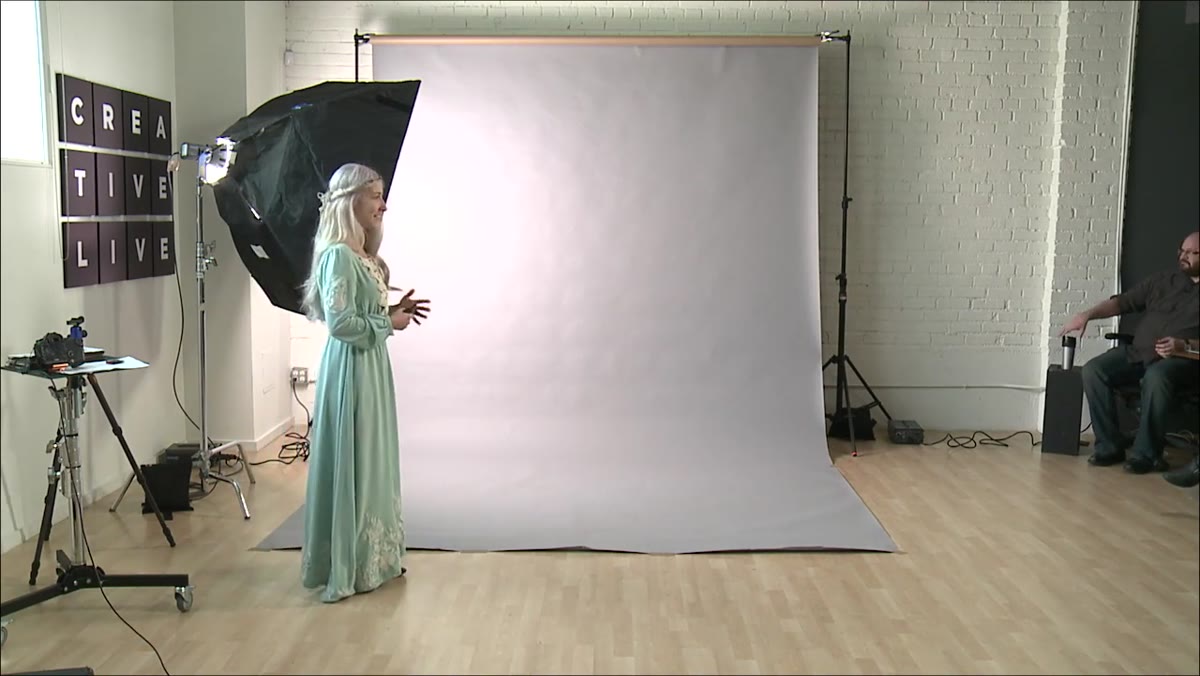 Early lighting test image shown with casual clothing before final costume
The workflow demonstrated here is one I wish I had adopted earlier: do a dedicated lighting test run before you put on the final wardrobe or style the shot. Wear whatever you have on. Position yourself, take frames, and evaluate the light on your hair, your face, and your shoulders. Only once you know the light is working the way you need it to should you commit to the actual costume or setup for the final images.
Early lighting test image shown with casual clothing before final costume
The workflow demonstrated here is one I wish I had adopted earlier: do a dedicated lighting test run before you put on the final wardrobe or style the shot. Wear whatever you have on. Position yourself, take frames, and evaluate the light on your hair, your face, and your shoulders. Only once you know the light is working the way you need it to should you commit to the actual costume or setup for the final images.
This separates two problems that most people try to solve simultaneously, and that’s where mistakes get baked in. Lighting is a technical problem. Styling and posing are creative problems. Solve them in sequence, not at the same time.
Step 5: Shoot to Your Background, Not to a Generic “Good Photo” Standard
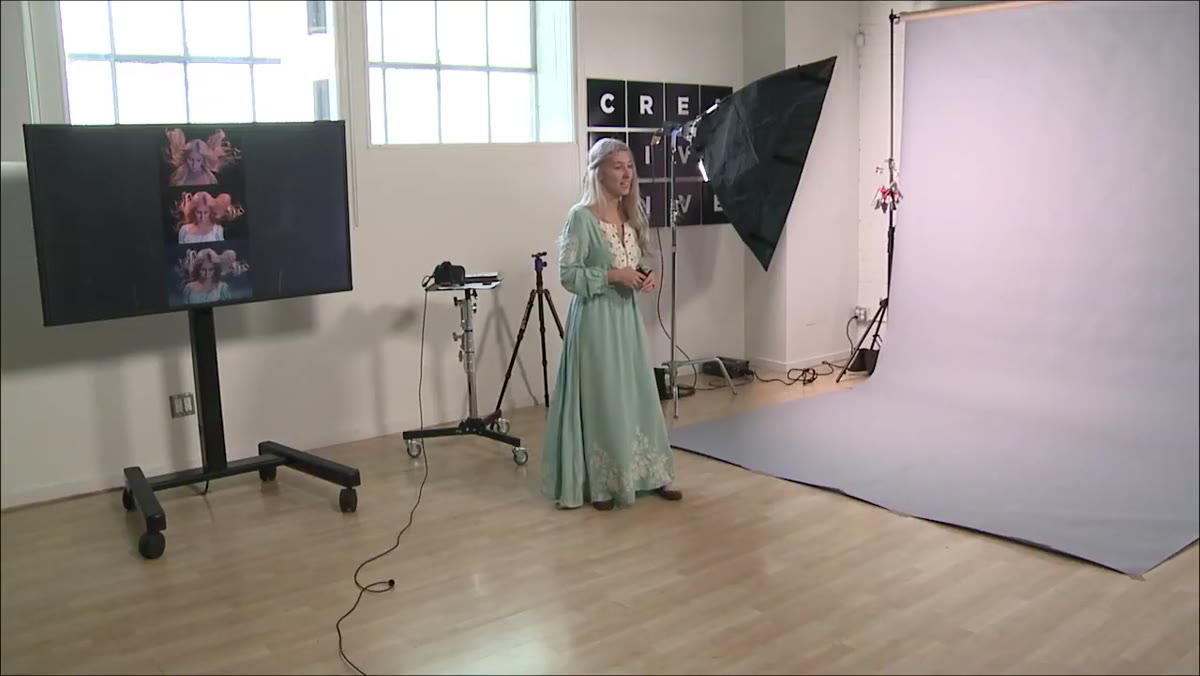 Final costumed shot taken to match specific background composite position
Once the lighting is dialed in, every compositional choice in the shoot should be driven by the background you’re compositing into. The tutorial illustrates this with a specific example: the subject shoots only from the shoulders up because the background requires a specific head and hair position, looking downward. The framing would look strange as a standalone portrait, but that’s not the point. The point is matching the geometry of the final scene.
Final costumed shot taken to match specific background composite position
Once the lighting is dialed in, every compositional choice in the shoot should be driven by the background you’re compositing into. The tutorial illustrates this with a specific example: the subject shoots only from the shoulders up because the background requires a specific head and hair position, looking downward. The framing would look strange as a standalone portrait, but that’s not the point. The point is matching the geometry of the final scene.
Before your shoot, have your background plate open on a second monitor or printed out as a reference. Know where the horizon line sits. Know where your subject’s feet will land and how much of the body the scene actually requires. Shoot to that, not to what looks like a complete photo by itself.
What I’d Add From My Own Practice
The tutorial doesn’t go deep into documentation, but I’d add this: photograph your lighting setup from above before you move anything. I keep a running folder of overhead reference shots showing light positions, distances, and any bounce cards or flags I used. If I need to reshoot a subject for the same composite weeks later, I can rebuild the setup in minutes instead of guessing. Consistency across multiple shoot days is one of the hardest things to maintain in compositing, and a quick overhead photo solves it almost entirely.
The most important idea here is that lighting for compositing is not about creating a beautiful standalone image. It’s about creating a subject who belongs to a world that doesn’t exist yet. Every decision, from where the backlights sit to which direction your face is angled toward a window, should be made in service of the background you’re building toward. Get the light right in camera and you’re solving ten problems in post before they ever start.
Watch the full tutorial on YouTube to see the complete lighting setup and the finished composite that came out of it.
Comments (2)
Quality content like this is rare. Keep it up.
This is exactly what I needed today. Been struggling with this for weeks.
Leave a Comment